
How to Make Vanilla Slice in 7 Easy Steps at Home
Table of Contents
Introduction
Have you ever wondered why some vanilla slices turn out perfectly crisp and creamy while others end up soggy or with lumpy custard? Learning how to make vanilla slice at home might seem challenging, but with the right technique, you can master this classic dessert in just seven straightforward steps. This beloved treat, featuring layers of flaky puff pastry, silky vanilla custard, and glossy icing, has been a bakery favorite for generations. Whether you call it a custard slice or vanilla slice, this iconic dessert delivers an irresistible combination of textures and flavors that keep people coming back for more. In this comprehensive guide, you’ll discover professional baker secrets, timing tricks, and foolproof methods to create a homemade vanilla slice that rivals any bakery version. With preparation times averaging just 30 minutes and results that serve 8-10 people, this vanilla slice recipe easy approach makes impressive desserts accessible to everyone.
Ingredients List
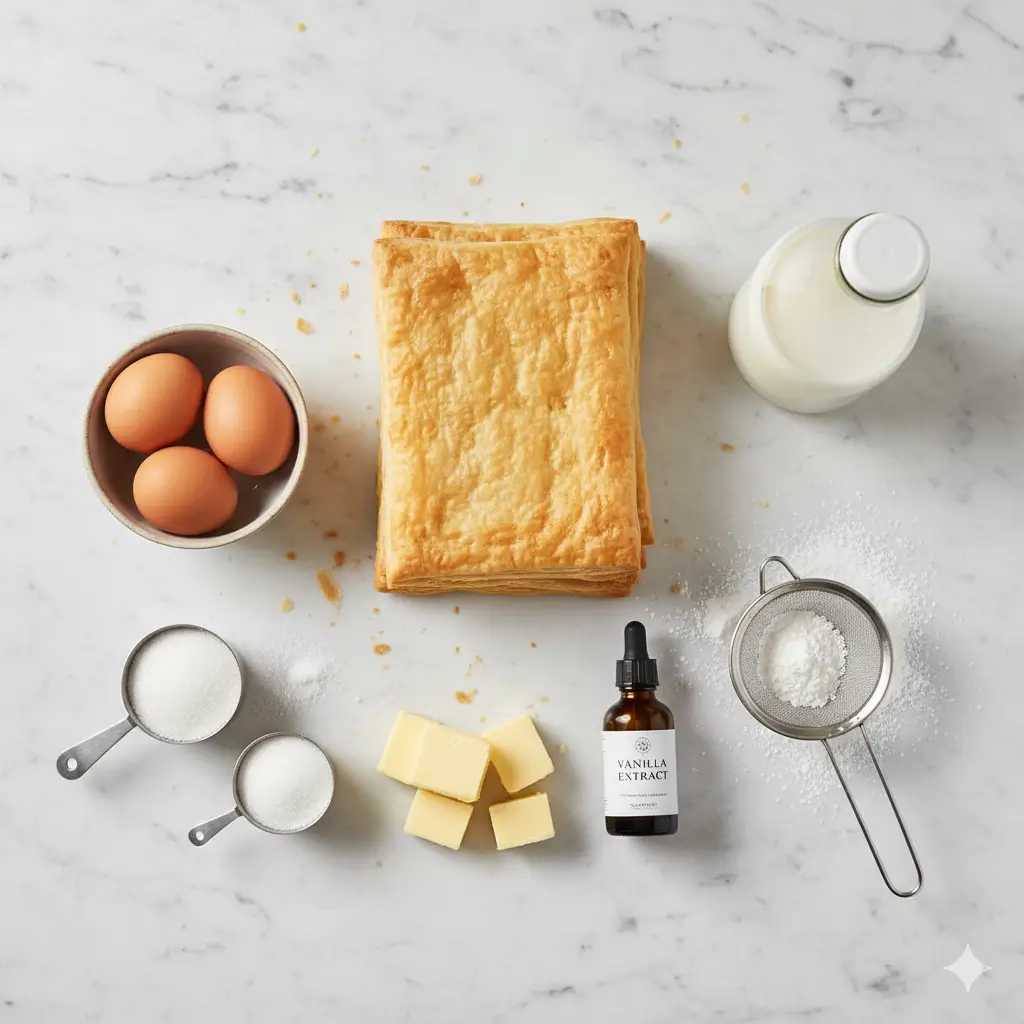
For the Custard Filling :
- 2 cups (500ml) whole milk
- 1 cup (250ml) heavy cream
- ¾ cup (150g) granulated sugar
- 5 large egg yolks
- ⅓ cup (50g) cornstarch
- 2 teaspoons pure vanilla extract
- 2 tablespoons unsalted butter
For the Pastry :
- 2 sheets frozen puff pastry (thawed)
- 1 tablespoon milk (for brushing)
For the Icing :
- 2 cups (250g) powdered sugar
- 2-3 tablespoons milk
- 1 teaspoon vanilla extract
- Pink or white food coloring (optional)
Substitution Suggestions : Replace heavy cream with half-and-half for a lighter custard, swap cornstarch with an equal amount of custard powder for traditional flavor, or use plant-based milk and vegan butter for a dairy-free version. For a richer taste, add one extra egg yolk to intensify the custard’s creamy texture.
Timing
| Stage | Time Required | Notes |
|---|---|---|
| Preparation Time | 30 minutes | Includes assembling the pastry layers and preparing the filling. |
| Cooking Time | 40 minutes | Baking the pastry and preparing custard or cream layers. |
| Chilling Time | 3–4 hours (or overnight) | Essential for clean, professional-looking slices. Plan ahead for best results. |
| Total Time | Approximately 5 hours | This timeline requires about 15% less active work than traditional methods that make pastry from scratch. |
Step-by-Step Instructions
Step 1: Prepare and Bake the Puff Pastry
Preheat your oven to 200°C (400°F). Line two baking sheets with parchment paper. Roll out each puff pastry sheet slightly to even thickness, then place one sheet on each prepared tray. Prick the pastry all over with a fork to prevent excessive puffing. Brush lightly with milk for a golden finish. Place another sheet of parchment on top of each pastry, then add a second baking tray on top to weigh them down.
- Pro tip : Weighing down the pastry ensures flat, even layers that stack perfectly—this is the secret to professional-looking vanilla slice with puff pastry .
Step 2: Bake Until Golden and Crisp
Bake for 15 minutes, then carefully remove the top trays and parchment. Continue baking for another 5-8 minutes until the pastry turns deep golden brown. The darker color adds a richer, nuttier flavor and prevents sogginess when the custard is added. Remove from the oven and cool completely on wire racks.
- Timing matters : Underbaked pastry will soften too much under the custard weight, while overbaked pastry becomes brittle and difficult to cut.

Step 3: Create the Silky Vanilla Custard
In a heavy-bottomed saucepan, combine milk and cream over medium heat until steaming but not boiling. In a separate bowl, whisk together sugar, egg yolks, and cornstarch until smooth and pale yellow. Slowly pour half the hot milk mixture into the egg mixture while whisking constantly—this tempering process prevents scrambled eggs.
- Critical technique : Pour gradually and whisk vigorously to maintain smooth texture throughout the custard base.
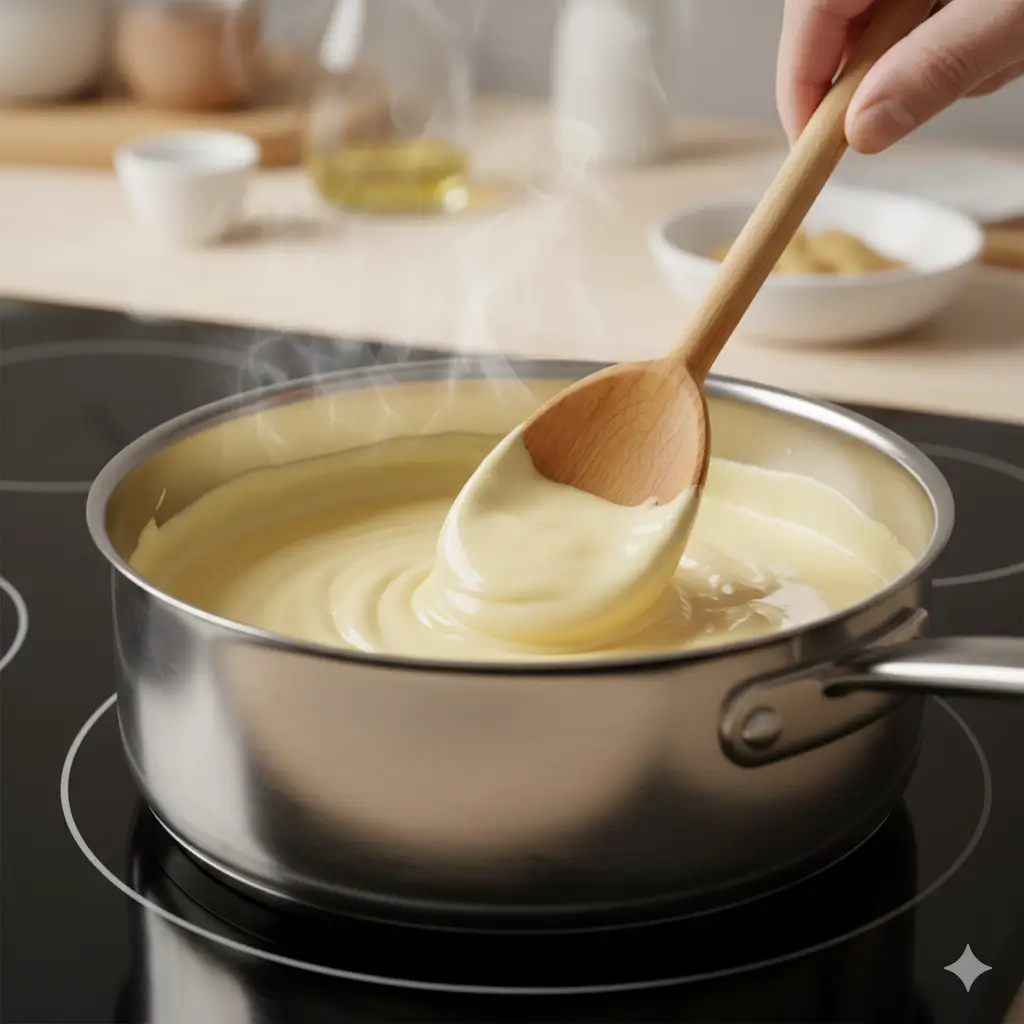
Step 4: Cook the Custard to Perfect Thickness
Return the combined mixture to the saucepan over medium heat. Stir constantly with a wooden spoon or silicone spatula, making sure to reach all corners of the pan. The custard will gradually thicken over 5-8 minutes. When it coats the back of your spoon and holds a line drawn through it, remove from heat immediately. Stir in vanilla extract and butter until fully incorporated.
- Watch carefully : The custard thickens quickly in the final minute—overcooking creates a gluey texture instead of creamy smoothness.
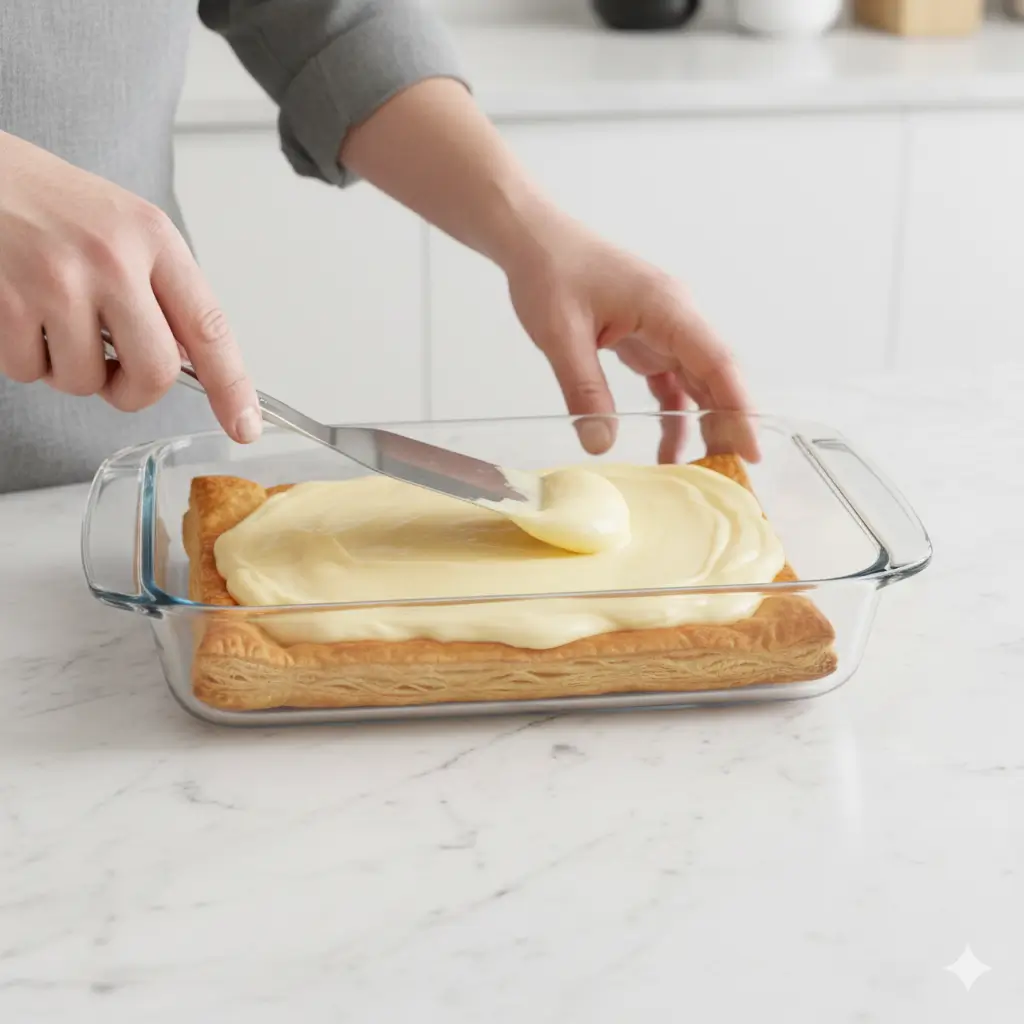
Step 5: Assemble the Layers
Choose your sturdiest pastry sheet for the base and place it in a 9×13 inch (23x33cm) baking dish or tray. Pour the hot custard directly over the pastry, spreading it evenly to all edges with an offset spatula. The heat from the custard slightly softens the bottom pastry, creating better adhesion. Carefully place the second pastry sheet on top, pressing down very gently to ensure contact with the custard.
- Assembly insight : Working while the custard is still warm makes spreading easier and creates better layer bonding in this custard slice recipe.
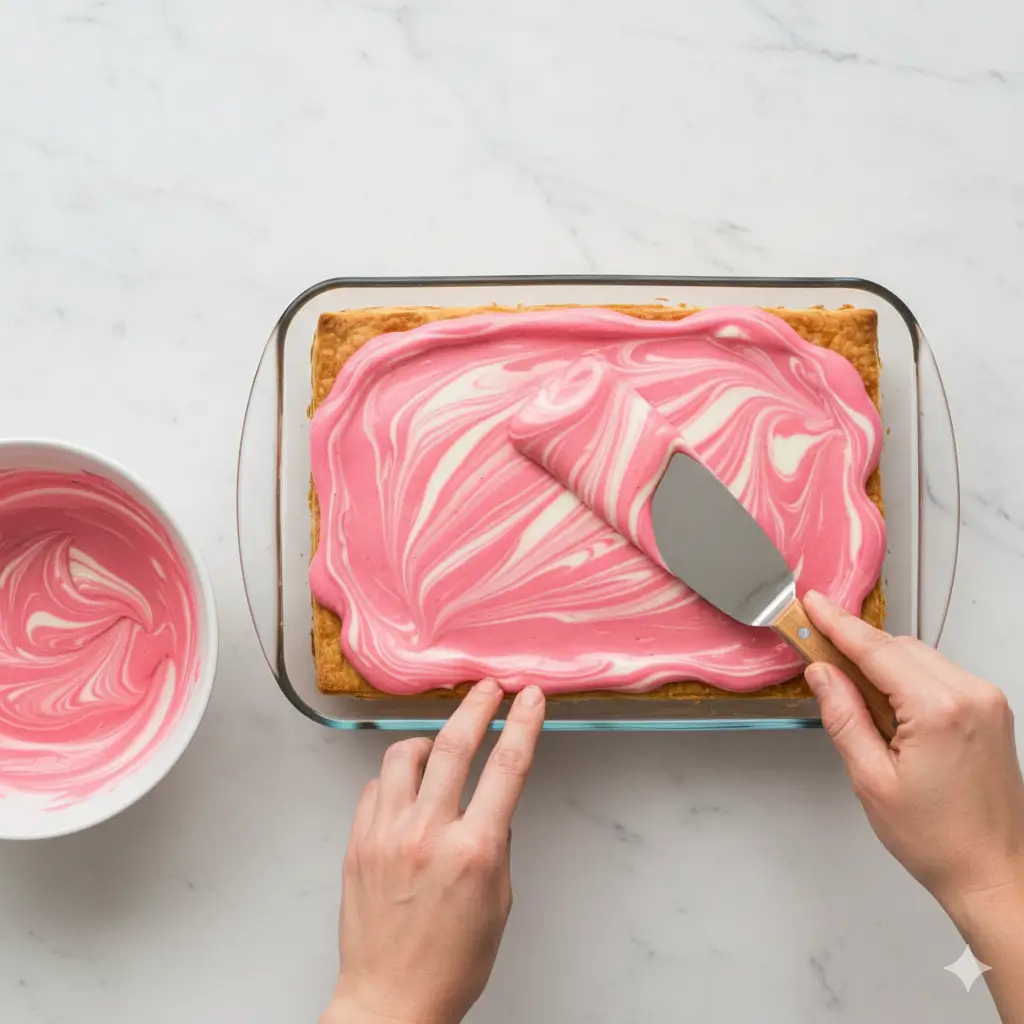
Step 6: Prepare and Apply the Icing
In a medium bowl, whisk together powdered sugar, milk, and vanilla extract until smooth and pourable but not too thin—it should coat a spoon but still flow easily. Add food coloring if desired for the classic pink-and-white look. Pour the icing over the top pastry layer, spreading quickly with a palette knife or offset spatula before it sets.
- Icing consistency tip : If too thick, add milk by the teaspoon; if too thin, add more powdered sugar to achieve spreadable consistency.
Step 7: Chill Until Firm and Set
Cover the entire tray loosely with plastic wrap, ensuring the wrap doesn’t touch the icing surface. Refrigerate for at least 3-4 hours, or preferably overnight. This chilling period allows the custard to firm up completely, making clean slicing possible. Before cutting, run a sharp knife under hot water, dry it, then make smooth cuts with gentle sawing motions.
- Slicing secret : Clean and rewarm your knife between each cut for bakery-perfect edges that showcase the beautiful layers.
Nutritional Information
| Nutrient | Amount per Serving |
|---|---|
| Calories | ~320 |
| Protein | 5g |
| Carbs | 38g |
| Fat | 17g |
| Fiber | 1g |
| Sugar | 24g |
| Sodium | 150mg |
| Notes: Eggs and dairy provide calcium and protein. The custard base adds vitamin A and essential fatty acids. This homemade vanilla slice is more nutrient-dense than many store-bought alternatives and suitable for occasional enjoyment. | |
Healthier Alternatives for the Recipe
If you want a lighter version of this vanilla slice recipe easy approach, try these adjustments:
- Reduce sugar by 25% in the custard—the icing still provides sweetness while cutting overall sugar content.
- Use low-fat milk instead of whole milk and replace heavy cream with additional milk thickened with extra cornstarch.
- Try phyllo pastry instead of puff pastry for a dramatically lower fat content, though texture will be crispier and more delicate.
- Replace some egg yolks with whole eggs (use 3 yolks and 2 whole eggs) to reduce cholesterol while maintaining creaminess.
- Make a sugar-free icing using powdered erythritol or stevia-based sweeteners for diabetic-friendly options.
- Add vanilla bean paste instead of extract for more intense flavor without extra calories.

Serving Suggestions
| Serving Style | Details |
|---|---|
| Elegant Afternoon Tea | Present on a vintage cake stand dusted with powdered sugar. |
| Chilled with Coffee or Tea | Serve alongside hot espresso or strong tea to balance sweetness with bitter notes. |
| Bite-Sized Petits Fours | Cut into 2-inch squares for cocktail parties or formal events. |
| Restaurant-Style Presentation | Garnish individual slices with fresh berries and mint leaves. |
| Extra-Indulgent Dessert | Pair with whipped cream or vanilla ice cream for a richer experience. |
| Fruity Acidity | Drizzle with passion fruit pulp or raspberry coulis to cut through richness. |
| Optimal Temperature | Serve at room temperature for 10 minutes after refrigeration to soften and enhance flavor. |

Common Mistakes to Avoid
Many home bakers struggle with vanilla slices due to preventable errors :
- Not weighing down the pastry : Unpressed puff pastry creates uneven layers that don’t stack properly.
- Cutting while warm : This causes the custard to ooze out and destroys the clean layers you’ve worked to create.
- Cooking custard too quickly : High heat causes lumps and graininess instead of silky smoothness.
- Stopping whisking during cooking : Even brief pauses allow hot spots that create texture problems.
- Using a dull knife for slicing : Sawing with a blunt blade crushes layers instead of cutting cleanly through them.
- Skipping the tempering step : Adding hot liquid directly to eggs creates scrambled bits throughout your custard.
- Applying icing too thick : Heavy icing weighs down the top layer and can cause cracking when cut.
Storing Tips for the Recipe
| Storage Method | Instructions & Notes |
|---|---|
| Refrigeration | Store the entire vanilla slice covered loosely with plastic wrap for up to 4 days. The icing may soften slightly, but flavor remains excellent. |
| Individual Portions | Cut and wrap individual slices in plastic wrap, then place in an airtight container for grab-and-go convenience. |
| Avoid Freezing Assembled Slices | The custard separates and becomes watery upon thawing, and the pastry loses its crispness completely. |
| Make-Ahead Strategy | Bake and cool pastry sheets up to 2 days ahead, storing in airtight containers. Prepare custard the day before assembly. |
| Icing Refresh | If the icing dulls after storage, lightly brush with a tiny amount of simple syrup to restore shine. |
| Keep Away from Strong Odors | Store on a separate refrigerator shelf, as custard absorbs surrounding flavors easily. |
Conclusion
This comprehensive guide to how to make vanilla slice demonstrates that bakery-quality results are absolutely achievable at home with proper technique and timing. By following these seven detailed steps—from perfectly weighted pastry to silky custard and professional assembly—you’ll create a stunning dessert that impresses at every gathering. The combination of crisp layers, creamy filling, and sweet icing delivers the nostalgic flavors people love while giving you complete control over ingredients and quality. Try this homemade vanilla slice recipe this weekend, share your beautiful results with friends and family, and discover why this classic dessert has remained beloved for generations. Don’t forget to experiment with the healthier alternatives and creative serving suggestions to make this recipe uniquely yours.
FAQs
Can I use store-bought custard instead of making it from scratch ?
- While convenient, store-bought custard typically contains stabilizers that create a different texture. Homemade custard offers superior flavor and creaminess that’s worth the extra 15 minutes of cooking time.
Why did my vanilla slice turn out soggy ?
- Soggy results usually stem from underbaked pastry, cutting before the custard fully sets, or applying custard while pastry is still warm. Always cool pastry completely and chill assembled slices for the full recommended time.
How far in advance can I make vanilla slice ?
- Make it up to 2 days ahead for best results. The pastry gradually softens over time, so day-one freshness offers the crispest texture, though properly stored slices remain delicious through day four.
Can I make mini individual vanilla slices ?
- Absolutely! Cut pastry into 3-inch squares before baking, adjust baking time to 12-15 minutes, and assemble individual portions. These work beautifully for parties and portion control.
What’s the best way to achieve clean cuts ?
- Use a large, sharp chef’s knife dipped in hot water and wiped dry before each cut. Make smooth, confident strokes rather than sawing motions, and clean the blade between every slice.
Can I add different flavors to the custard ?
- Yes! Try adding 2 tablespoons of cocoa powder for chocolate custard, lemon zest for citrus notes, or 1 teaspoon of almond extract for a variation on the classic vanilla flavor profile.
Your Feedback Helps Us Grow!
There are no reviews yet. Be the first one to write one.