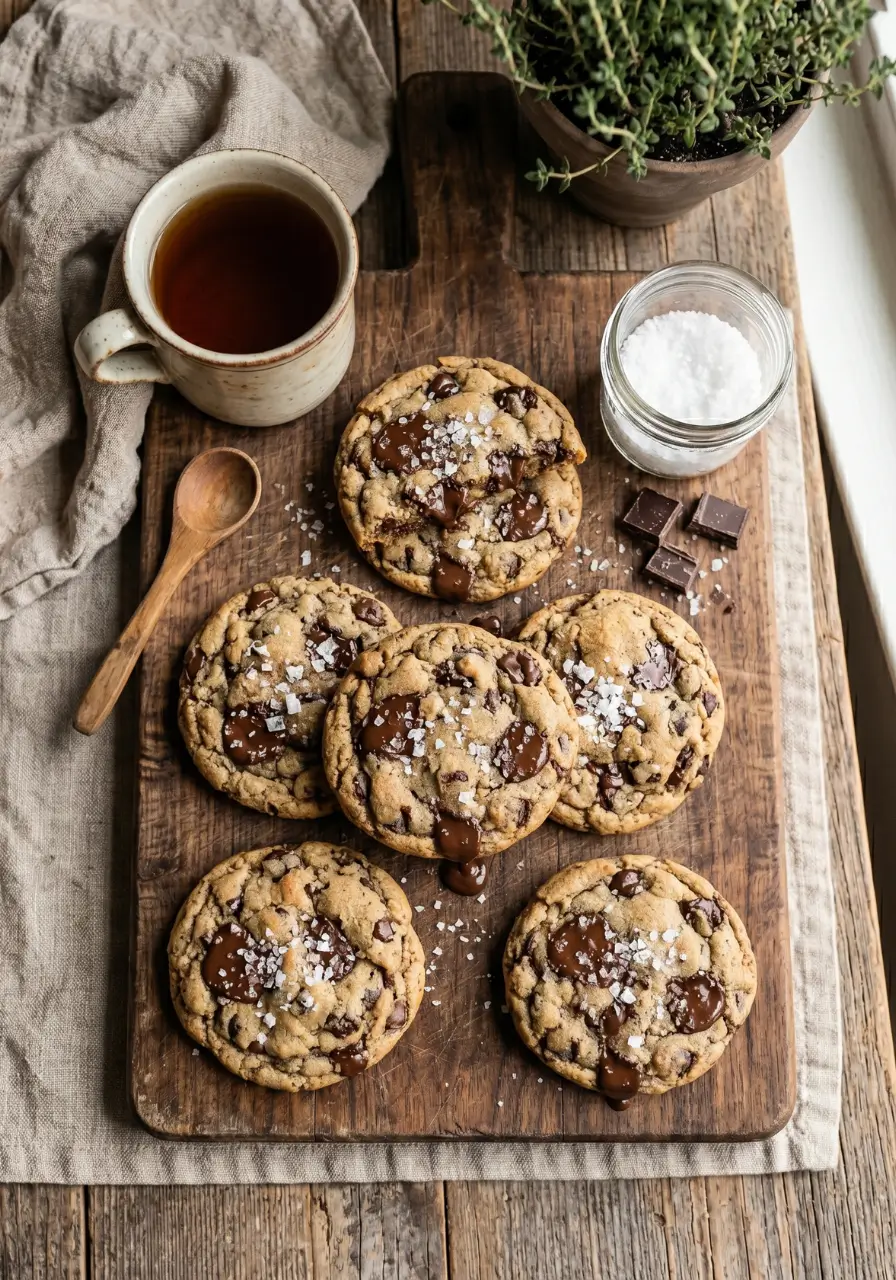
Chewy Brown Butter Chocolate Chip Cookies: 7 Pro Tips
Table of Contents
Why Most Chocolate Chip Cookies Fall Short
Have you ever bitten into a chocolate chip cookie expecting that deep, nutty richness and perfectly chewy center, only to get something flat, greasy, and forgettable? You are not alone. According to a survey by the American Baking Association, nearly 62% of home bakers report that texture is the single most important quality in a chocolate chip cookie , yet getting it right consistently remains elusive.
The secret that professional pastry chefs have been quietly using for years? Brown butter. When you make chewy brown butter chocolate chip cookies , you unlock a whole new layer of toasty, caramel-like depth that regular melted butter simply cannot provide. Combined with the right flour ratio, sugar balance, and chilling technique, these cookies become something truly extraordinary.
In this guide, you will get 7 pro tips that transform your next batch into the chewiest, most flavorful cookies you have ever pulled from the oven. Whether you are a first-time baker or a seasoned pro, these insights will level up your cookie game permanently.
Ingredients

These ingredients come together to create the ideal chewy brown butter chocolate chip cookies . Every element plays a role, so read the substitution notes carefully if you need to adapt.
- 2 1/4 cups (280g) all-purpose flour
- 1 cup (225g) unsalted butter, for browning
- 3/4 cup (150g) granulated white sugar
- 3/4 cup (165g) packed dark brown sugar
- 2 large eggs plus 1 egg yolk, at room temperature
- 2 teaspoons pure vanilla extract
- 1 teaspoon baking soda
- 1 teaspoon fine sea salt
- 2 cups (340g) semi-sweet chocolate chips or chopped chocolate
Substitution Notes :
- Butter : European-style butter has a higher fat content and browns more beautifully. Avoid salted butter as it makes the salt level harder to control.
- Flour : For extra chew, swap up to 1/4 cup of the flour with bread flour. Bread flour has more protein, which builds a tighter gluten network.
- Sugar : The dark brown sugar is what drives moisture and that signature chew. Light brown sugar works but reduces depth of flavor.
- Eggs : The extra yolk adds fat and richness without extra water, which keeps the cookies from spreading too thin.
- Chocolate : Use a mix of chips and roughly chopped chocolate bars for uneven pockets of melted chocolate throughout.
Timing
The active hands-on time is surprisingly short. Most of the total time is passive chilling, which does the heavy lifting for that perfectly chewy texture.
Step-by-Step Instructions
Step 1 – Brown the Butter
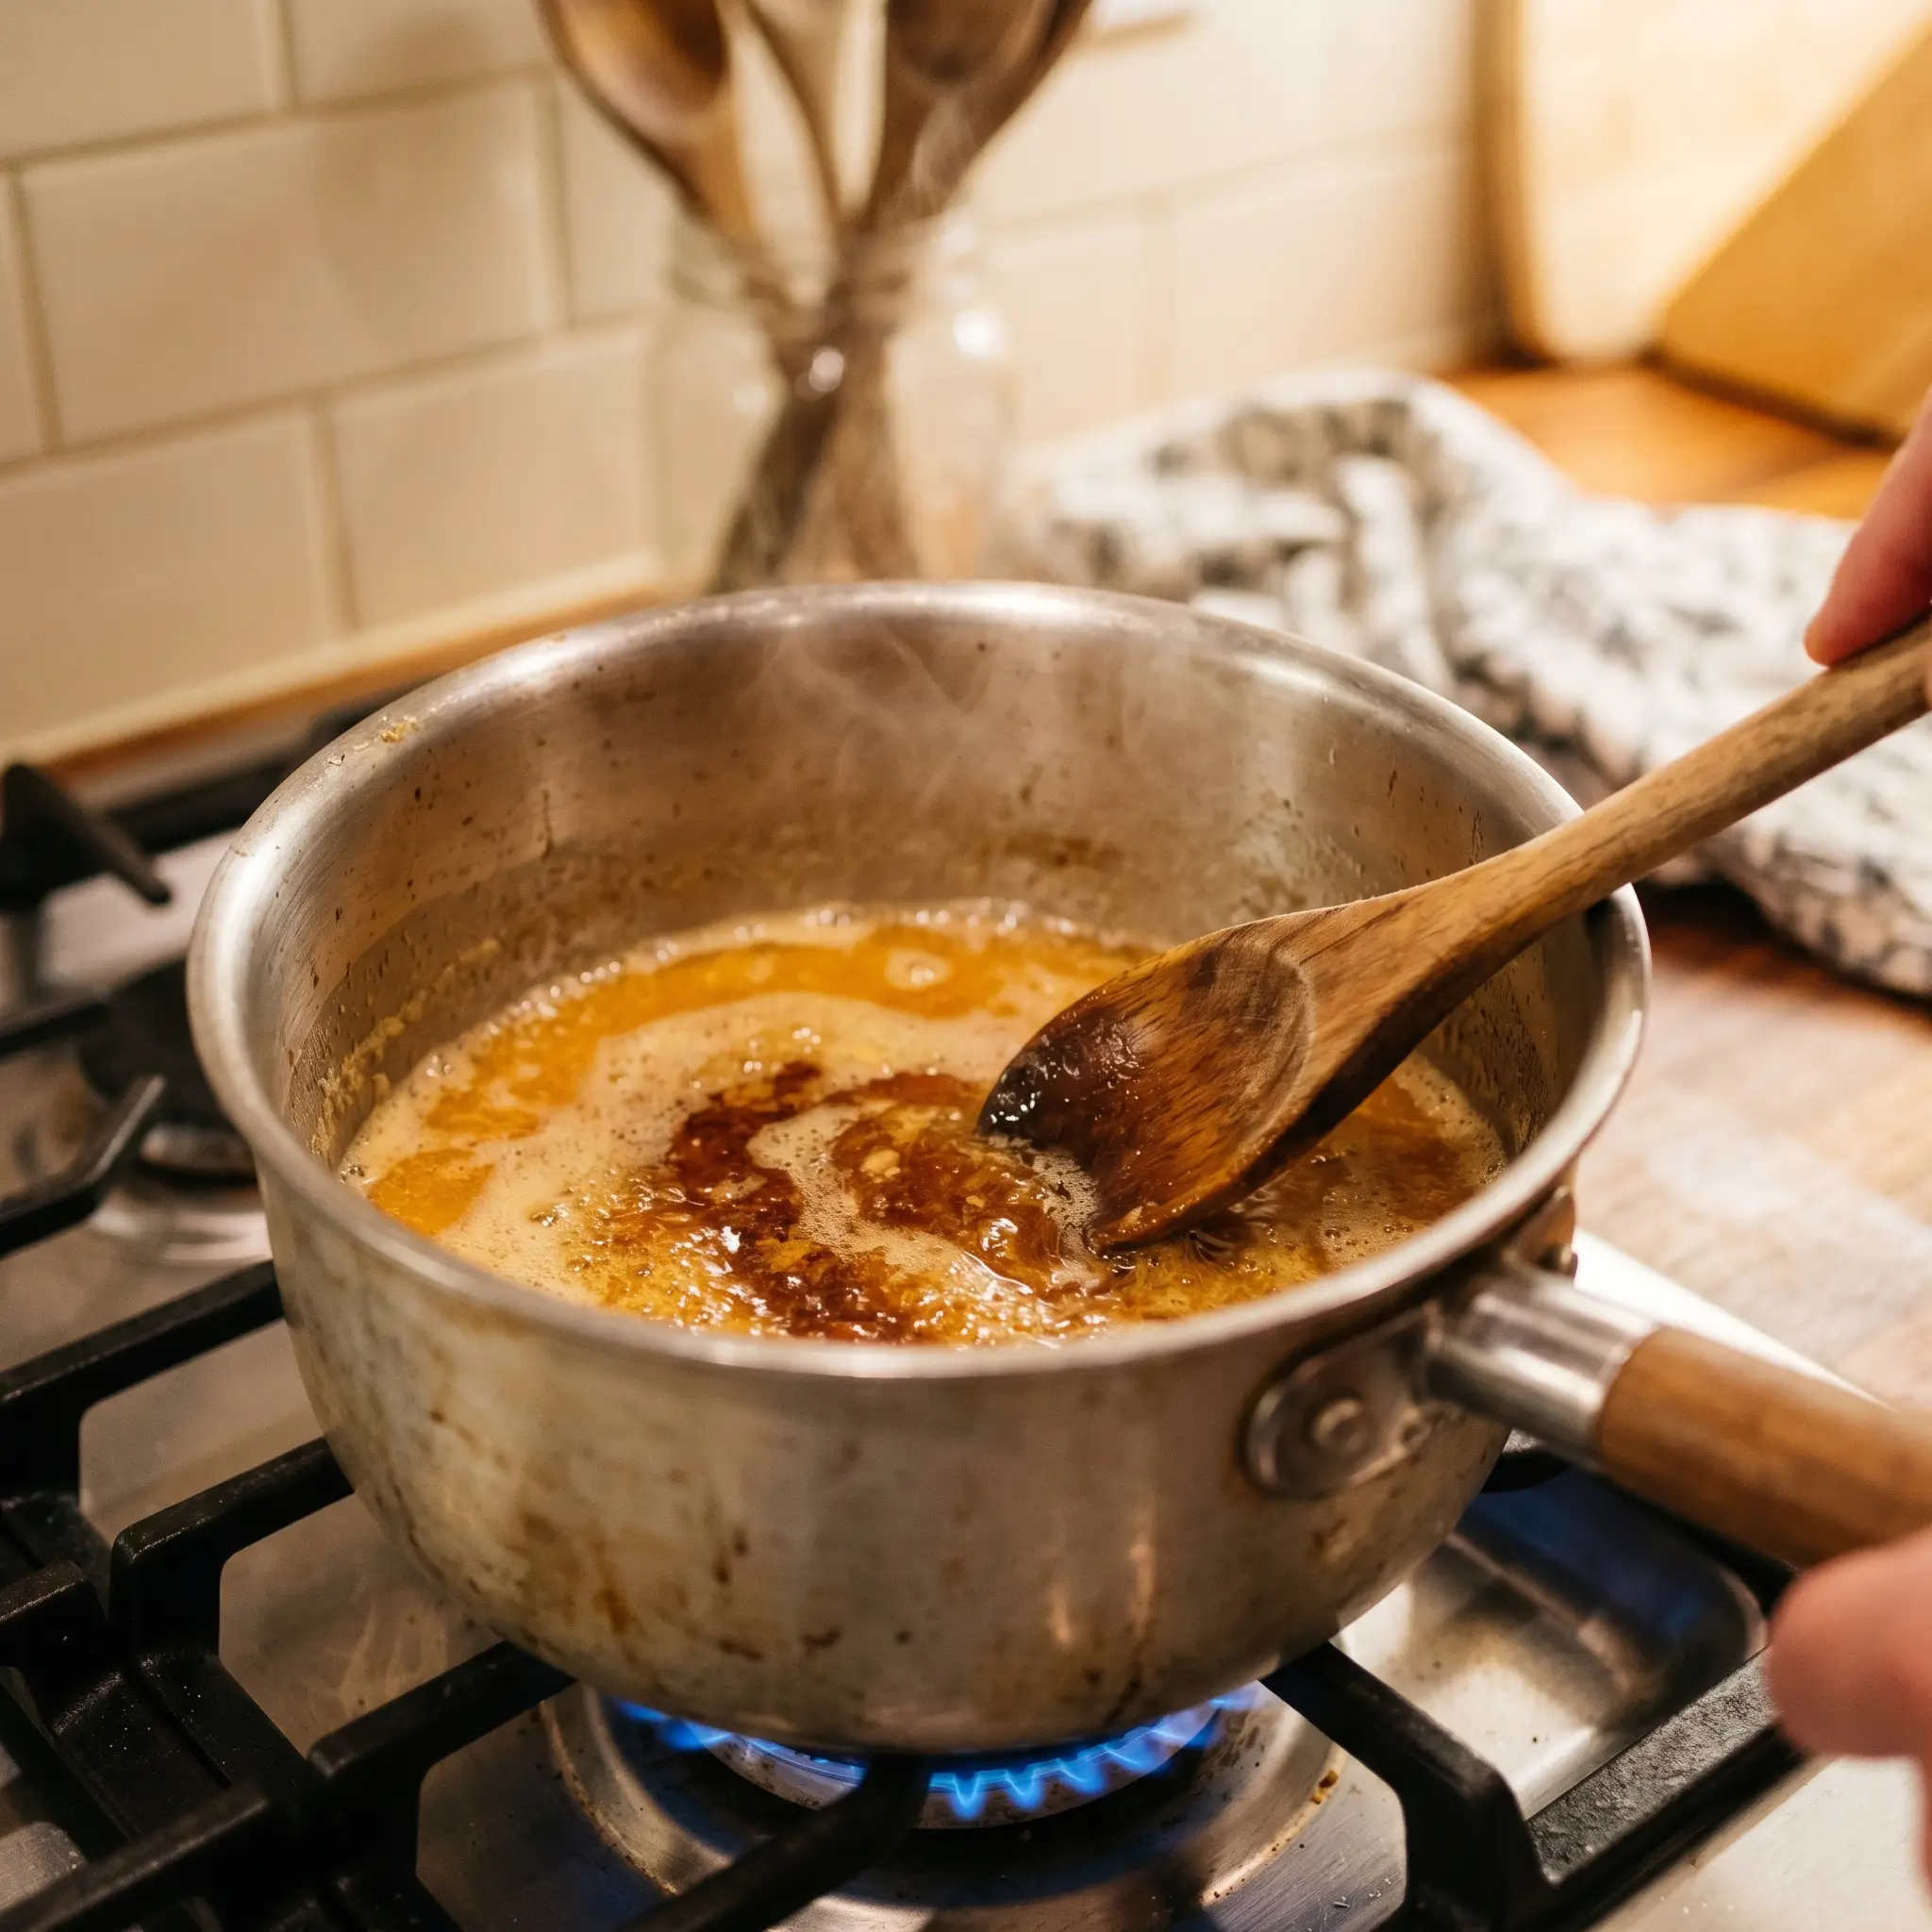
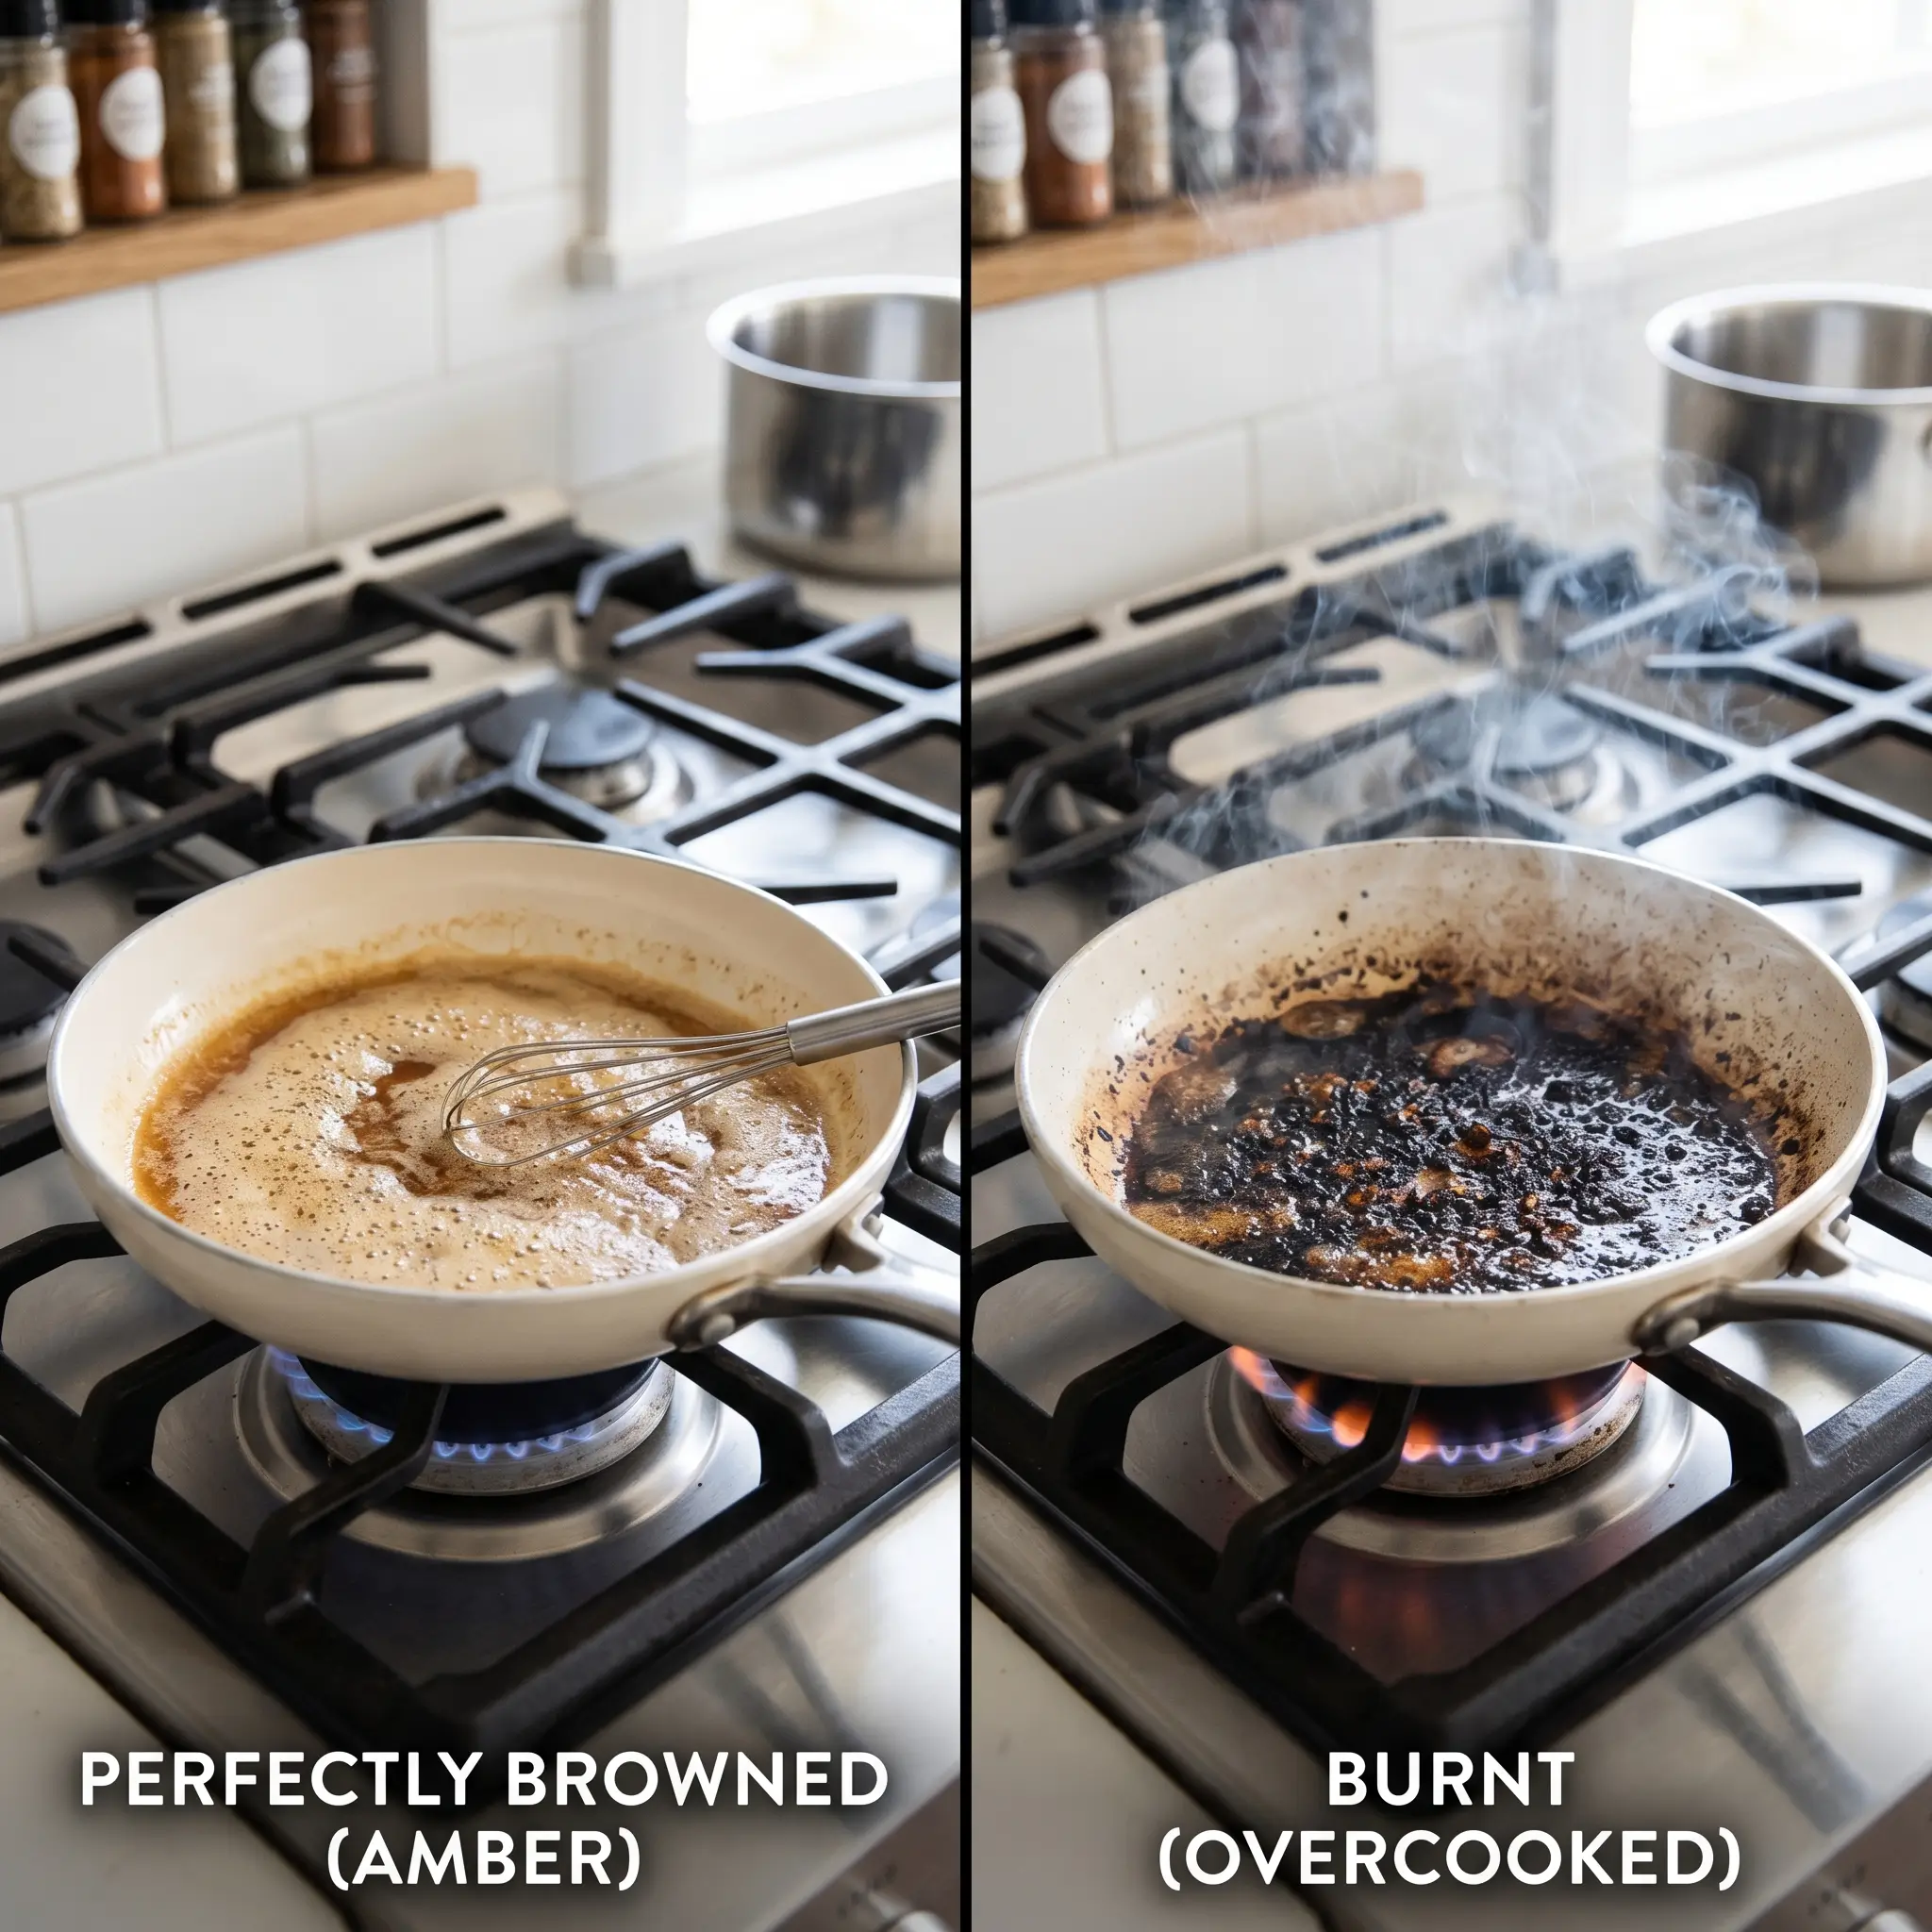
Place your butter in a light-colored saucepan over medium heat. This is important because a light pan lets you monitor the color change accurately. Stir continuously as the butter melts, foams, and then begins to turn golden. You are looking for amber-brown milk solids at the bottom and a nutty, almost popcorn-like aroma. This process takes 5 to 7 minutes. The moment it smells toasty and looks deep golden, pour it immediately into a large mixing bowl to stop the cooking. Do not walk away at this stage because the difference between perfectly browned and burnt butter is about 30 seconds.
Step 2 – Cool and Bloom the Brown Butter
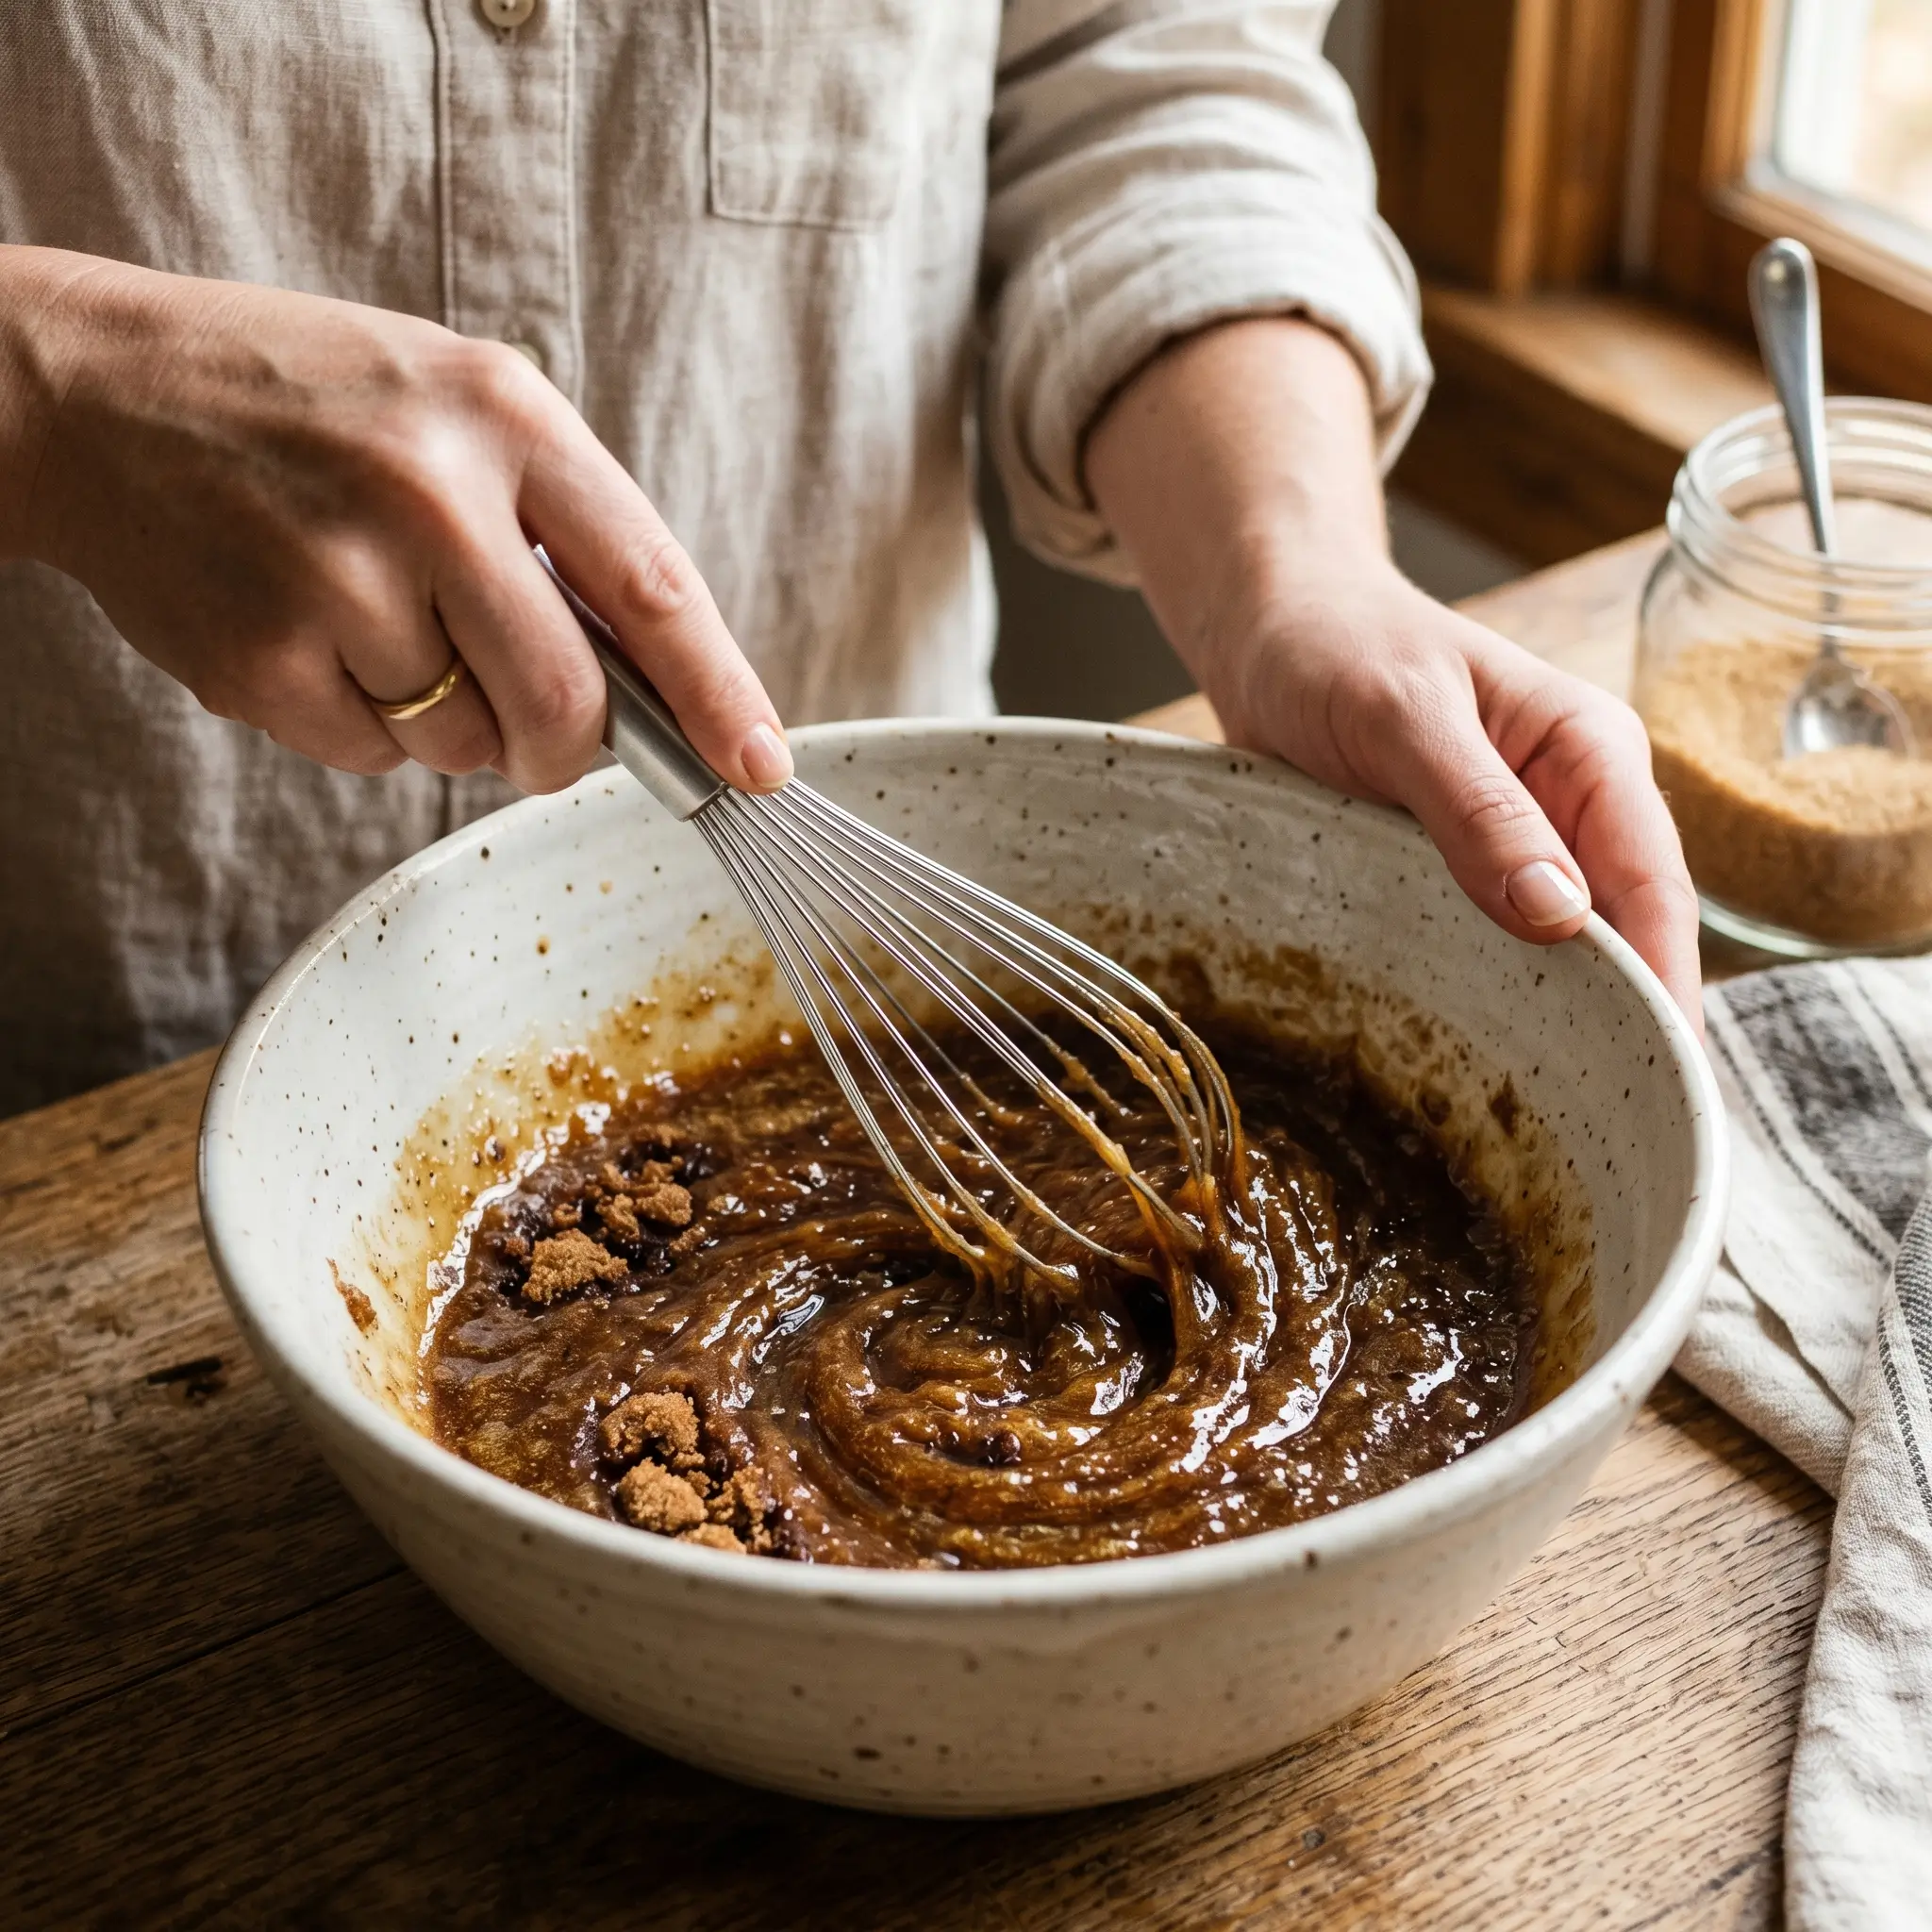
Let the browned butter cool in the mixing bowl for about 10 minutes. It should still be liquid but no longer hot enough to cook the eggs. Add both sugars directly to the warm butter and whisk vigorously for 2 full minutes. This step is often skipped in standard recipes but is one of the 7 pro tips: whisking warm butter and sugar together begins to dissolve the sugar and creates a slightly glossy, almost taffy-like mixture that is the foundation of chewiness.
Step 3 – Add Eggs and Vanilla
Add the two whole eggs and the extra yolk one at a time, whisking well after each addition. Then stir in the vanilla extract. Your mixture should look thick, smooth, and pale. At this point, if you lift your whisk, the batter should fall in a thick ribbon. That ribbon-like consistency tells you the emulsification is correct and your cookies will have the right structure.
Step 4 – Combine Dry Ingredients
In a separate bowl, whisk together the flour, baking soda, and salt. This ensures even distribution of the leavening and prevents salty pockets. Add the dry ingredients to the wet mixture and fold using a rubber spatula, not a mixer. Overmixing activates gluten and makes cookies tough rather than chewy. Stop folding the moment you no longer see streaks of dry flour.
Step 5 – Fold in Chocolate
Fold in the chocolate chips with the same gentle spatula technique. Reserve a small handful to press onto the tops of the dough balls before baking, which gives that bakery-style look with visible chocolate on the surface. The dough at this stage will be soft and somewhat sticky. That is exactly what you want.
Step 6 – Chill the Dough
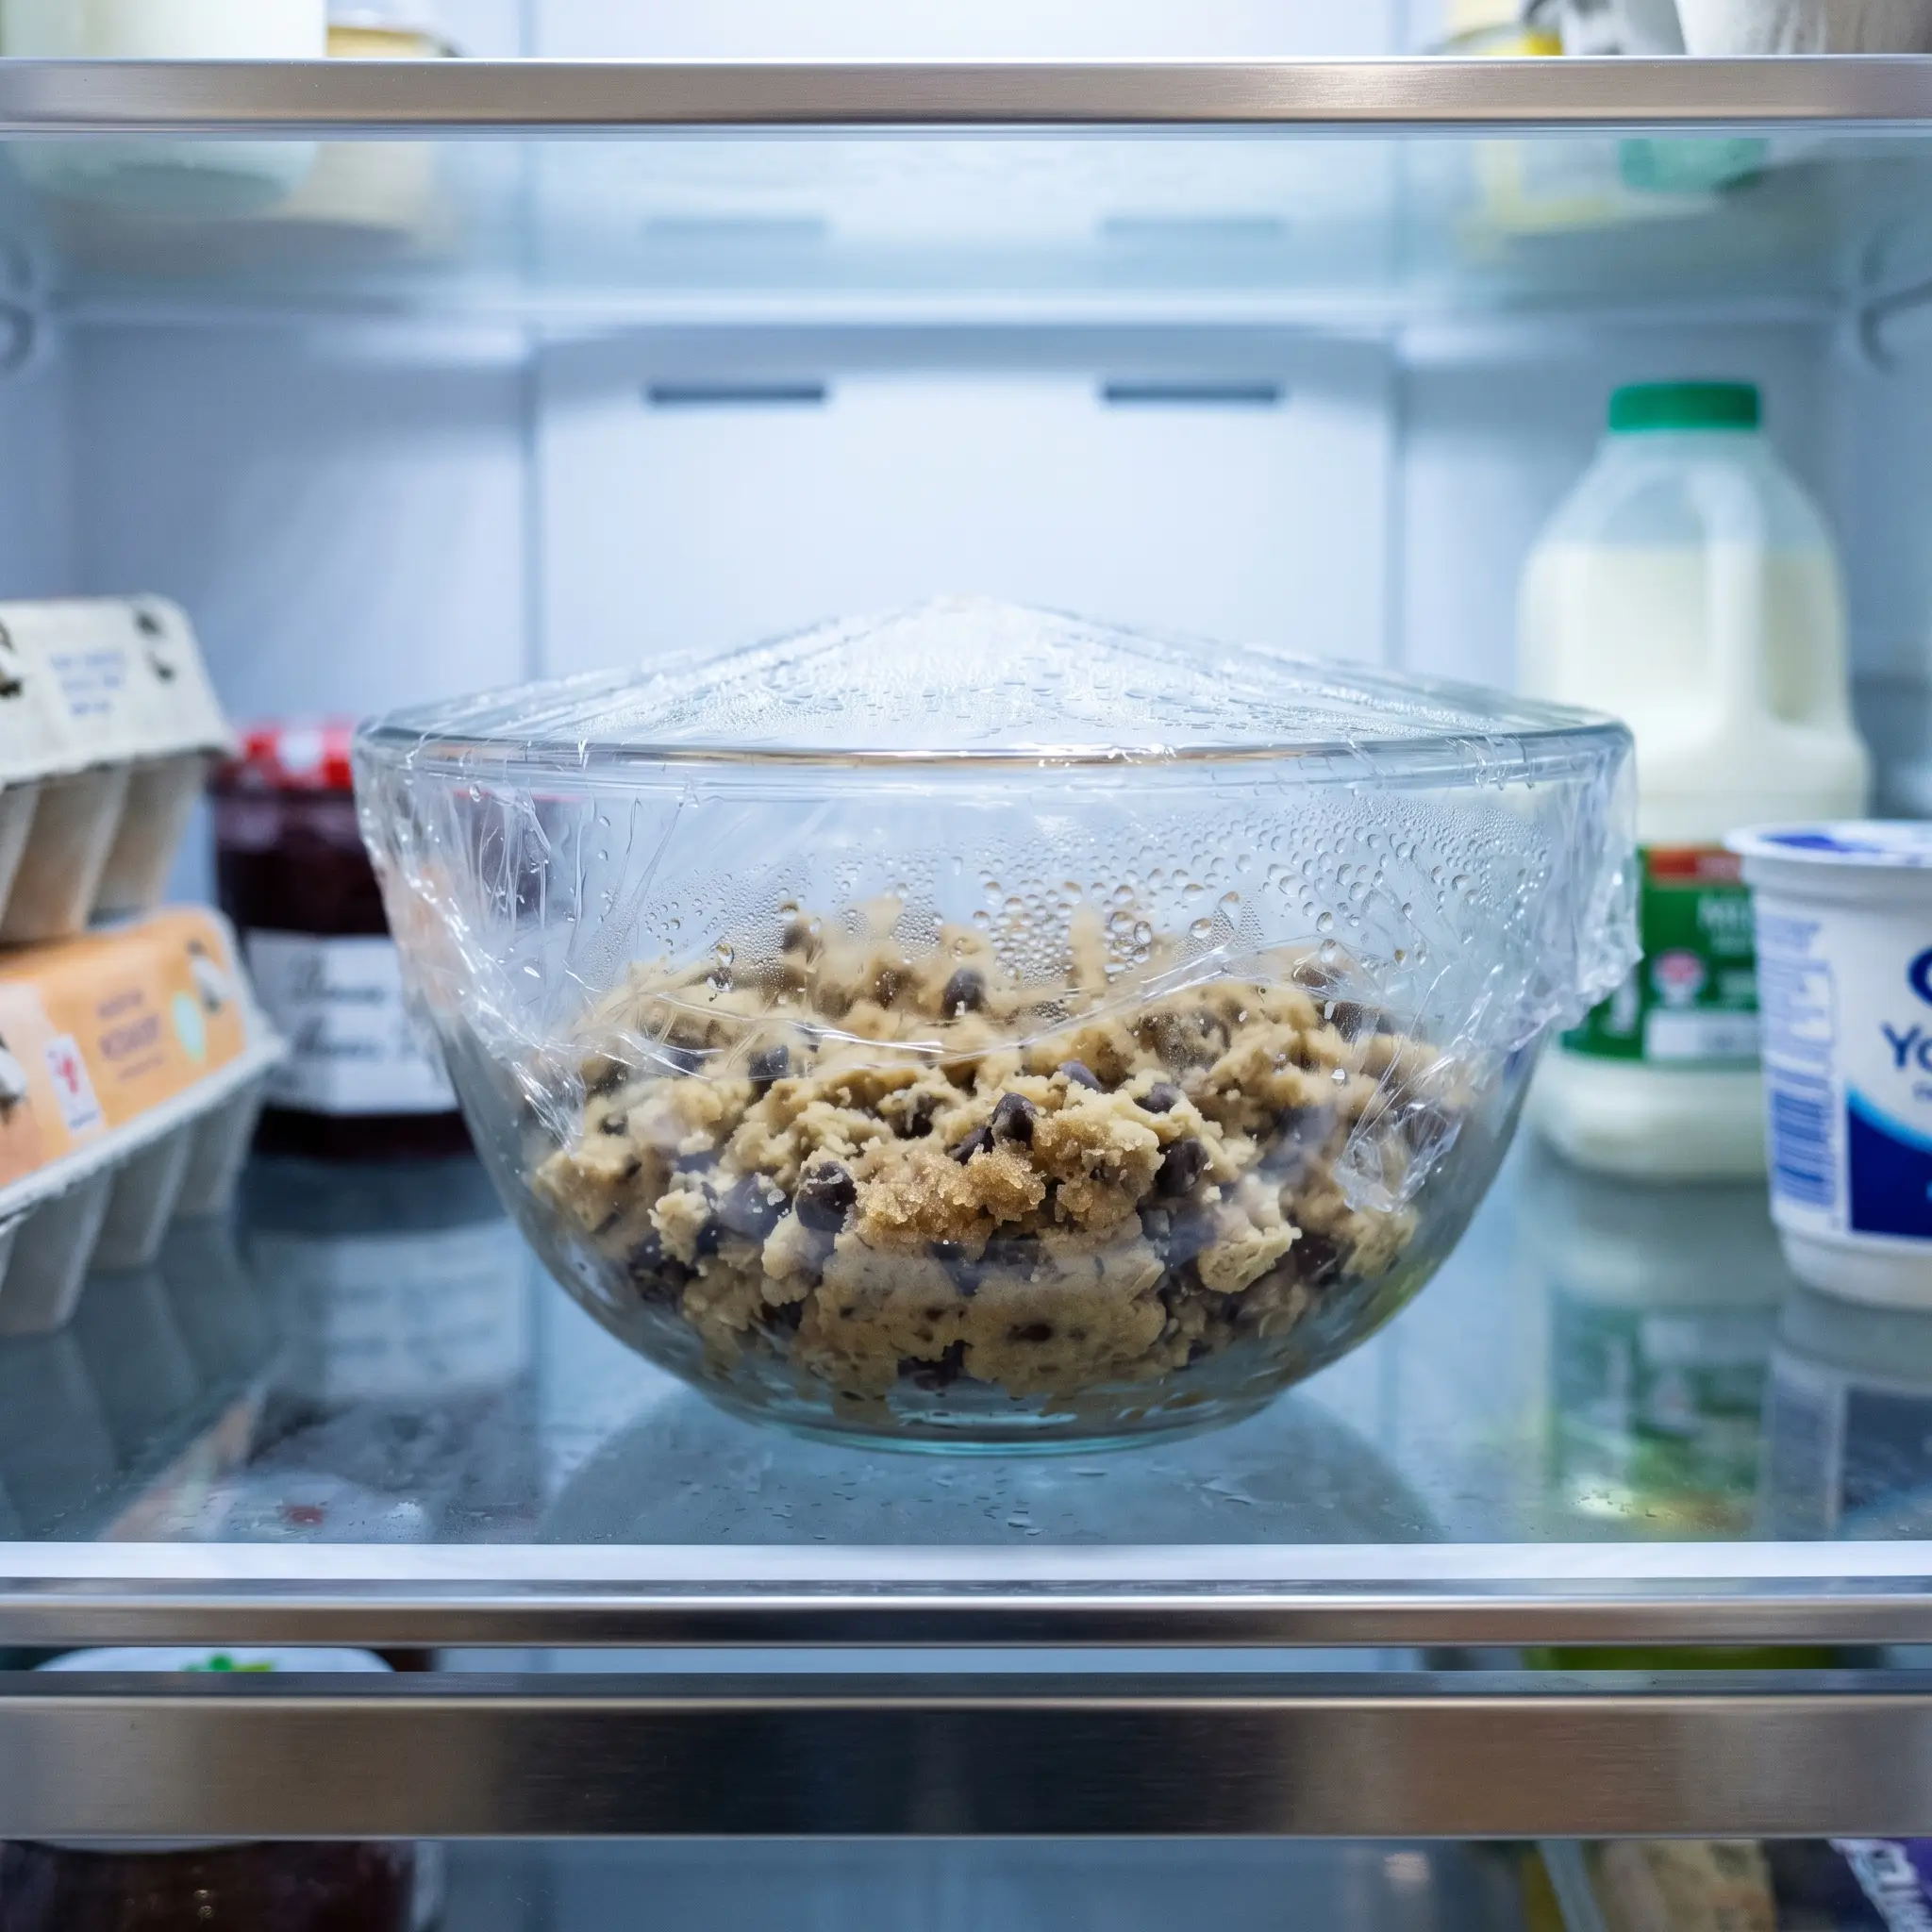
Cover the bowl tightly with plastic wrap and refrigerate for at least 60 minutes, though overnight chilling is strongly recommended. Cold dough spreads more slowly in the oven, which means the outside sets before the inside fully cooks. The result is a thick, gooey center with slightly crisp edges. This chilling step is the single most impactful thing you can do for chewy brown butter chocolate chip cookies.
Step 7 – Bake to Perfection
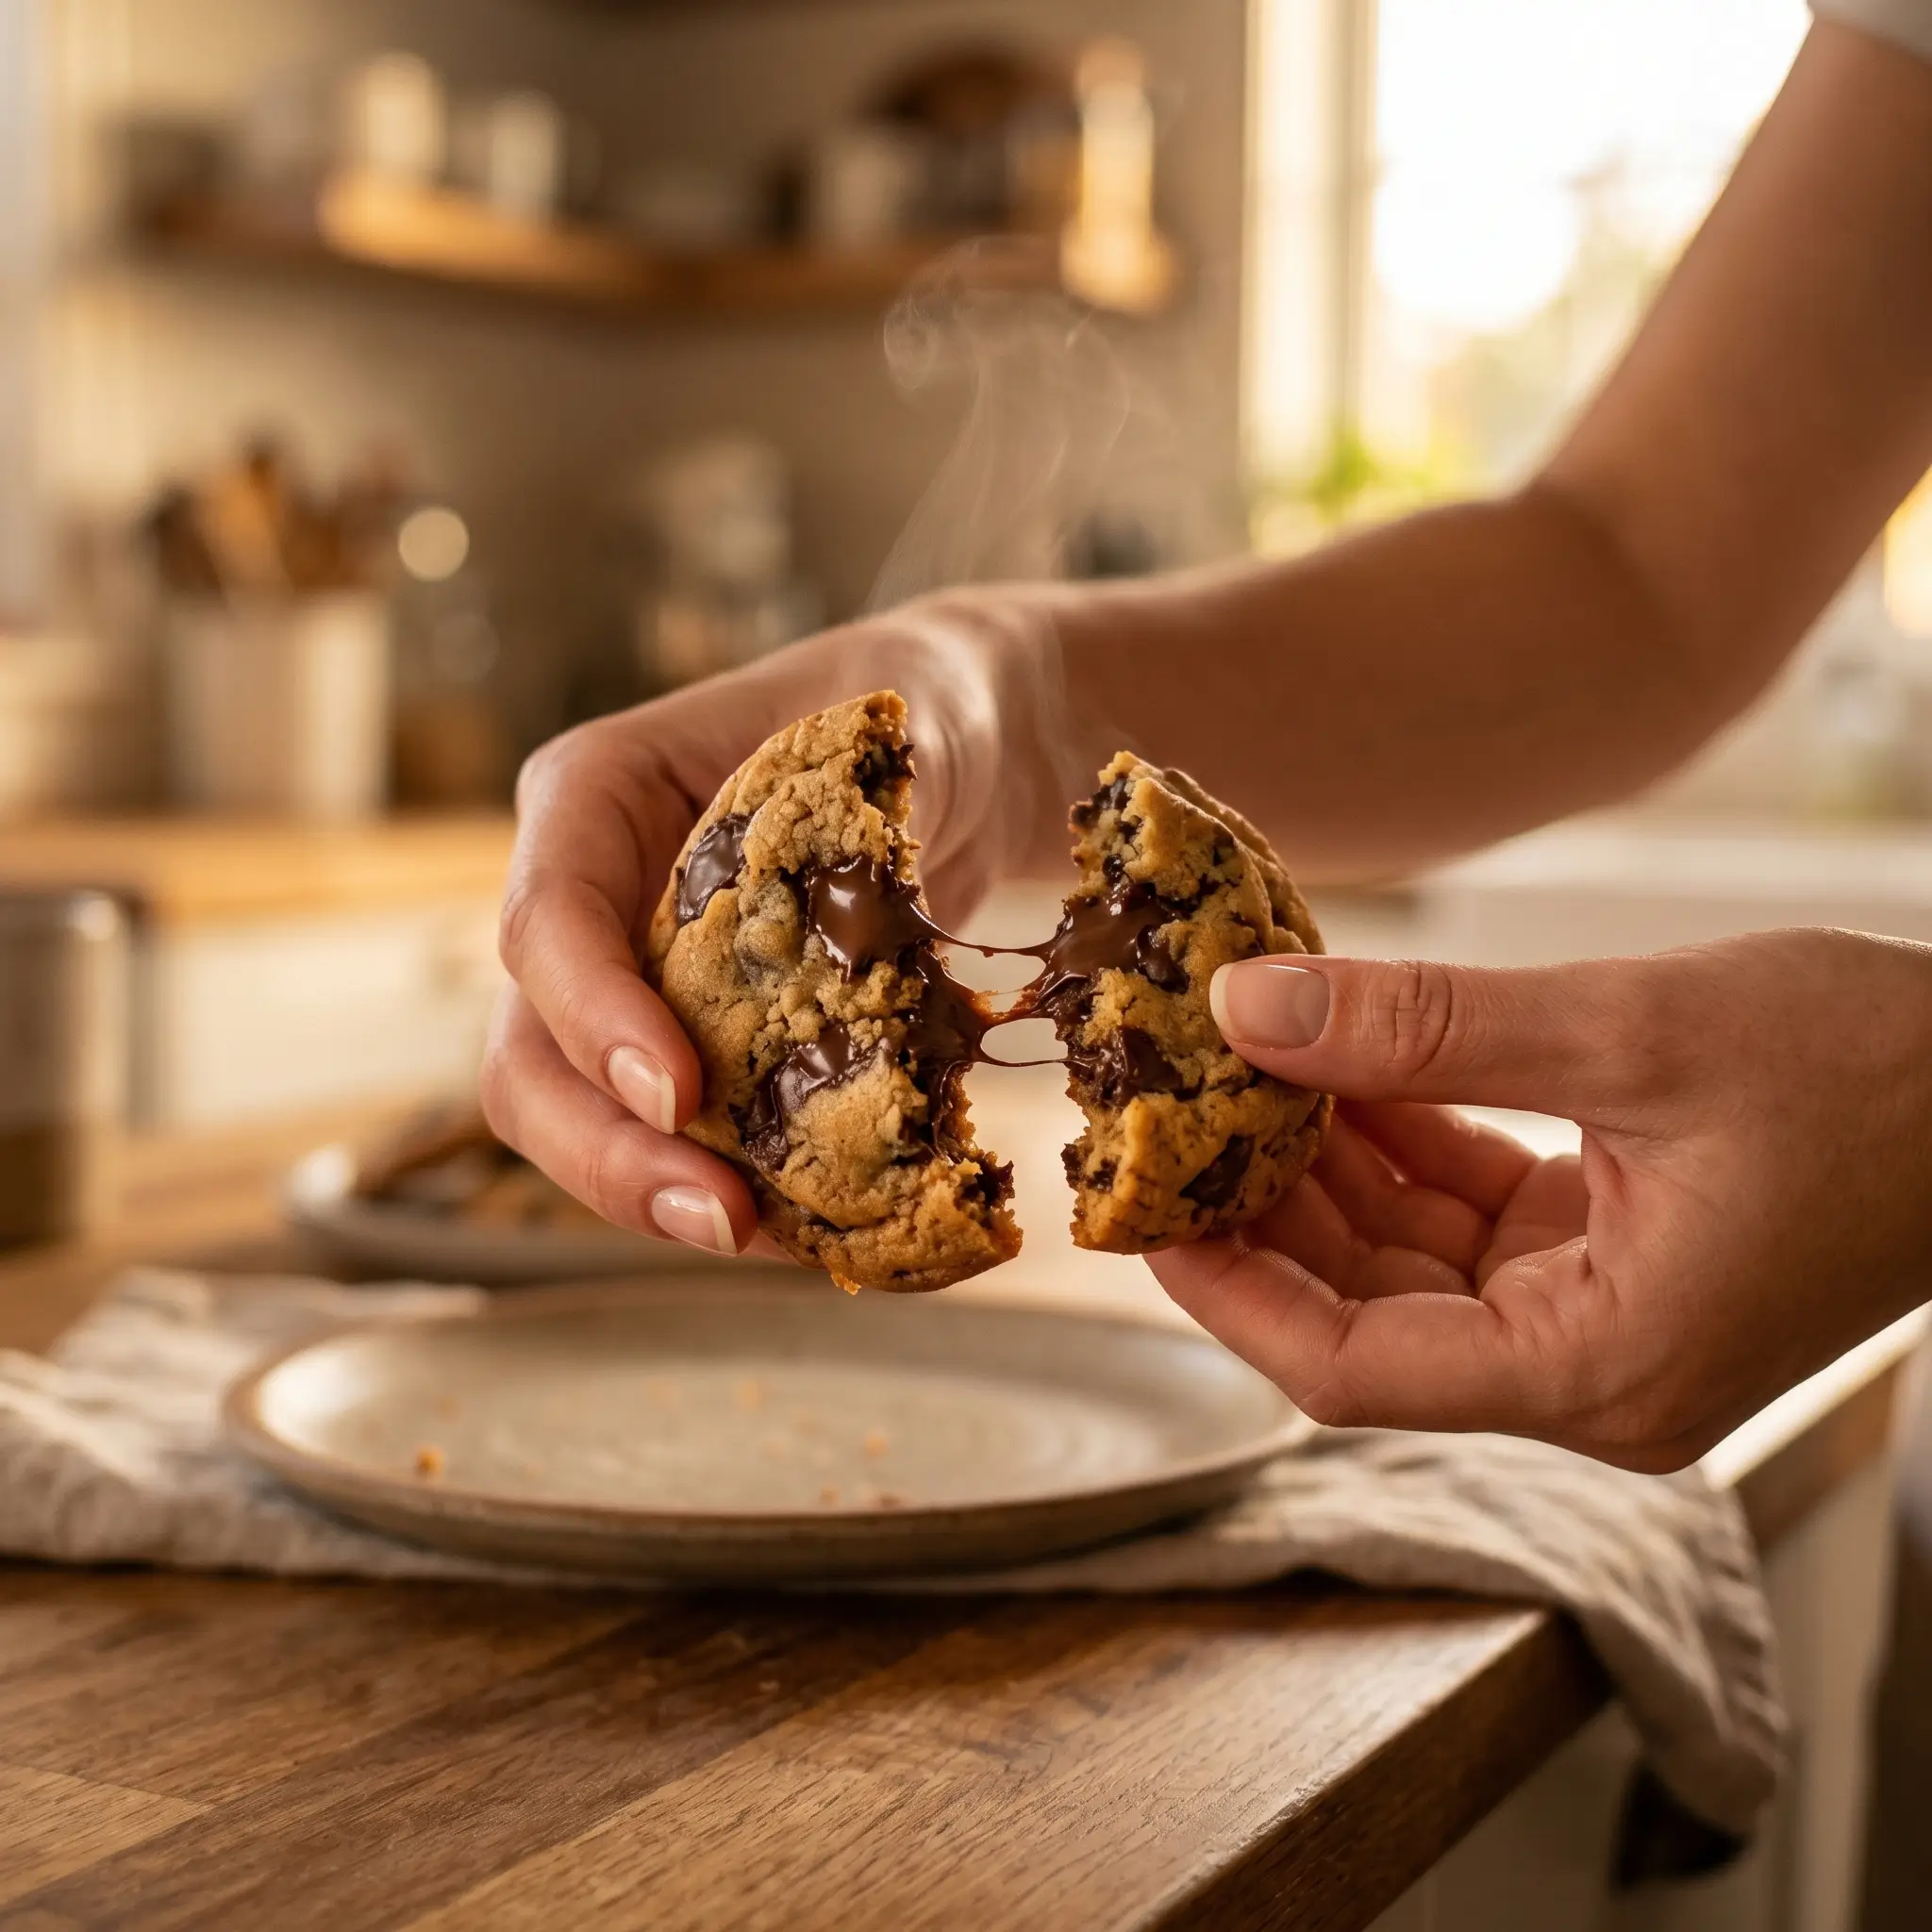
Preheat your oven to 375 degrees Fahrenheit (190 degrees Celsius). Line baking sheets with parchment paper. Scoop dough into balls roughly 3 tablespoons each and place them 3 inches apart. Press a few reserved chocolate chips on top. Bake for 11 to 13 minutes, until the edges are set and lightly golden but the centers still look slightly underdone and puffy. Remove from the oven and immediately bang the pan firmly on the counter once or twice. This deflates the cookies slightly and creates those gorgeous wrinkled, crinkly edges. Let them cool on the pan for 10 minutes before transferring.
Nutritional Information
Approximate values per cookie — based on a batch yield of 24 cookies
Values are approximate and may vary based on specific ingredients and brands used.
Healthier Alternatives for the Recipe
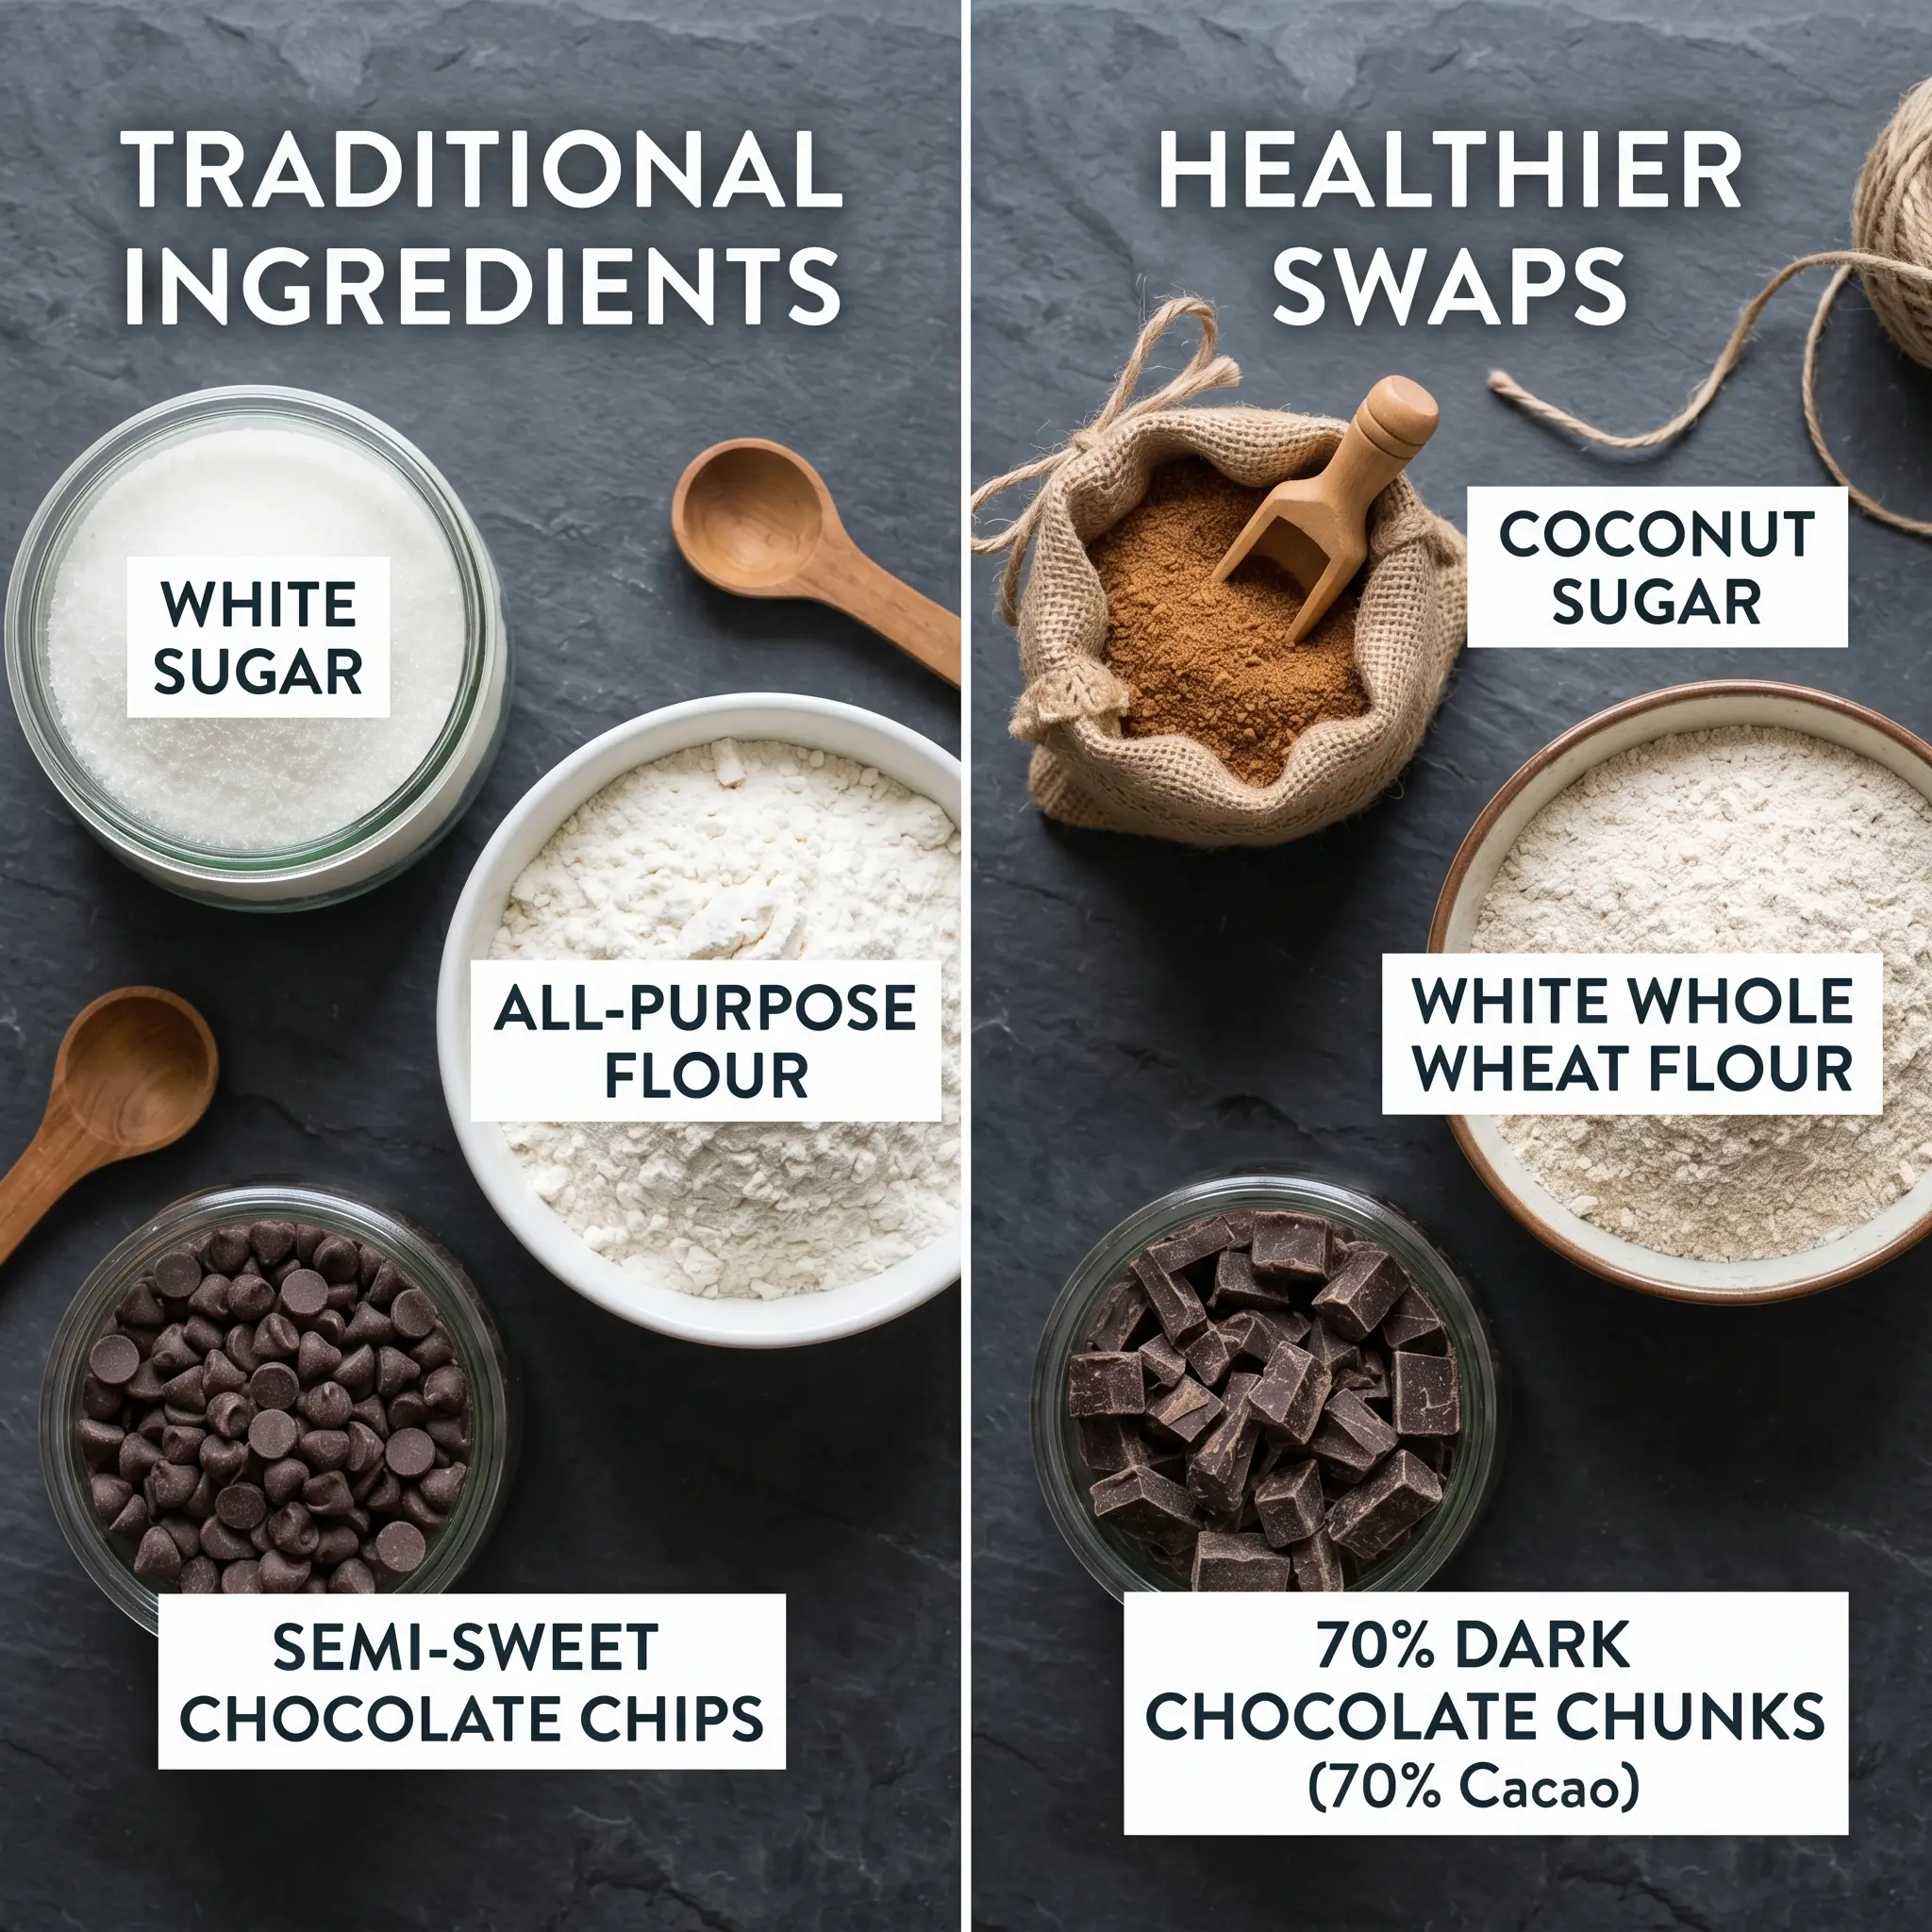
Want to enjoy chewy brown butter chocolate chip cookies with a lighter nutritional profile? These swaps maintain the spirit of the recipe while making meaningful improvements.
- Reduce Sugar by 20% : You can cut up to 1/4 cup of total sugar without dramatically affecting texture. Use coconut sugar as a partial substitute for brown sugar to add trace minerals and a lower glycemic index.
- Whole Wheat Flour Blend : Replace up to half the all-purpose flour with white whole wheat flour. It adds fiber and a very subtle nuttiness that actually complements the brown butter flavor beautifully.
- Dark Chocolate : Swap semi-sweet chips for 70% dark chocolate. Dark chocolate has more antioxidants and less added sugar per serving.
- Reduce Butter : You can replace 2 tablespoons of the browned butter with unsweetened applesauce to cut fat slightly while maintaining moisture.
- Egg Substitute : For an egg-free version, use 1 flax egg (1 tablespoon ground flaxseed plus 3 tablespoons water, rested for 5 minutes) in place of one whole egg. Note that this will slightly reduce chewiness.
- Gluten-Free Option : A 1-to-1 gluten-free flour blend works reasonably well. Add 1/4 teaspoon xanthan gum if your blend does not already include it, to mimic the gluten structure that creates chew.
Serving Suggestions
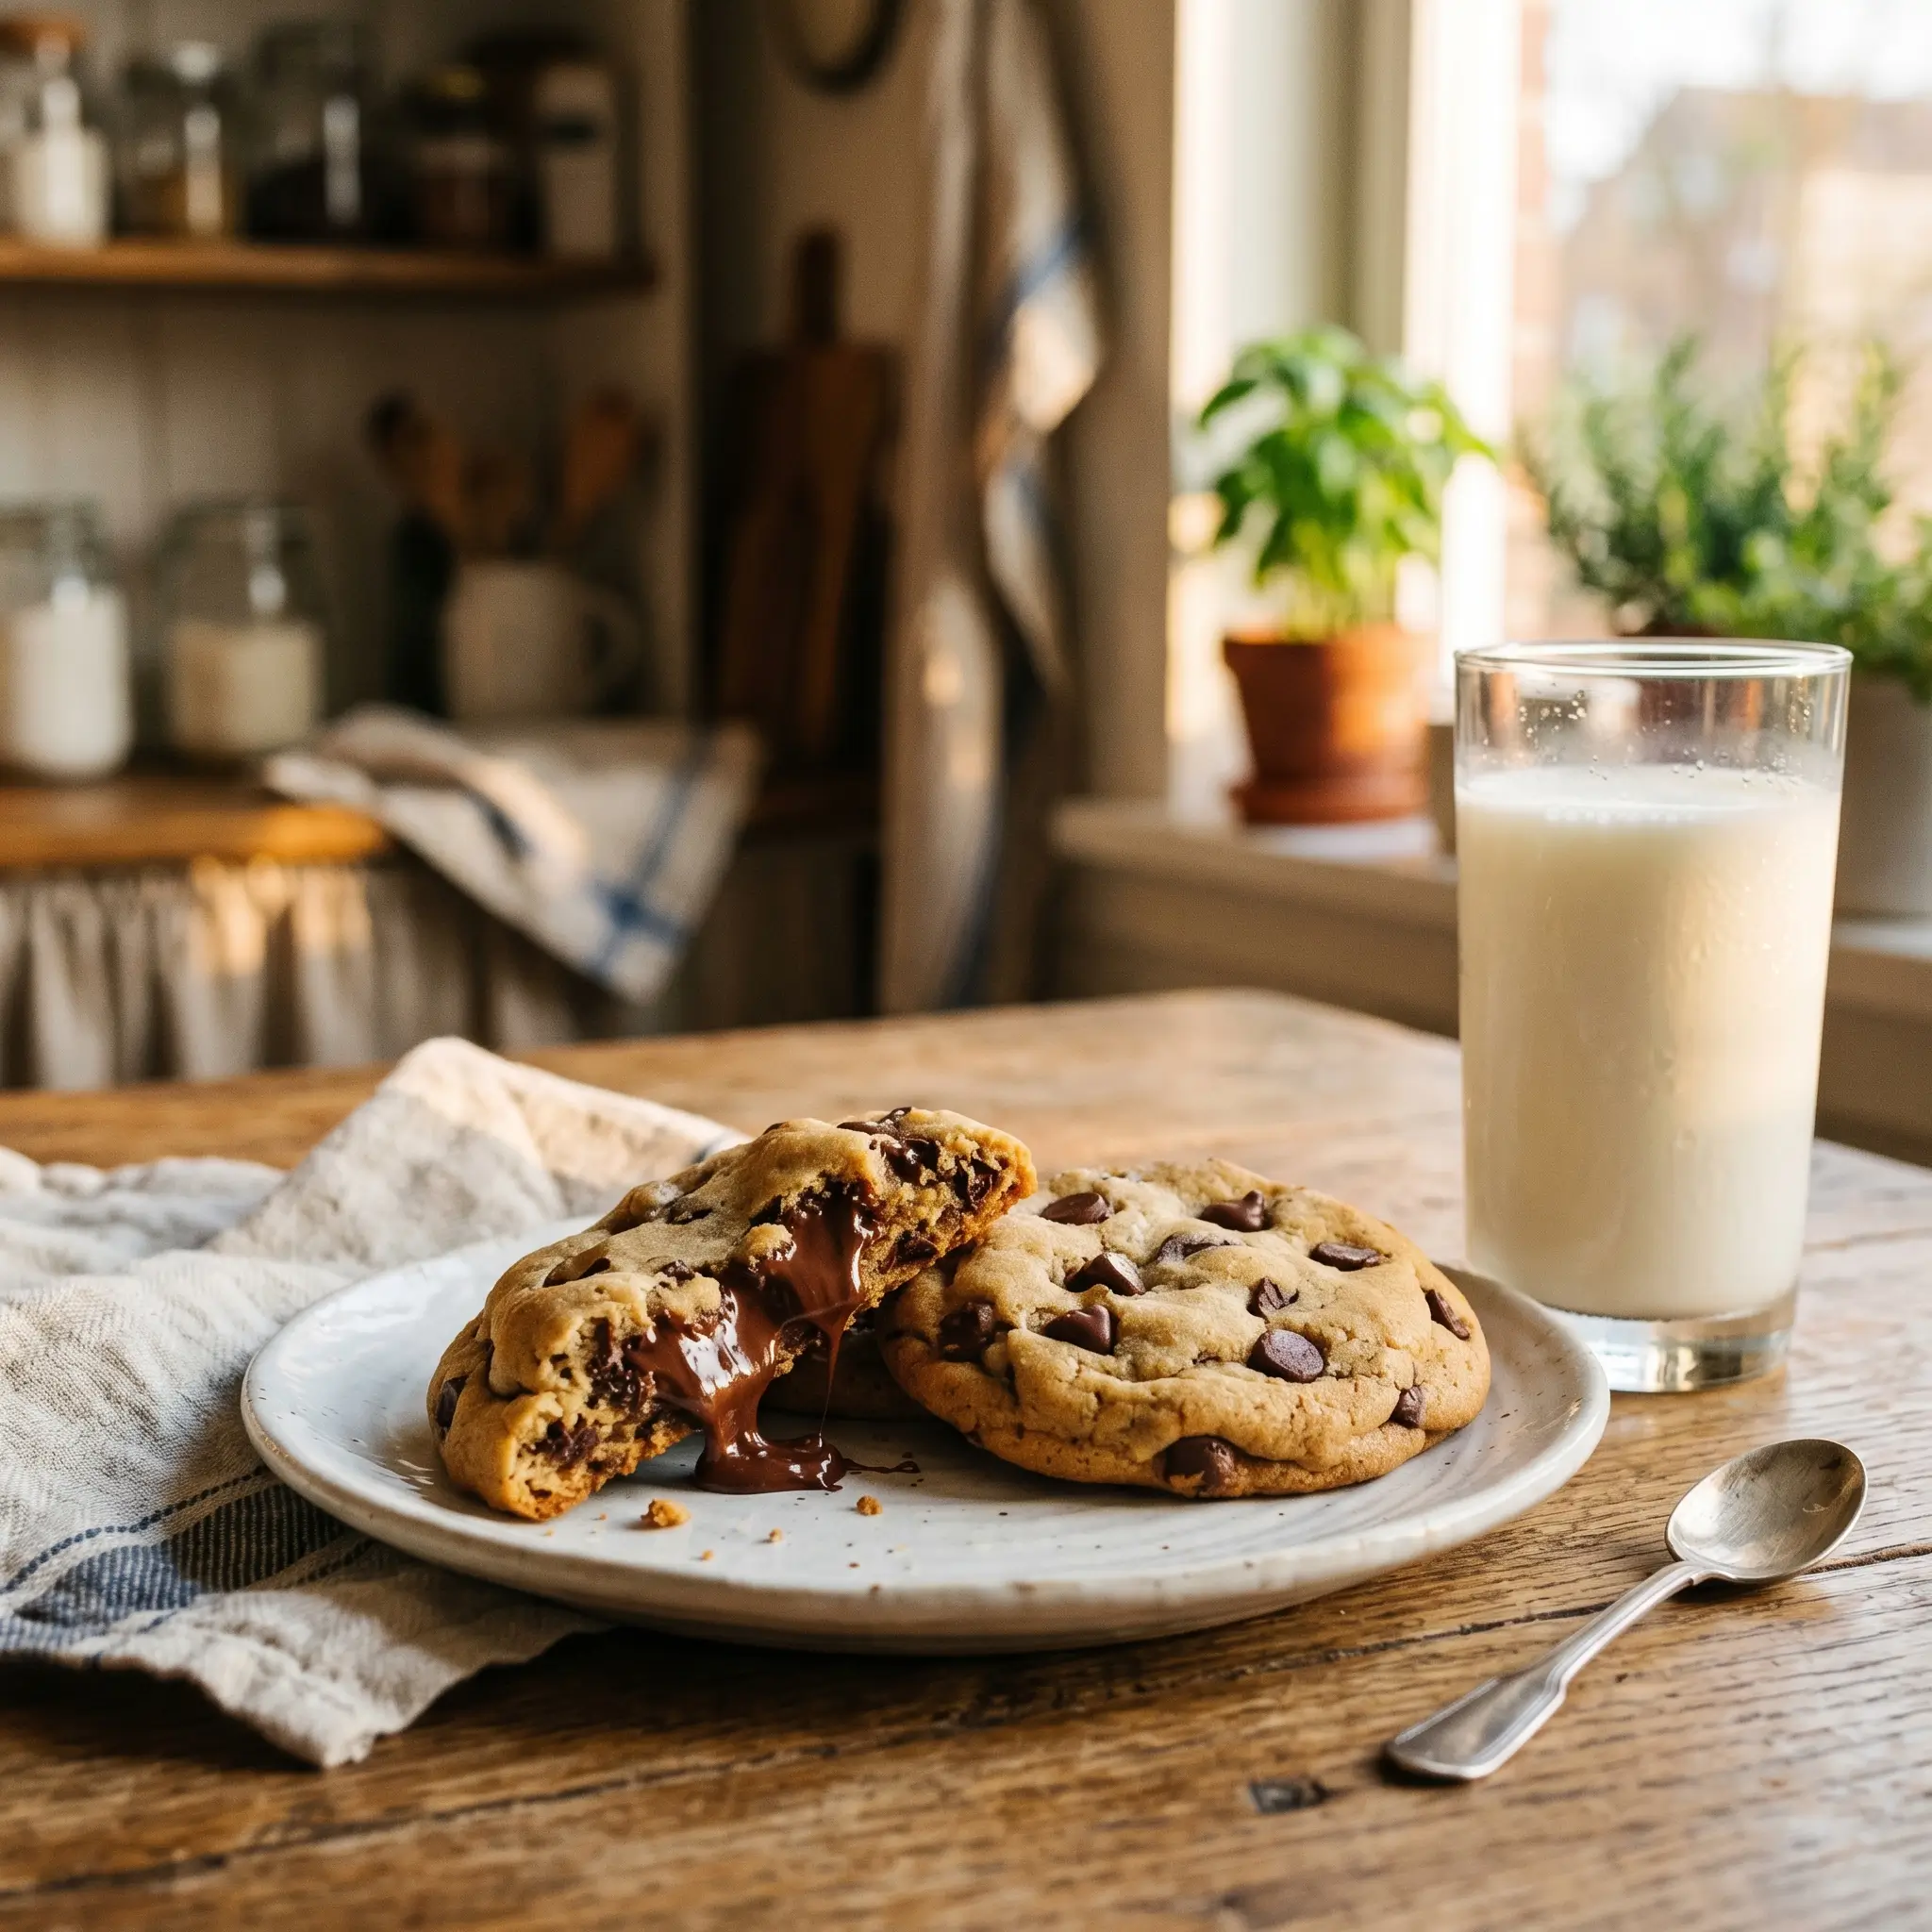
These cookies are magnificent on their own, but the right pairing elevates them from great to unforgettable.
Serve warm with a tall glass of cold whole milk. The fat in the milk cuts through the richness of the brown butter and creates a textural contrast with the gooey chocolate.
Place a scoop of vanilla bean or salted caramel ice cream between two slightly cooled cookies for an elevated dessert that works beautifully at dinner parties.
Party PerfectSprinkle a few flakes of Maldon sea salt over the cookies immediately after they come out of the oven. The salt amplifies the chocolate and caramel notes in the browned butter.
Pro TipPress the dough into a cast iron skillet and bake at 350 degrees Fahrenheit for 20 to 22 minutes for a giant shareable cookie. Serve directly from the pan with a spoon and vanilla ice cream melting on top.
Crowd PleaserThe bitter, roasted notes in a well-pulled espresso are a natural foil for the sweetness in these cookies. Try dunking a corner of the cookie into your morning coffee.
Morning TreatCommon Mistakes to Avoid
Even experienced bakers run into trouble with this recipe. Here are the most frequent pitfalls and exactly how to sidestep them.
The transition from browned to burnt happens fast. Use a light-colored pan, keep the heat at medium, and stir constantly. Pull it off the heat as soon as it turns amber, not dark brown.
This is the most common shortcut bakers take, and it consistently produces flat, greasy cookies. The chilling step is not optional if you want that thick, chewy center.
Cookies continue to bake on the hot pan after you remove them from the oven. Always pull them when the centers look underdone. They will firm up during the 10-minute pan rest.
Cold eggs do not emulsify as well with the butter and sugar. Always bring your eggs to room temperature before mixing, or place them in warm water for 5 minutes if you forgot.
Scooping flour directly from the bag compacts it and can add up to 20% more flour than intended. Always spoon flour into your measuring cup and level it off, or better yet, use a kitchen scale.
That pan bang after baking is not a gimmick. It deflates air pockets and creates the chewy, dense center that defines a great chocolate chip cookie. Do not skip it.
Storing Tips for the Recipe
Proper storage is what separates cookies that taste amazing on day one from cookies that stay soft and delicious for days.
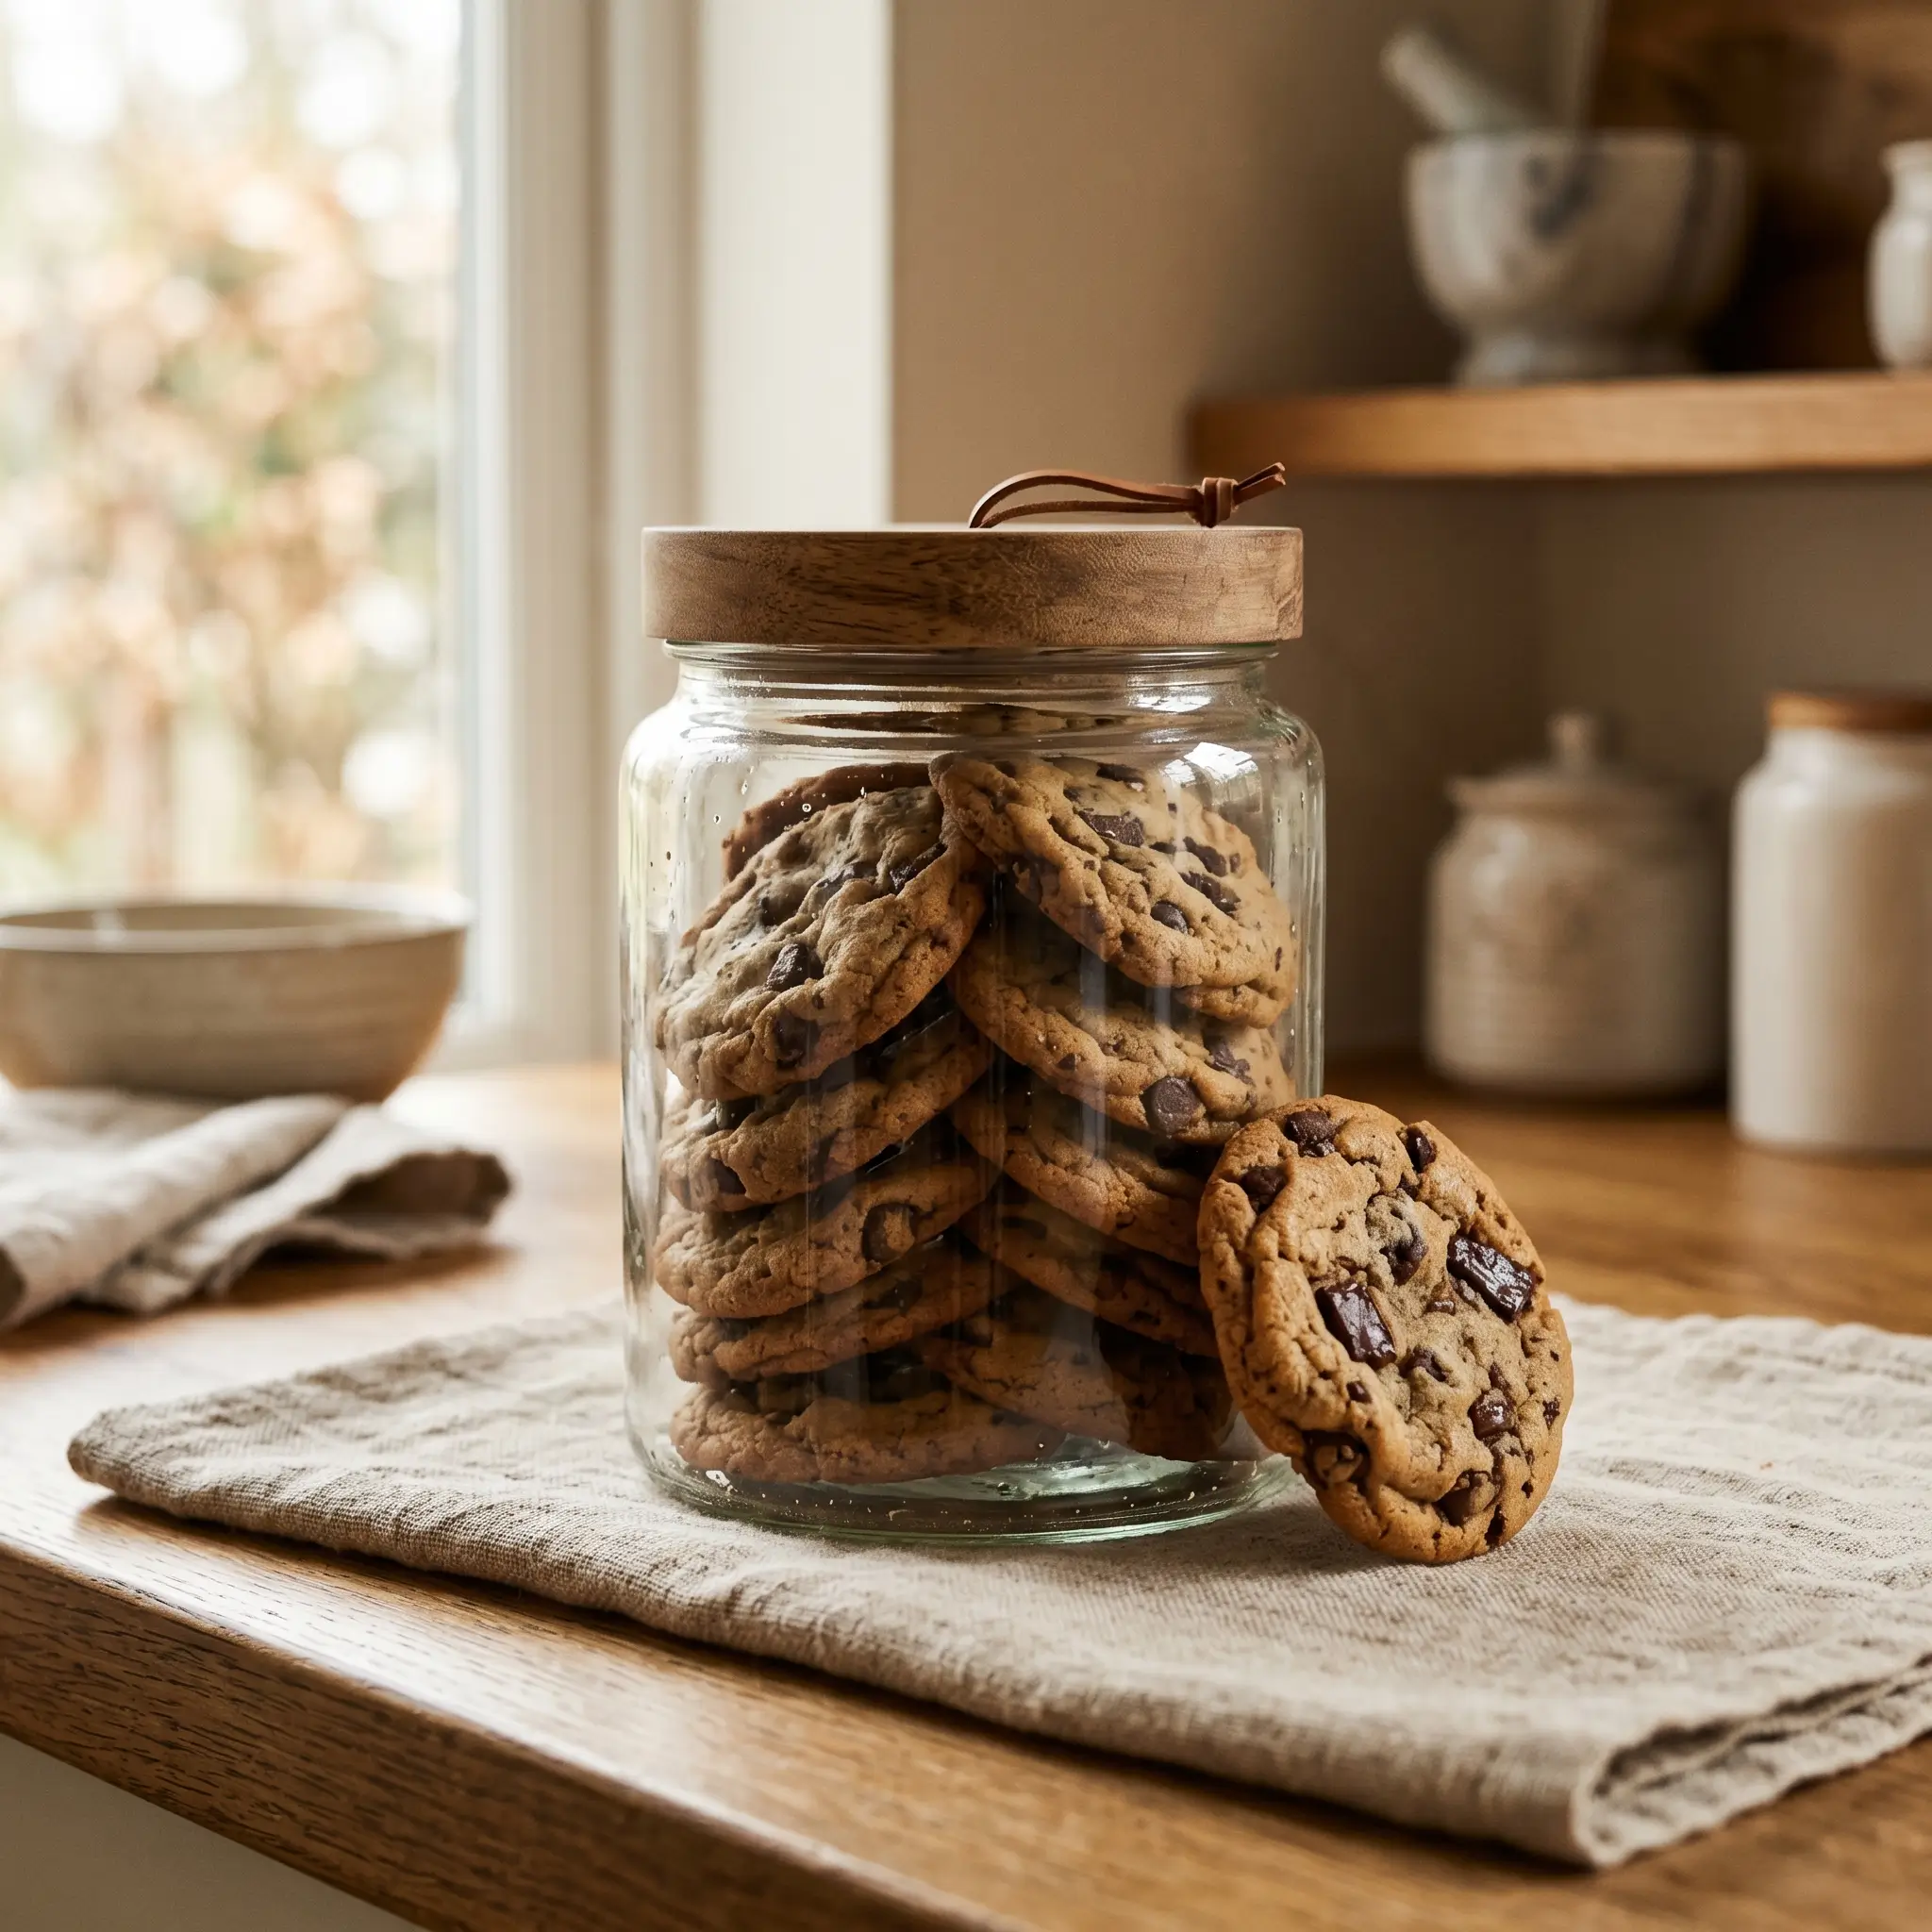
Store baked cookies in an airtight container at room temperature for up to 5 days. Place a slice of sandwich bread in the container. The bread releases moisture that keeps cookies soft as they absorb it.
Arrange cooled cookies on a sheet pan and freeze until solid, about 1 hour. Transfer to a zip-lock freezer bag. They keep for up to 3 months. Reheat in a 300 degree Fahrenheit oven for 5 to 6 minutes.
This is the best option for fresh-baked cookies on demand. Scoop dough into balls and freeze on a sheet pan until firm. Transfer to a freezer bag. Bake from frozen at 375 degrees Fahrenheit, adding 2 to 3 extra minutes to the baking time.
Raw dough keeps in the refrigerator for up to 72 hours before baking. Many bakers find that a 48-hour rest produces the most complex, deeply flavored cookies.
Conclusion
Chewy brown butter chocolate chip cookies are not just a recipe. They are a technique upgrade that changes how you think about baking. By browning the butter, chilling the dough, and paying attention to a handful of key details, you can produce cookies that rival anything from a high-end bakery, right in your own kitchen.
The 7 pro tips in this guide cover everything from the science of browning butter to the reason that pan bang matters. Each one is a deliberate step toward a better cookie, and together they create results that are consistently, repeatably excellent.
Now it is your turn. Pull out a saucepan, start browning that butter, and experience the difference for yourself. When you do, leave a comment below and tell us how your batch turned out. And if you loved this recipe, explore related posts on our site for more elevated takes on classic favorites.
Recipe Card
Chewy Brown Butter Chocolate Chip Cookies
Rich, gooey, and perfectly chewy — every single time.🧈 Ingredients
- 2 1/4 cups all-purpose flour
- 1 cup unsalted butter (browned)
- 3/4 cup granulated sugar
- 3/4 cup packed dark brown sugar
- 2 large eggs plus 1 egg yolk
- 2 tsp vanilla extract
- 1 tsp baking soda
- 1 tsp fine sea salt
- 2 cups semi-sweet chocolate chips
👩🍳 Instructions
- 1 Brown butter in a light pan over medium heat until amber and nutty. Pour into mixing bowl.
- 2 Cool 10 min, then whisk in both sugars for 2 minutes.
- 3 Add eggs one at a time and vanilla. Whisk until ribbon-like.
- 4 Fold in flour mixture until just combined.
- 5 Fold in chocolate chips. Chill dough at least 60 minutes.
- 6 Scoop into 3-tbsp balls, bake at 375F for 11 to 13 minutes.
- 7 Bang pan on counter. Cool on pan 10 minutes before serving.
Frequently Asked Questions
Why do you brown the butter instead of just melting it ?
- Browning butter drives off water content and toasts the milk solids, creating hundreds of new flavor compounds through the Maillard reaction. The result is a nutty, caramel-like depth of flavor that plain melted butter simply cannot replicate. For chewy brown butter chocolate chip cookies specifically, it also slightly reduces moisture, which concentrates the dough and contributes to chewiness.
Can I skip the chilling step if I am short on time ?
- You can bake the dough immediately, but the cookies will spread more and be thinner with crispier edges rather than a thick, gooey center. If you must skip the full chill, aim for at least 30 minutes in the freezer as a compromise.
My butter burned. Can I still use it ?
- No. Burnt butter is bitter and will make the whole batch taste acrid. Start over with fresh butter. The good news is that browning butter only takes about 5 to 7 minutes and you now know exactly what to watch for.
How do I know when the cookies are done baking ?
- The edges should be set and lightly golden while the centers still look puffy and underdone. Trust the visual cue over the timer, as ovens vary. The cookies will firm up significantly during the 10-minute pan rest, so resist the urge to leave them in until they look done.
Can I use salted butter instead of unsalted ?
- You can, but reduce the additional salt in the recipe to 1/2 teaspoon to avoid an overly salty result. The issue with salted butter is inconsistency, since different brands add different amounts of salt, making it harder to control the final flavor.
What is the best way to get bakery-style thick cookies ?
- Three things make the biggest difference: using the extra egg yolk, chilling the dough overnight, and using a mix of bread flour and all-purpose flour. Taller dough balls also help, so do not flatten them before baking.
Can I make the dough ahead and freeze it ?
- Absolutely, and this is one of the most useful aspects of this recipe. Frozen dough balls bake directly from frozen with just 2 to 3 extra minutes added to the baking time. Keep them in a freezer-safe bag for up to 3 months for fresh cookies on demand.
Your Feedback Helps Us Grow!
There are no reviews yet. Be the first one to write one.