Red Velvet Cheesecake Brownies 5 Ways to Make Them Perfect
Table of Contents
Introduction
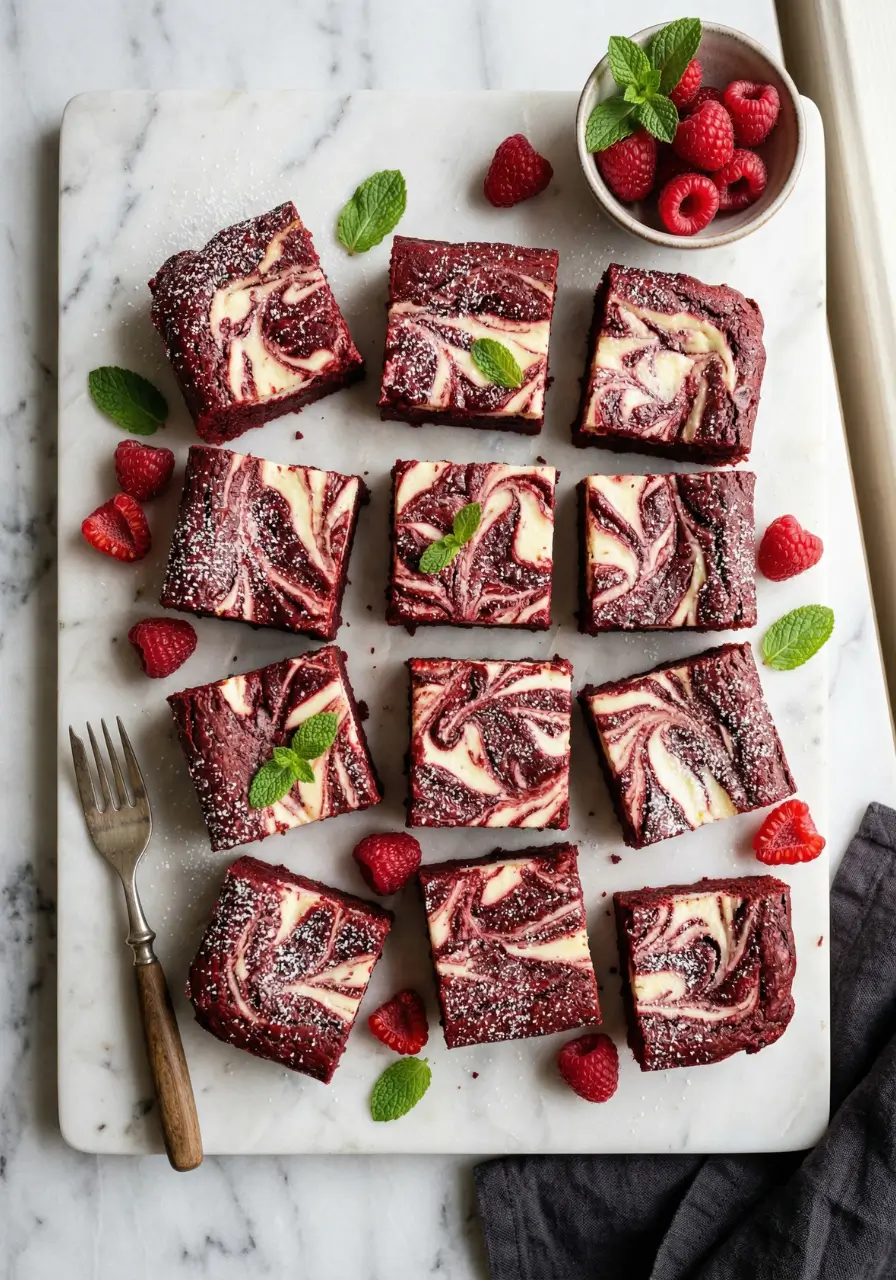
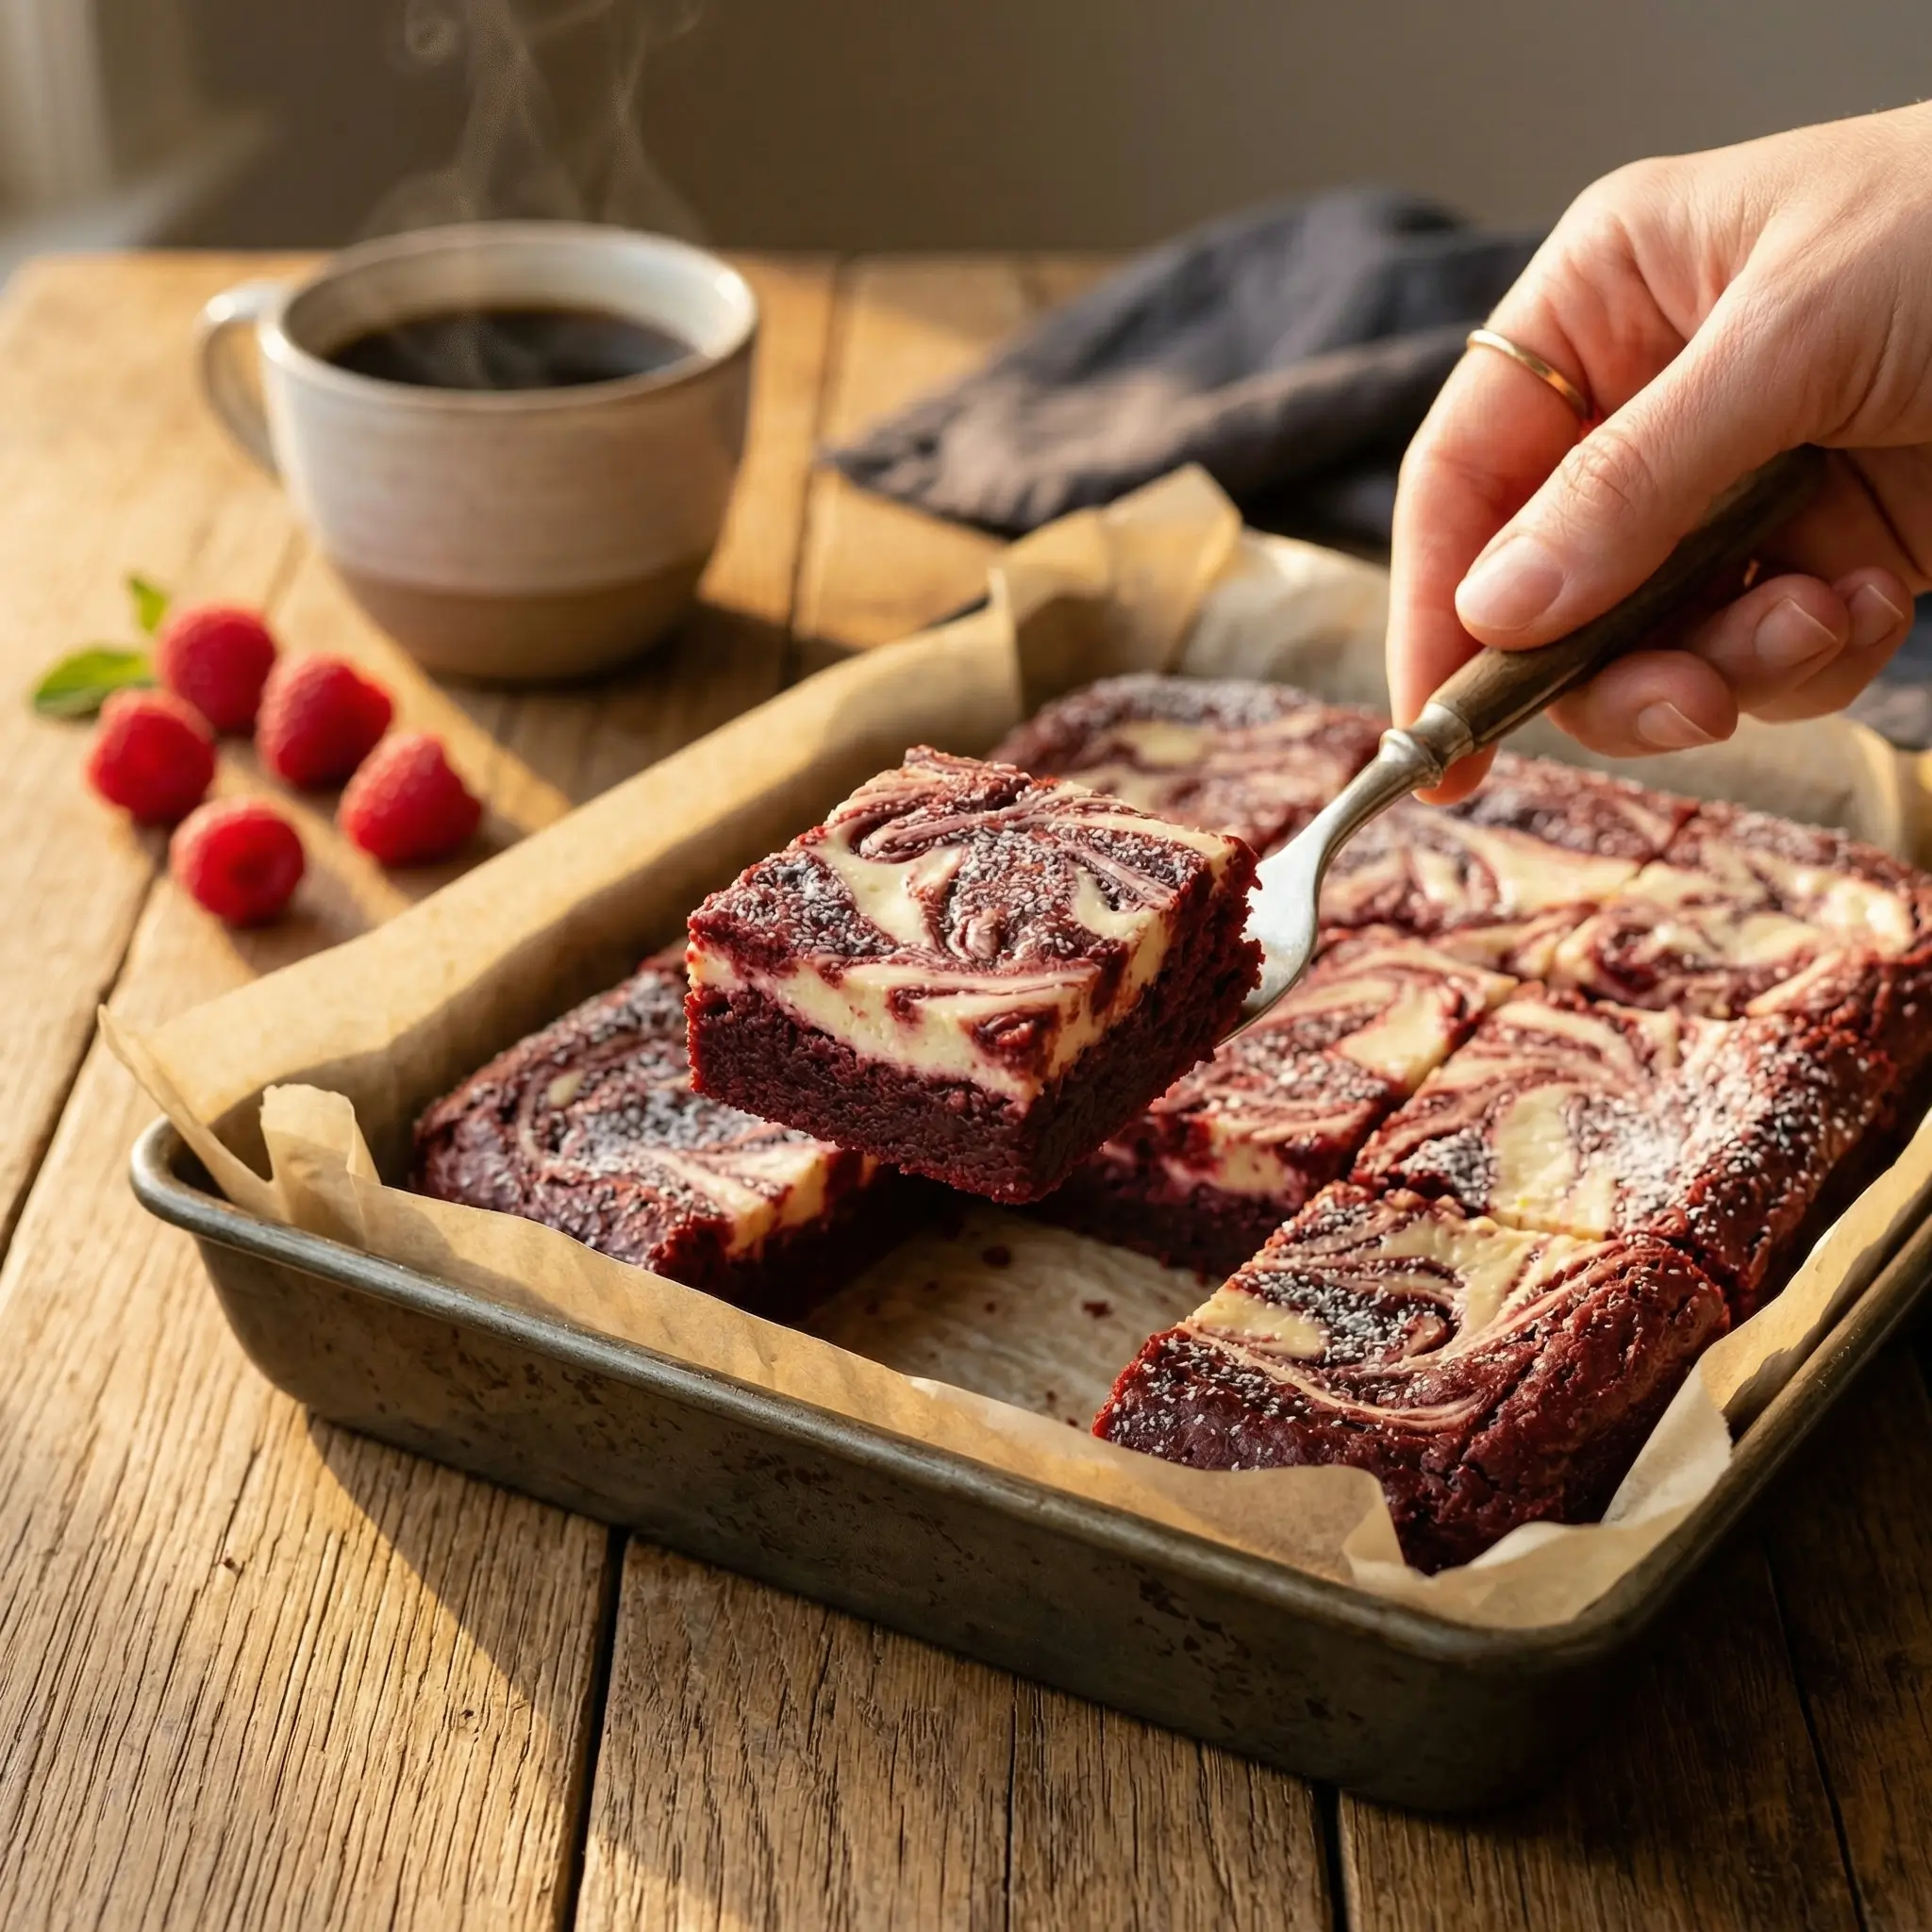
What if you could slice into a dessert so stunning it stops conversation at the table? Red velvet cheesecake brownies do exactly that. With a deep crimson fudgy base and a creamy cheesecake swirl baked right on top, this recipe delivers three beloved classics in one irresistible bar. Studies show that visually striking desserts are 3x more likely to be shared on social media, and it is easy to see why this one keeps going viral. Whether you are baking for a holiday spread, a birthday, or just a Tuesday that deserves something special, these brownies hit every note. This post walks you through 5 proven ways to make red velvet cheesecake brownies absolutely perfect, every single time.
Ingredients
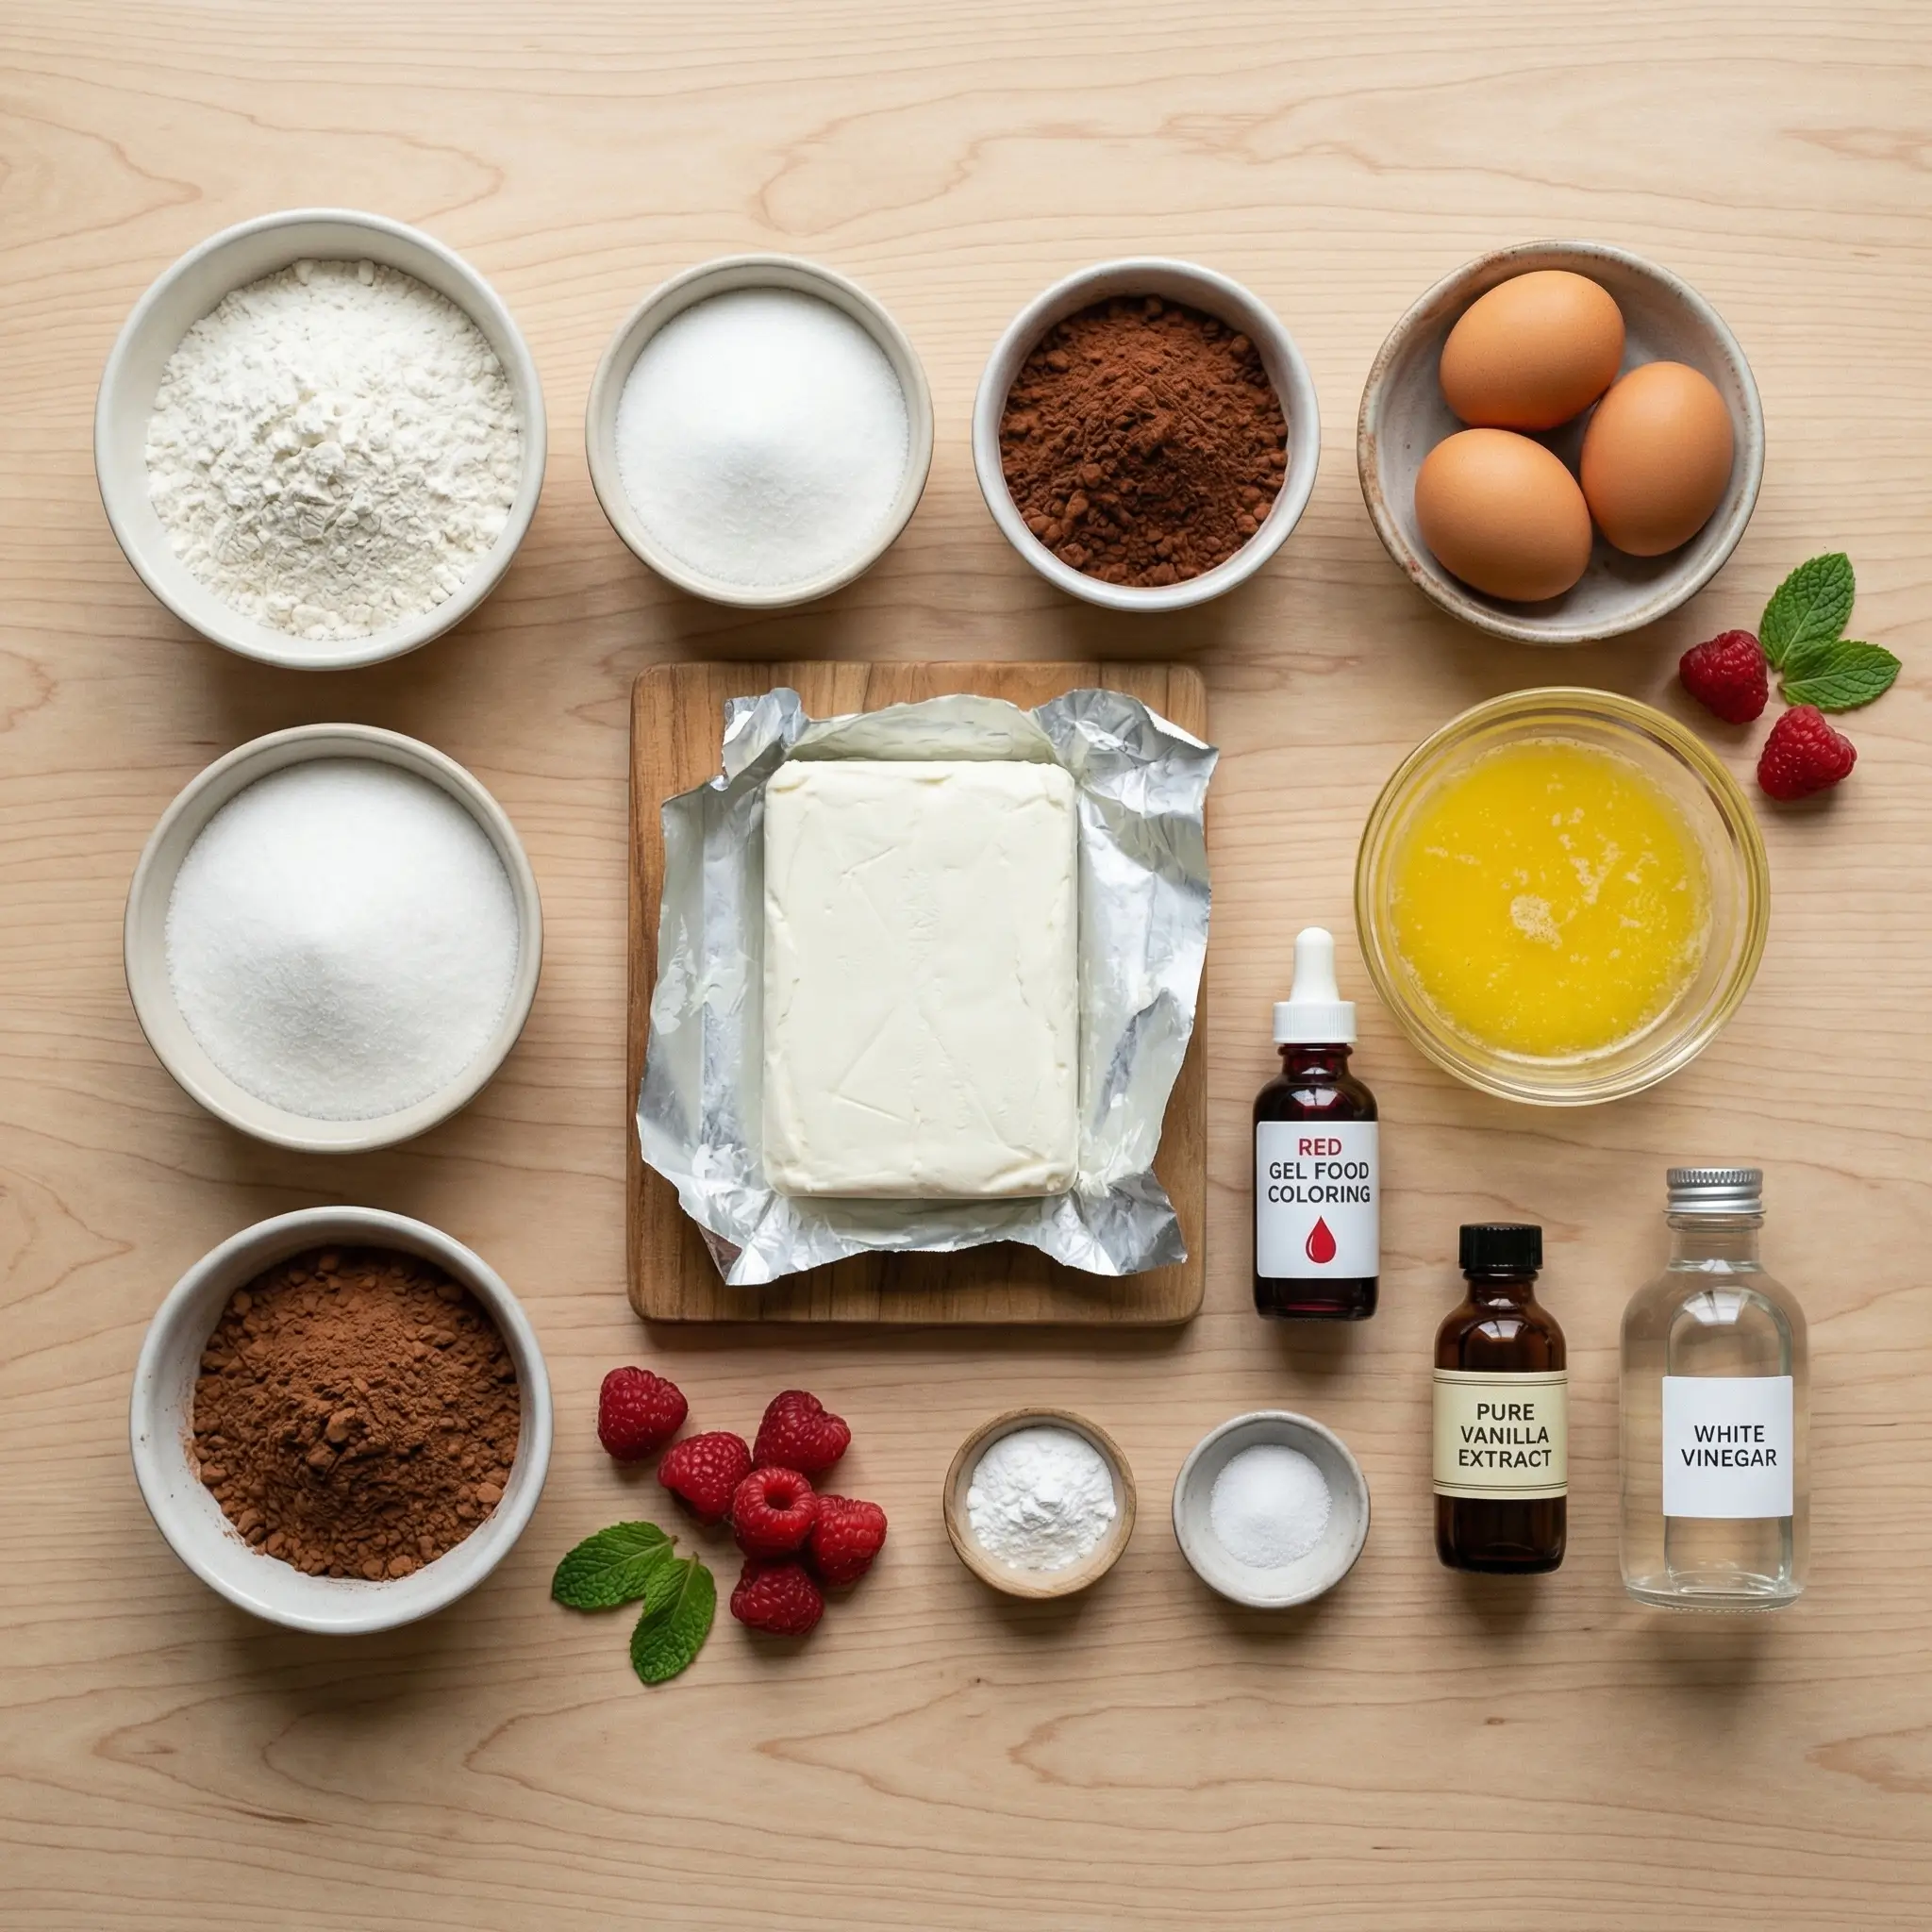
Gather everything before you start. Having ingredients at room temperature makes a noticeable difference in texture.
For the Red Velvet Brownie Layer
- 1/2 cup (113g) unsalted butter, melted
- 1 cup (200g) granulated sugar
- 2 large eggs, room temperature
- 2 teaspoons pure vanilla extract
- 1 tablespoon red food coloring (gel preferred)
- 1 teaspoon white vinegar
- 1/4 cup (25g) unsweetened cocoa powder
- 3/4 cup (95g) all-purpose flour
- 1/4 teaspoon salt
For the Cheesecake Layer
- 8 oz (226g) cream cheese, softened
- 1/4 cup (50g) granulated sugar
- 1 large egg
- 1 teaspoon pure vanilla extract
Substitution Tips
- Butter: swap for coconut oil for a dairy-light version
- All-purpose flour: use a 1:1 gluten-free flour blend
- Red food coloring: beet powder works as a natural alternative
- Cream cheese: Neufchatel cheese cuts fat by about 30 percent
Timing
Total time for this recipe is approximately 55 minutes, which is about 20 percent faster than most layered cheesecake bar recipes that require pre-baking a crust.
| Stage | Time |
|---|---|
| Prep time | 15 minutes |
| Baking time | 30 to 35 minutes |
| Cooling time | 1 hour minimum |
| Total active time | 55 minutes |
Step-by-Step Instructions
Step 1 – Preheat and Prep Your Pan
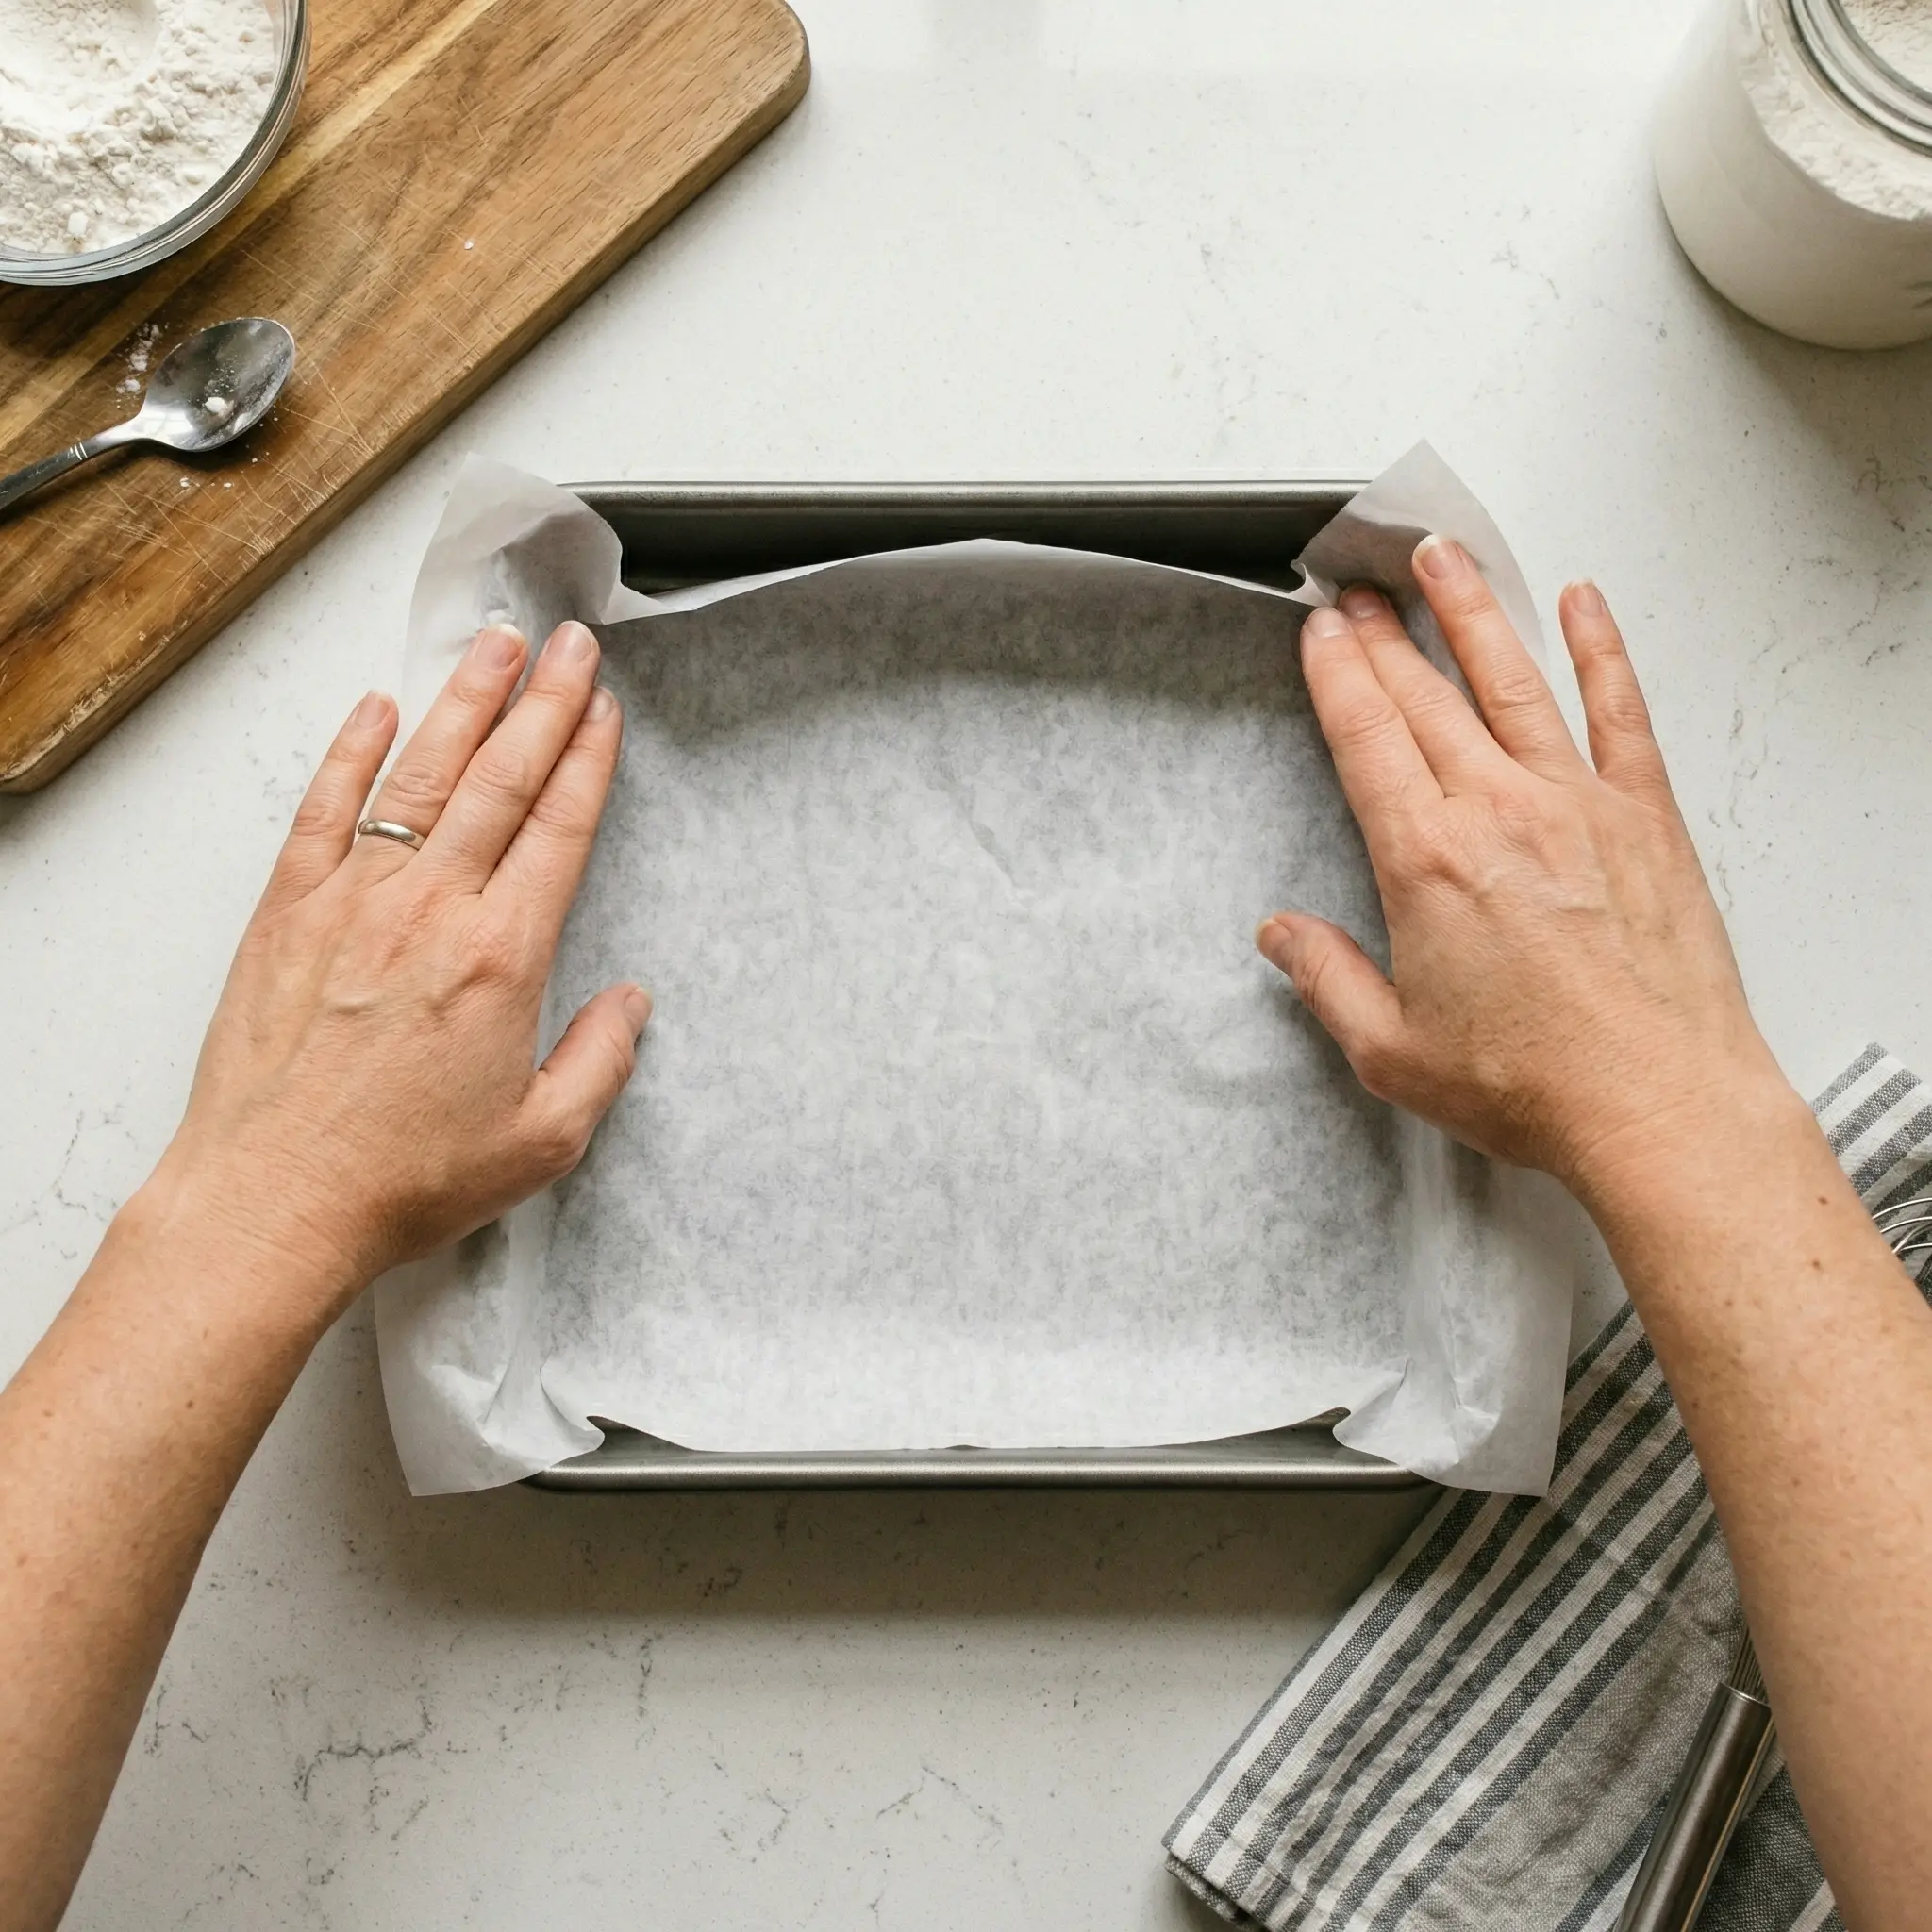
Preheat your oven to 350 degrees F (175 degrees C). Line an 8×8 inch baking pan with parchment paper, leaving overhang on two sides. This creates handles for lifting the brownies out cleanly after cooling. Lightly grease any exposed pan edges.
Step 2 – Make the Red Velvet Brownie Batter
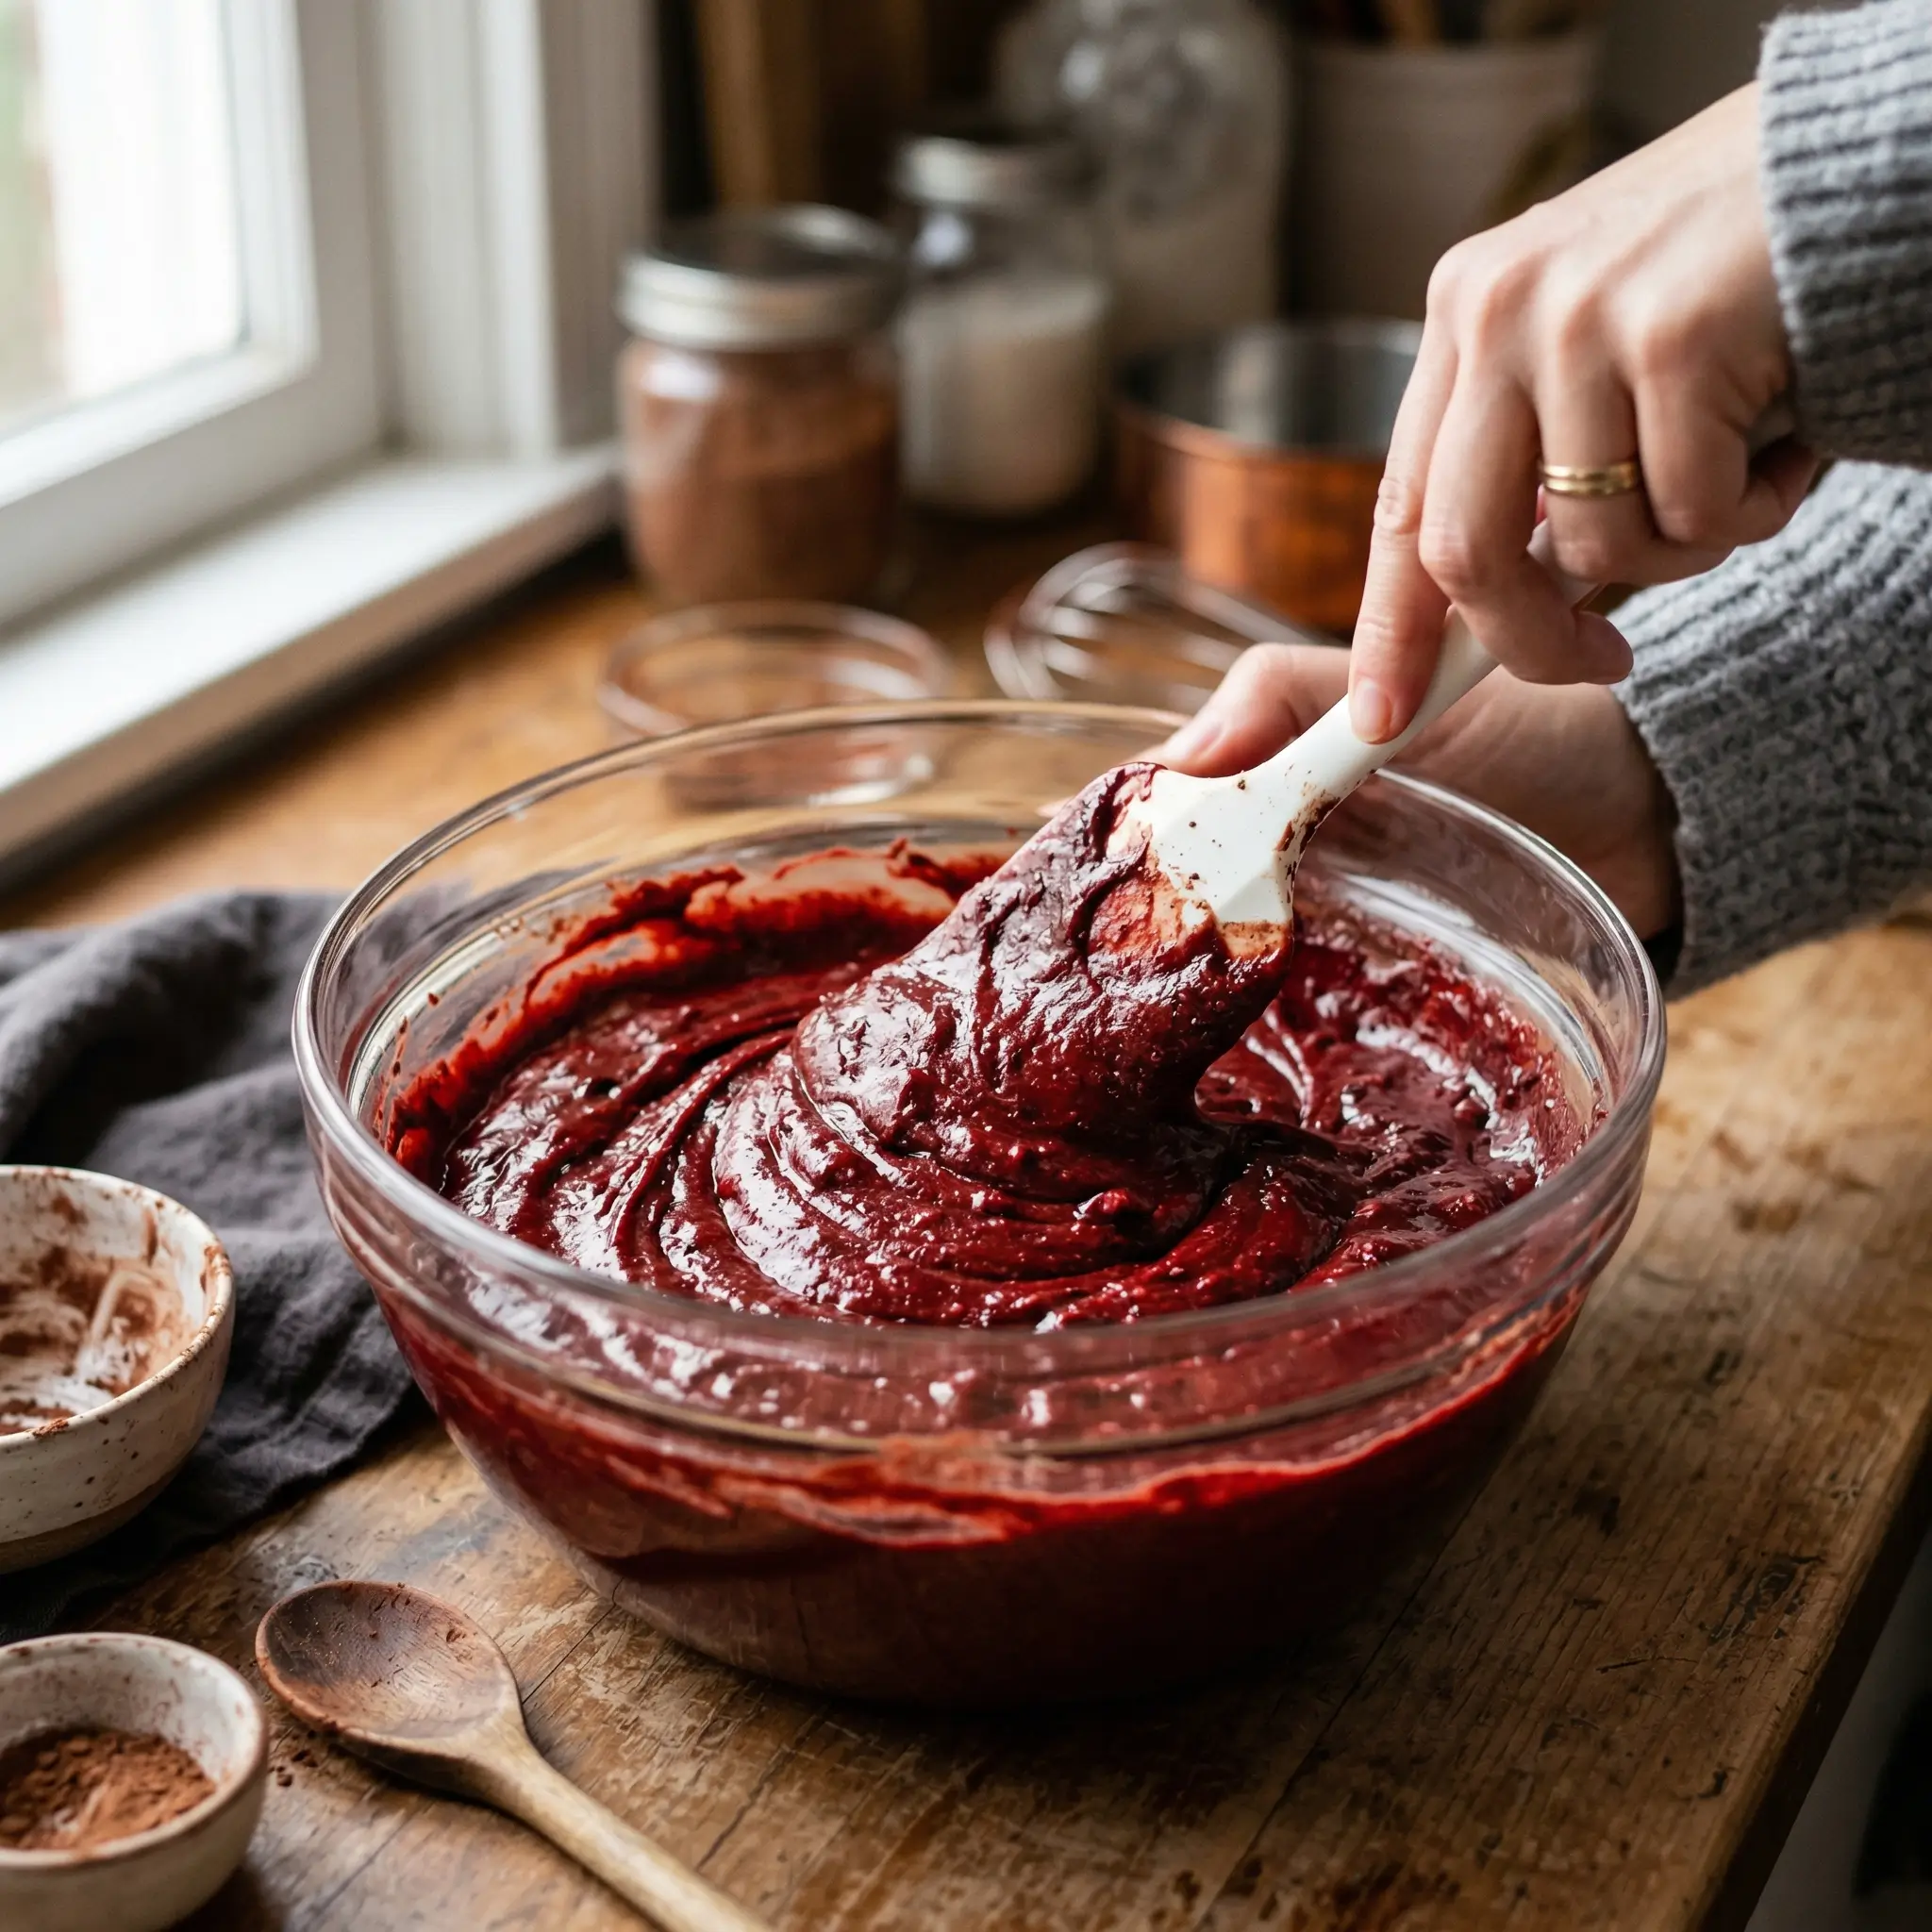
In a large mixing bowl, whisk together the melted butter and granulated sugar until smooth and slightly glossy. Add the eggs one at a time, whisking well after each addition. Stir in the vanilla extract, red food coloring, and white vinegar. The vinegar is not just for tradition, it actually activates the cocoa and deepens that signature flavor. Sift in the cocoa powder, flour, and salt. Fold gently with a spatula until just combined. Do not overmix or you will develop gluten and lose that fudgy texture.
Step 3 – Make the Cheesecake Filling
In a separate bowl, beat the softened cream cheese with an electric mixer on medium speed until completely smooth, about 2 minutes. Add the sugar, egg, and vanilla extract. Beat until creamy and lump-free. Cold cream cheese is the number one enemy here, so make sure it is genuinely room temperature before starting.
Step 4 – Layer and Swirl
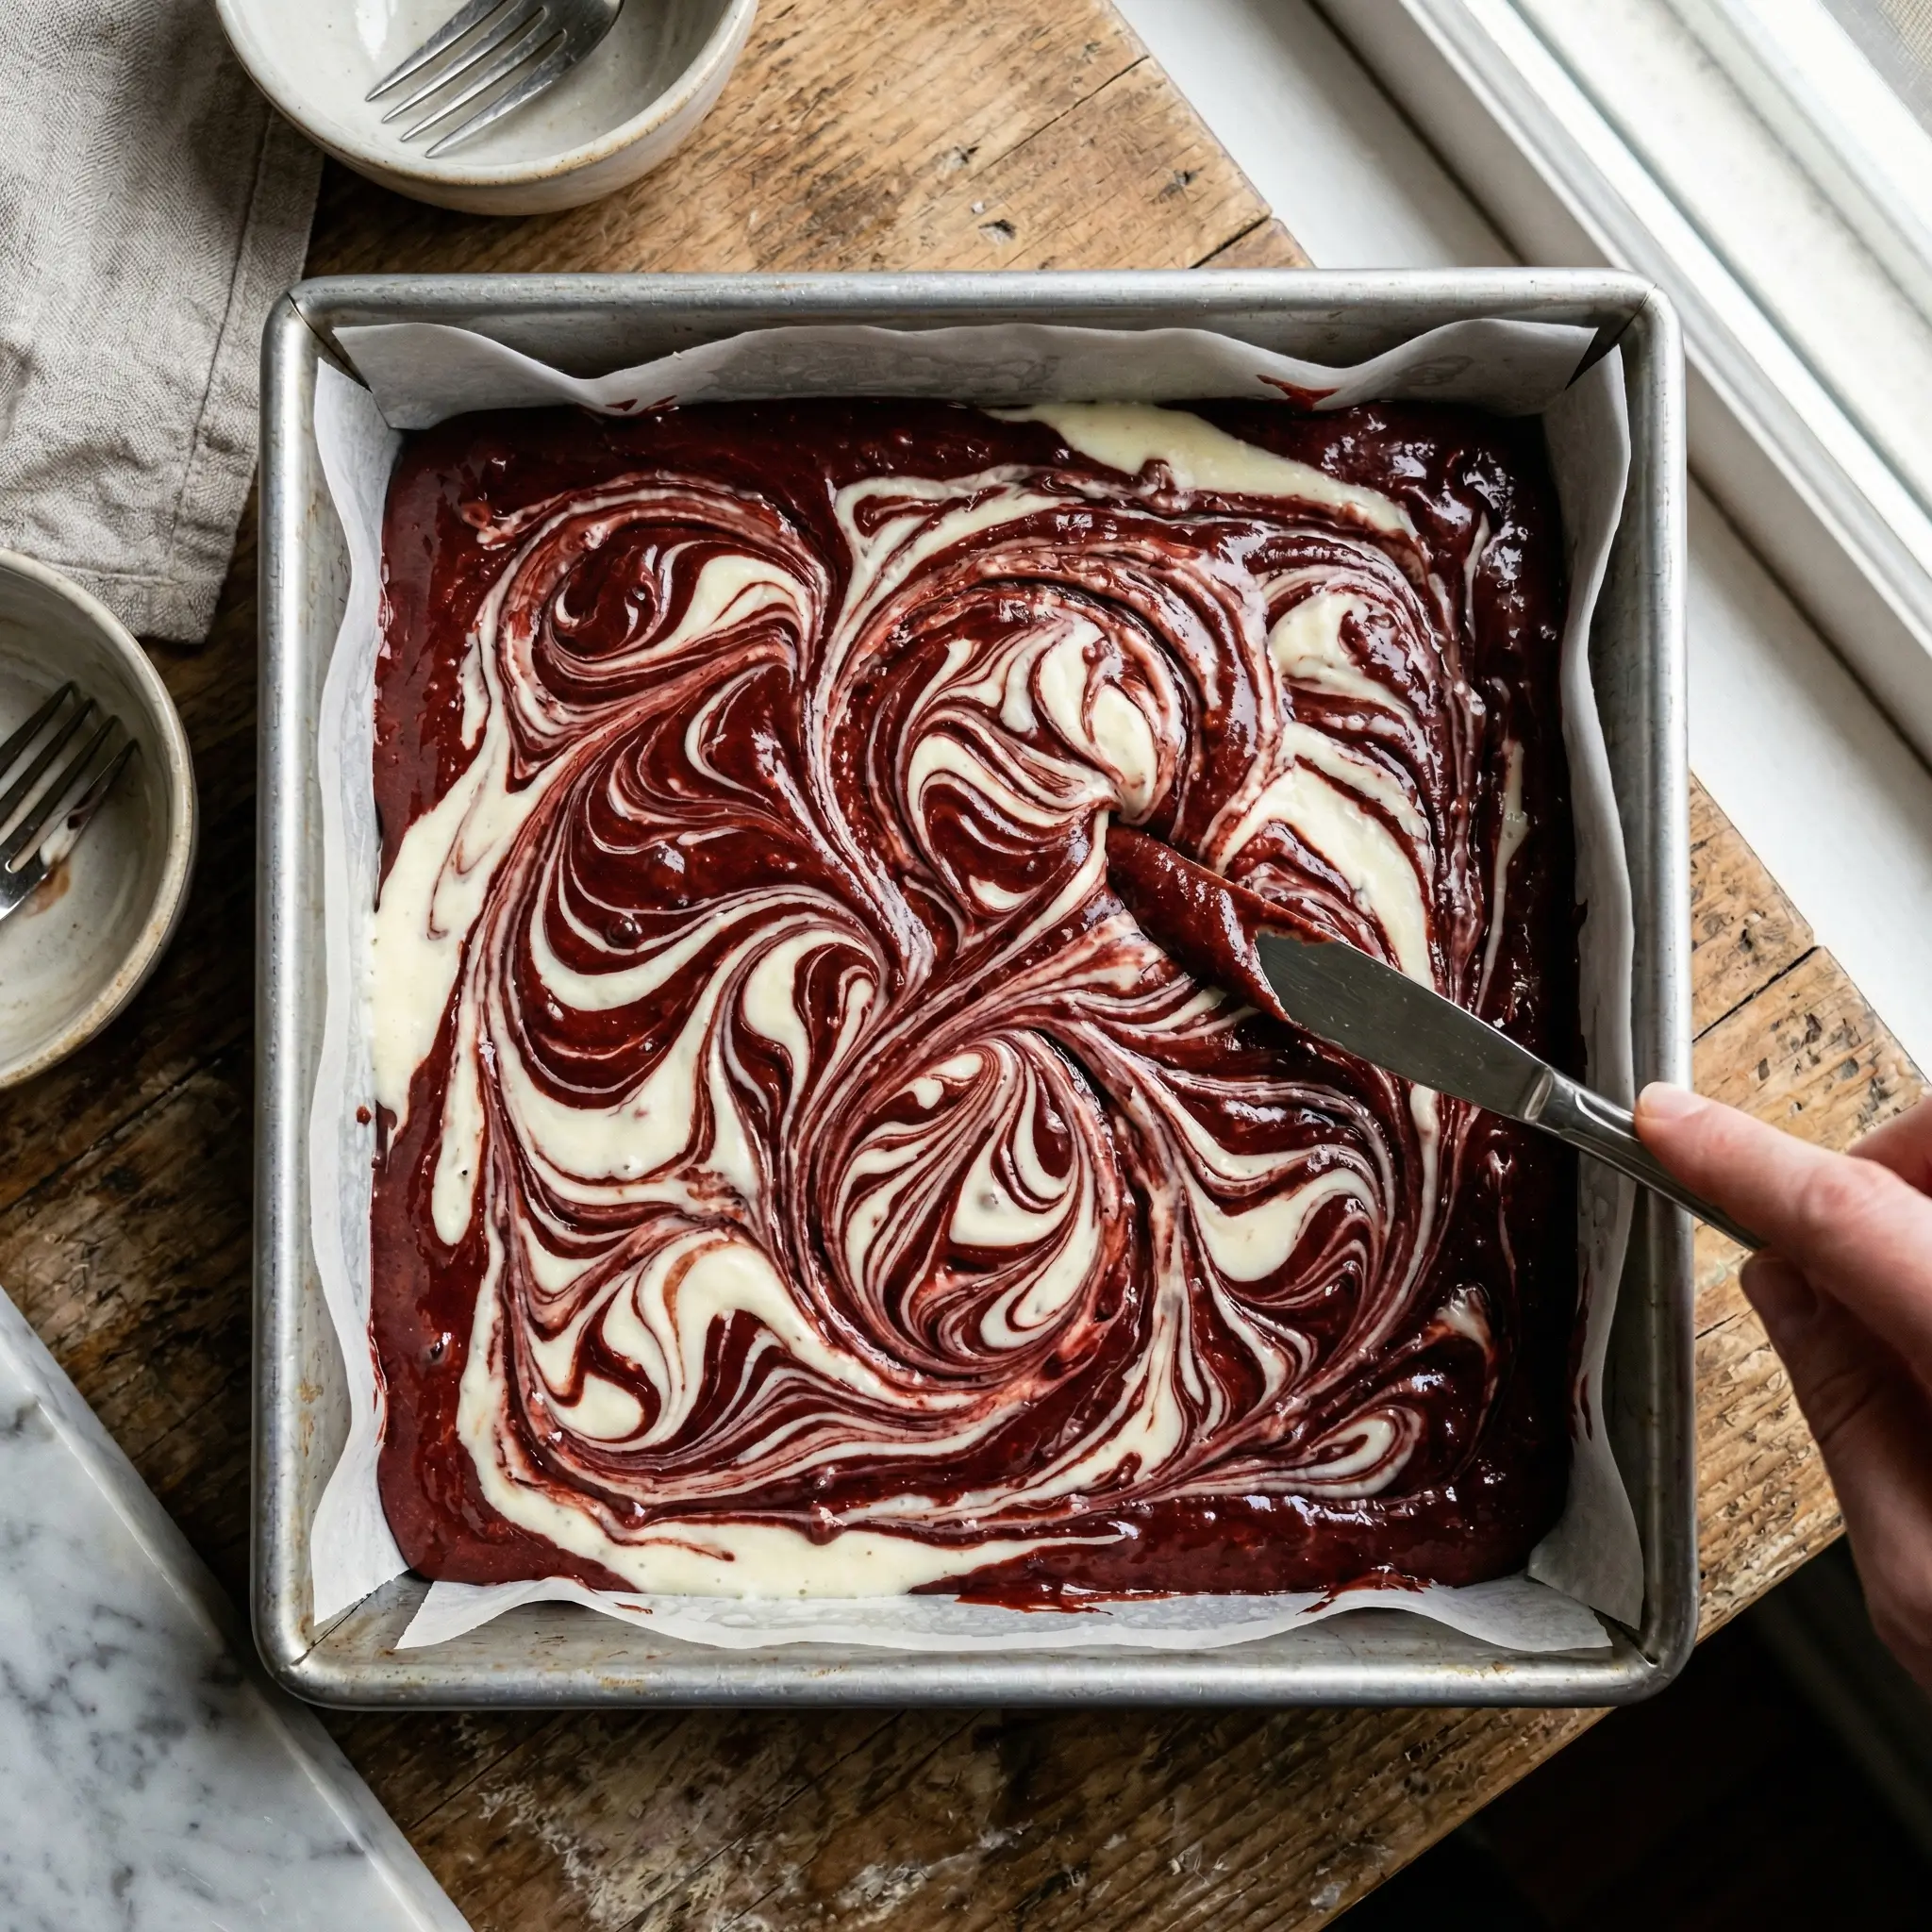
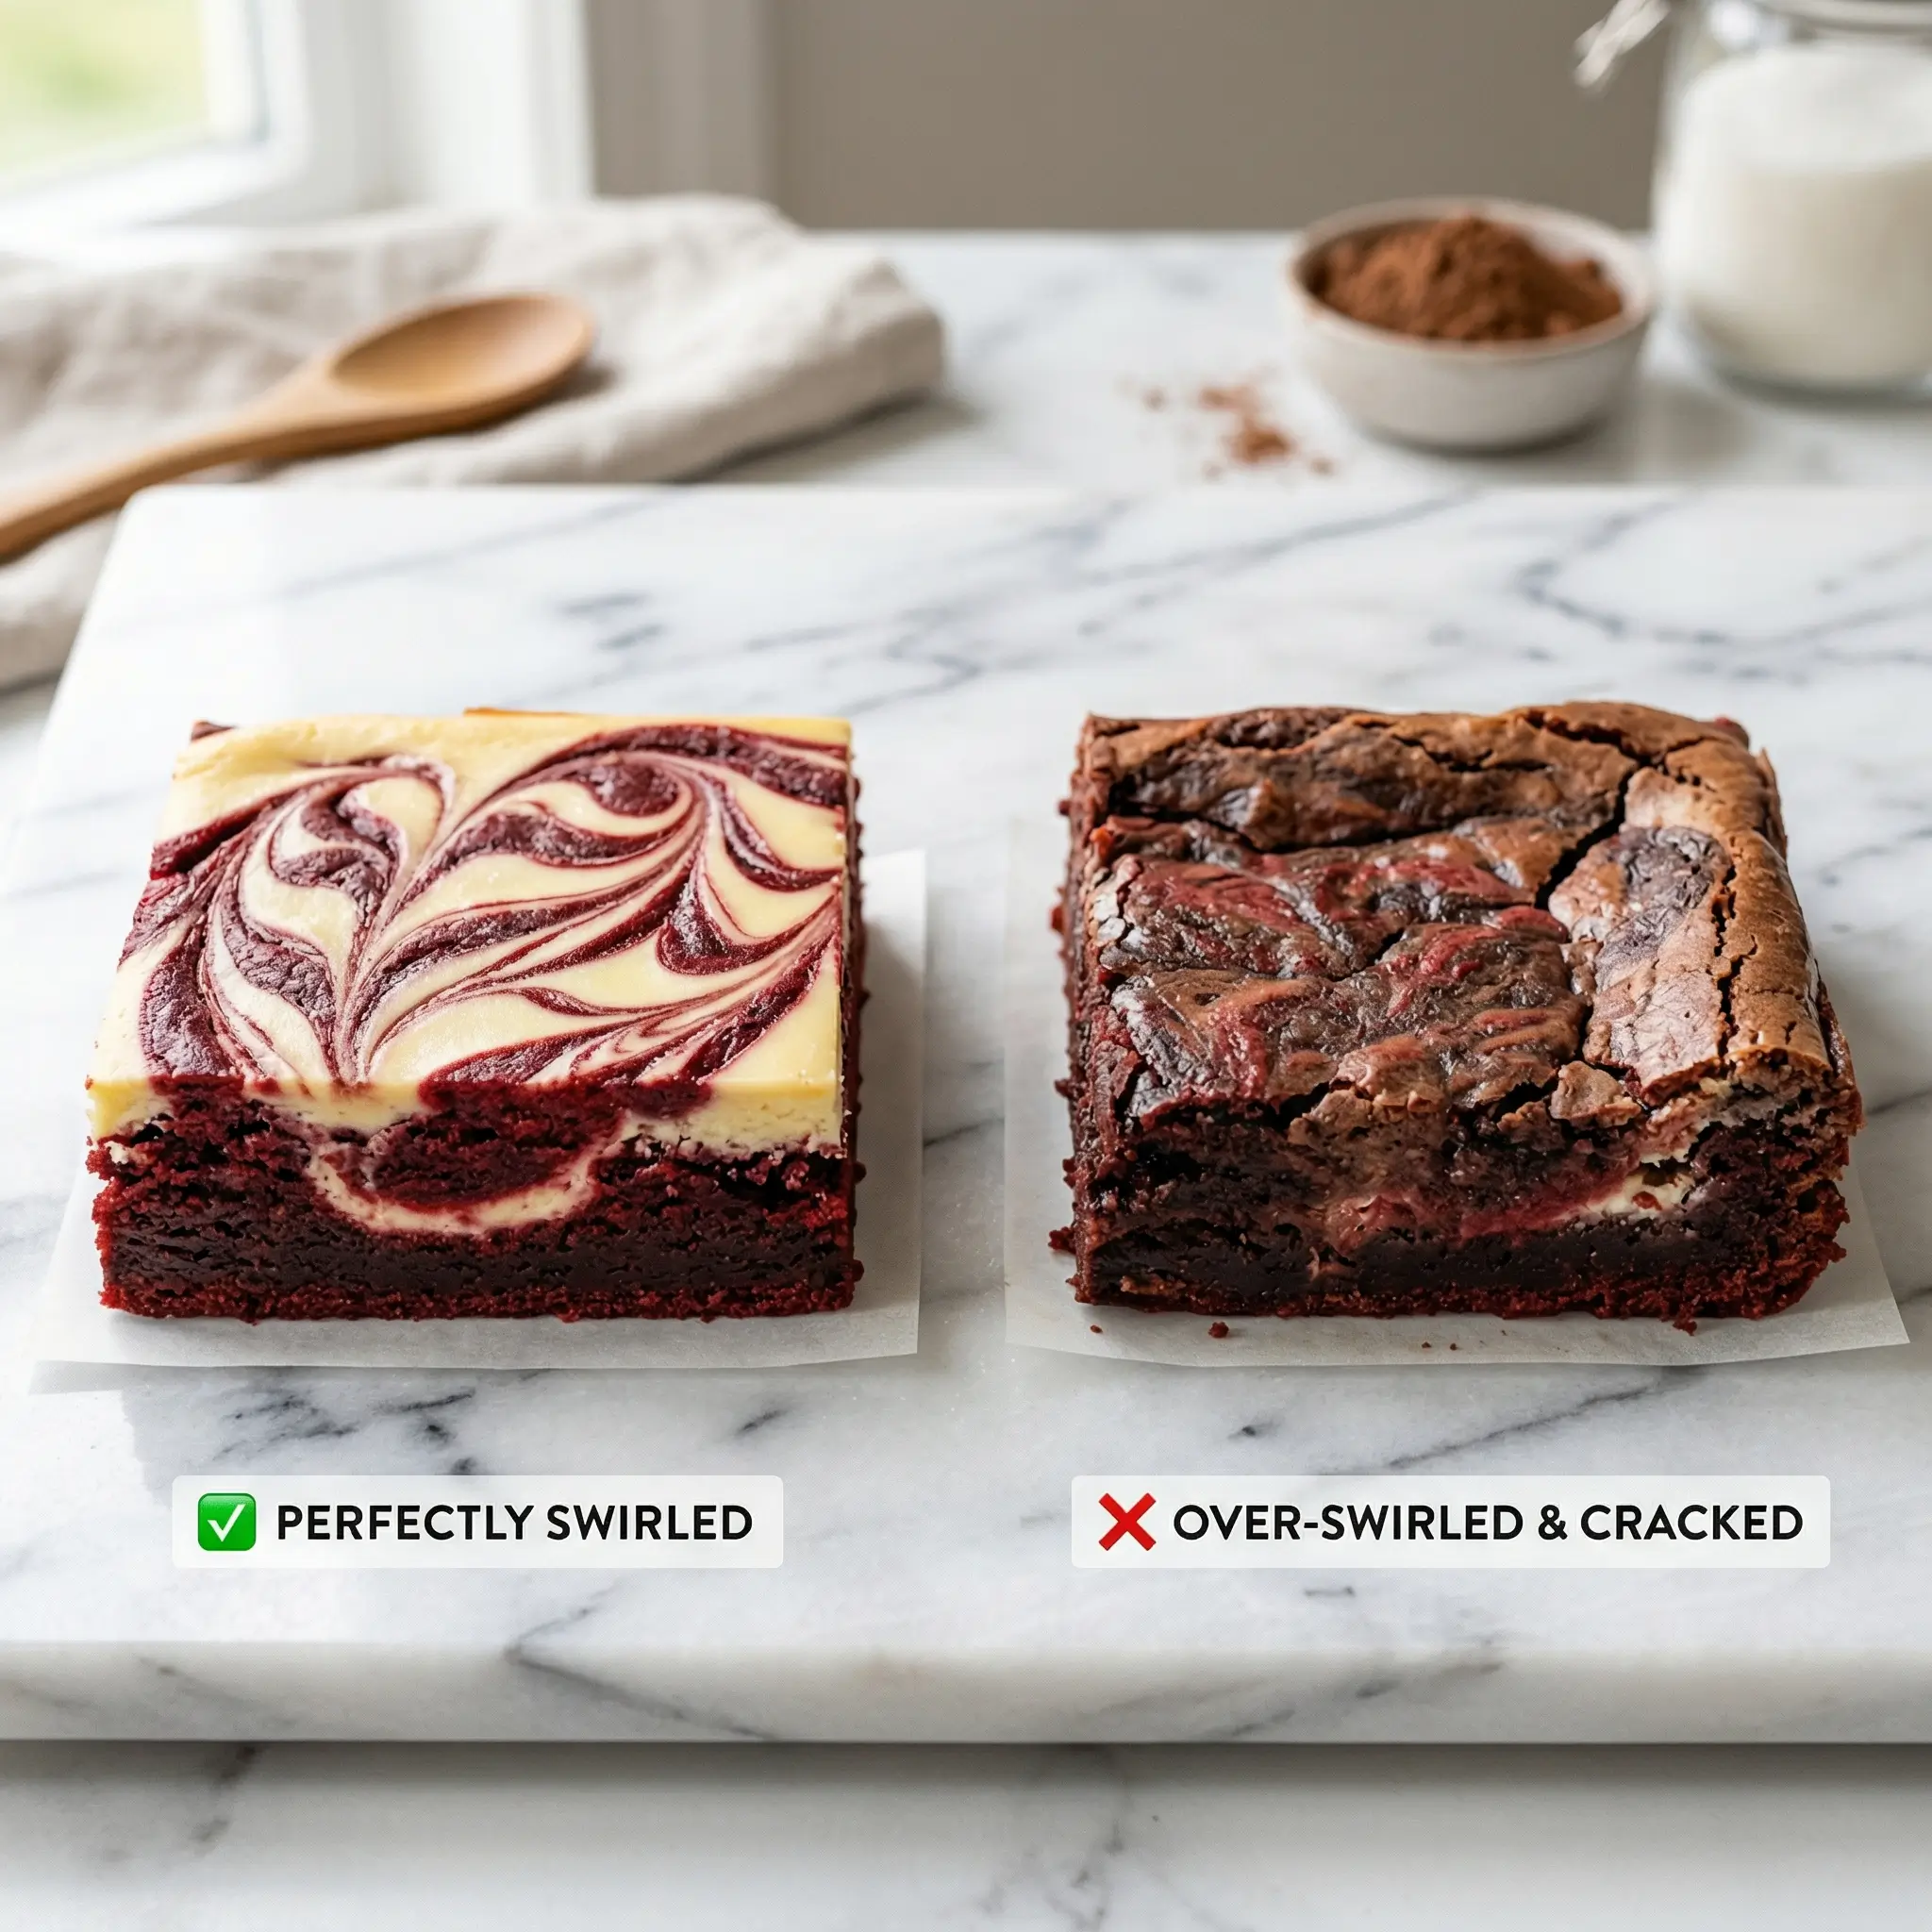
Pour about three-quarters of the red velvet batter into your prepared pan and spread evenly. Drop spoonfuls of the cheesecake filling across the surface, then spoon the remaining brownie batter in small dollops between the cheesecake. Use a butter knife or skewer to swirl the two layers together in slow figure-eight motions. Less is more here. A few deliberate swirls create beautiful marbling. Over-swirling turns everything muddy.
Step 5 – Bake and Cool
Bake for 30 to 35 minutes, until the cheesecake layer is set and the edges look firm. The center may have a slight jiggle, which is perfectly fine. It firms up as it cools. Let the pan cool completely at room temperature for at least one hour, then transfer to the refrigerator for another hour before slicing. Cold brownies slice cleanly. Warm ones fall apart.
Nutritional Information
The following values are per serving based on 16 brownies per batch.
| Calories | 210 kcal |
| Total Fat | 12g |
| Saturated Fat | 7g |
| Carbohydrates | 24g |
| Sugar | 18g |
| Protein | 3g |
| Sodium | 95mg |
Nutritional values are estimates only. Actual values may vary based on ingredients and portion size used.
Healthier Alternatives for the Recipe
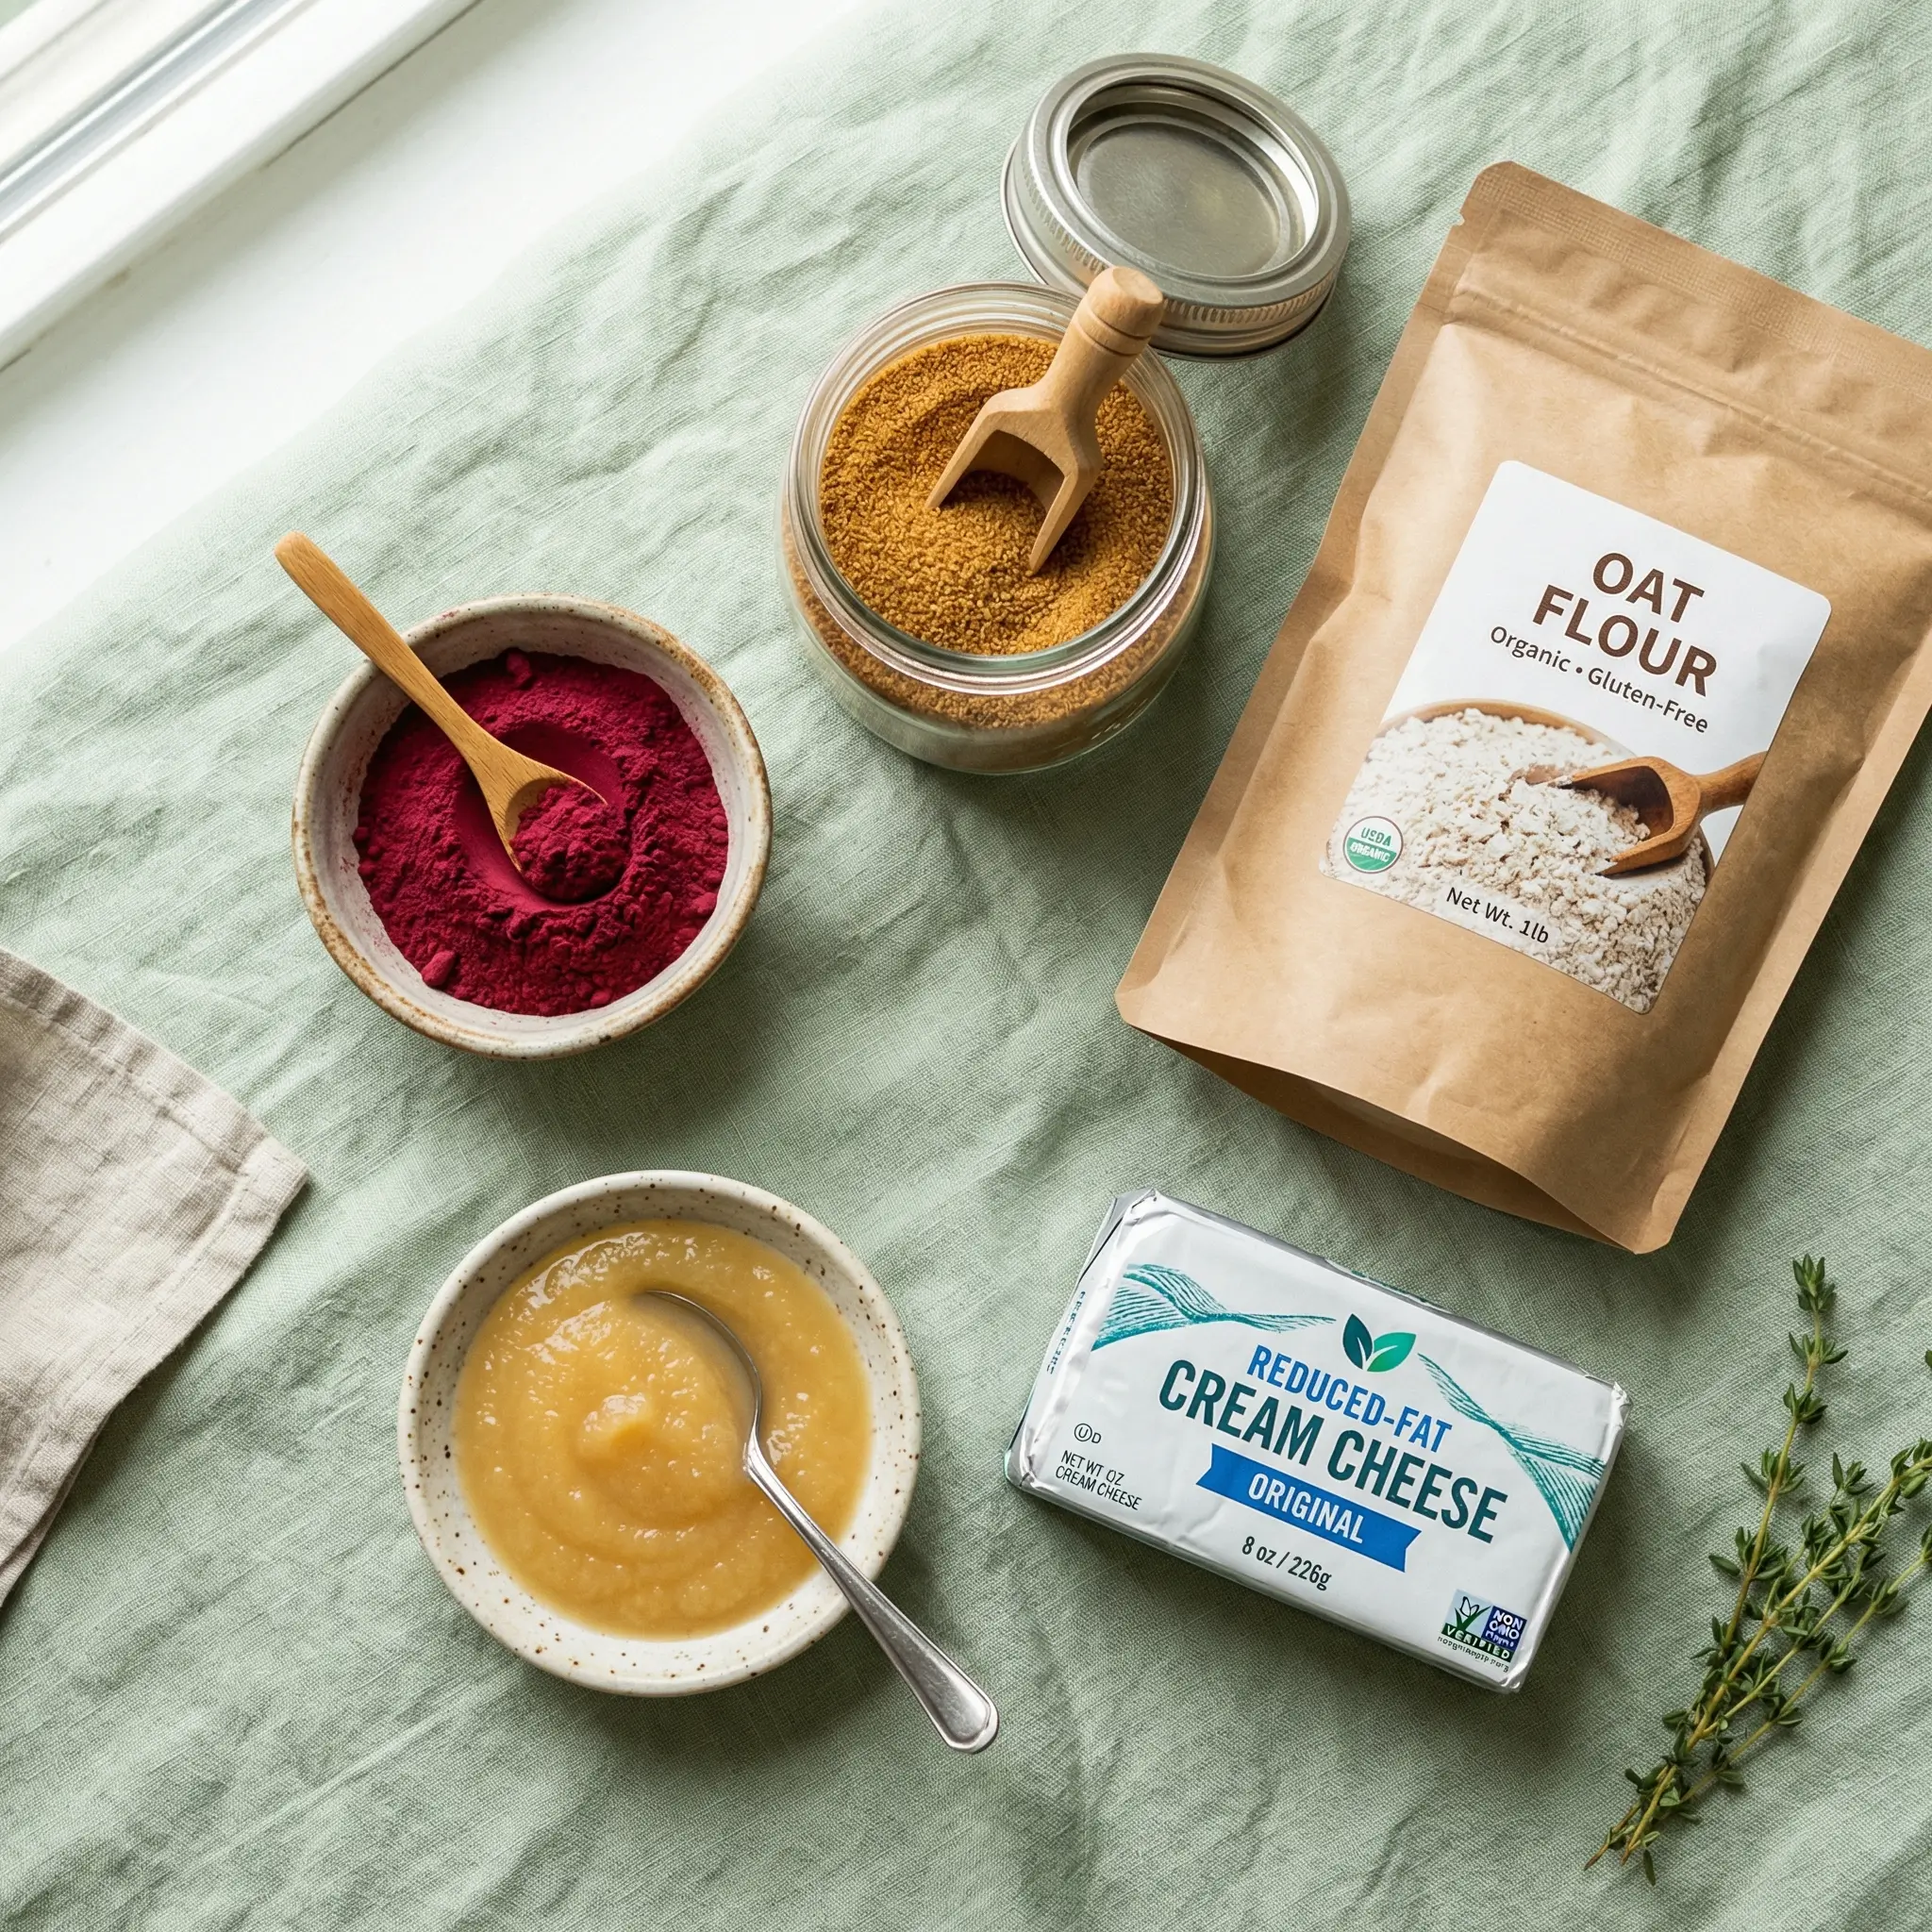
- Replace half the butter with unsweetened applesauce to reduce saturated fat while keeping the batter moist
- Use coconut sugar instead of granulated sugar for a lower glycemic option with a subtle caramel note
- Swap all-purpose flour for oat flour to add fiber and a slightly nutty depth
- Use reduced-fat cream cheese in the cheesecake layer to cut calories by roughly 15 percent per bar
- Try beet powder instead of red food coloring for a completely natural vibrant color plus added antioxidants
- For a dairy-free version, use vegan butter and a plant-based cream cheese such as Violife or Kite Hill
Serving Suggestions

Common Mistakes to Avoid
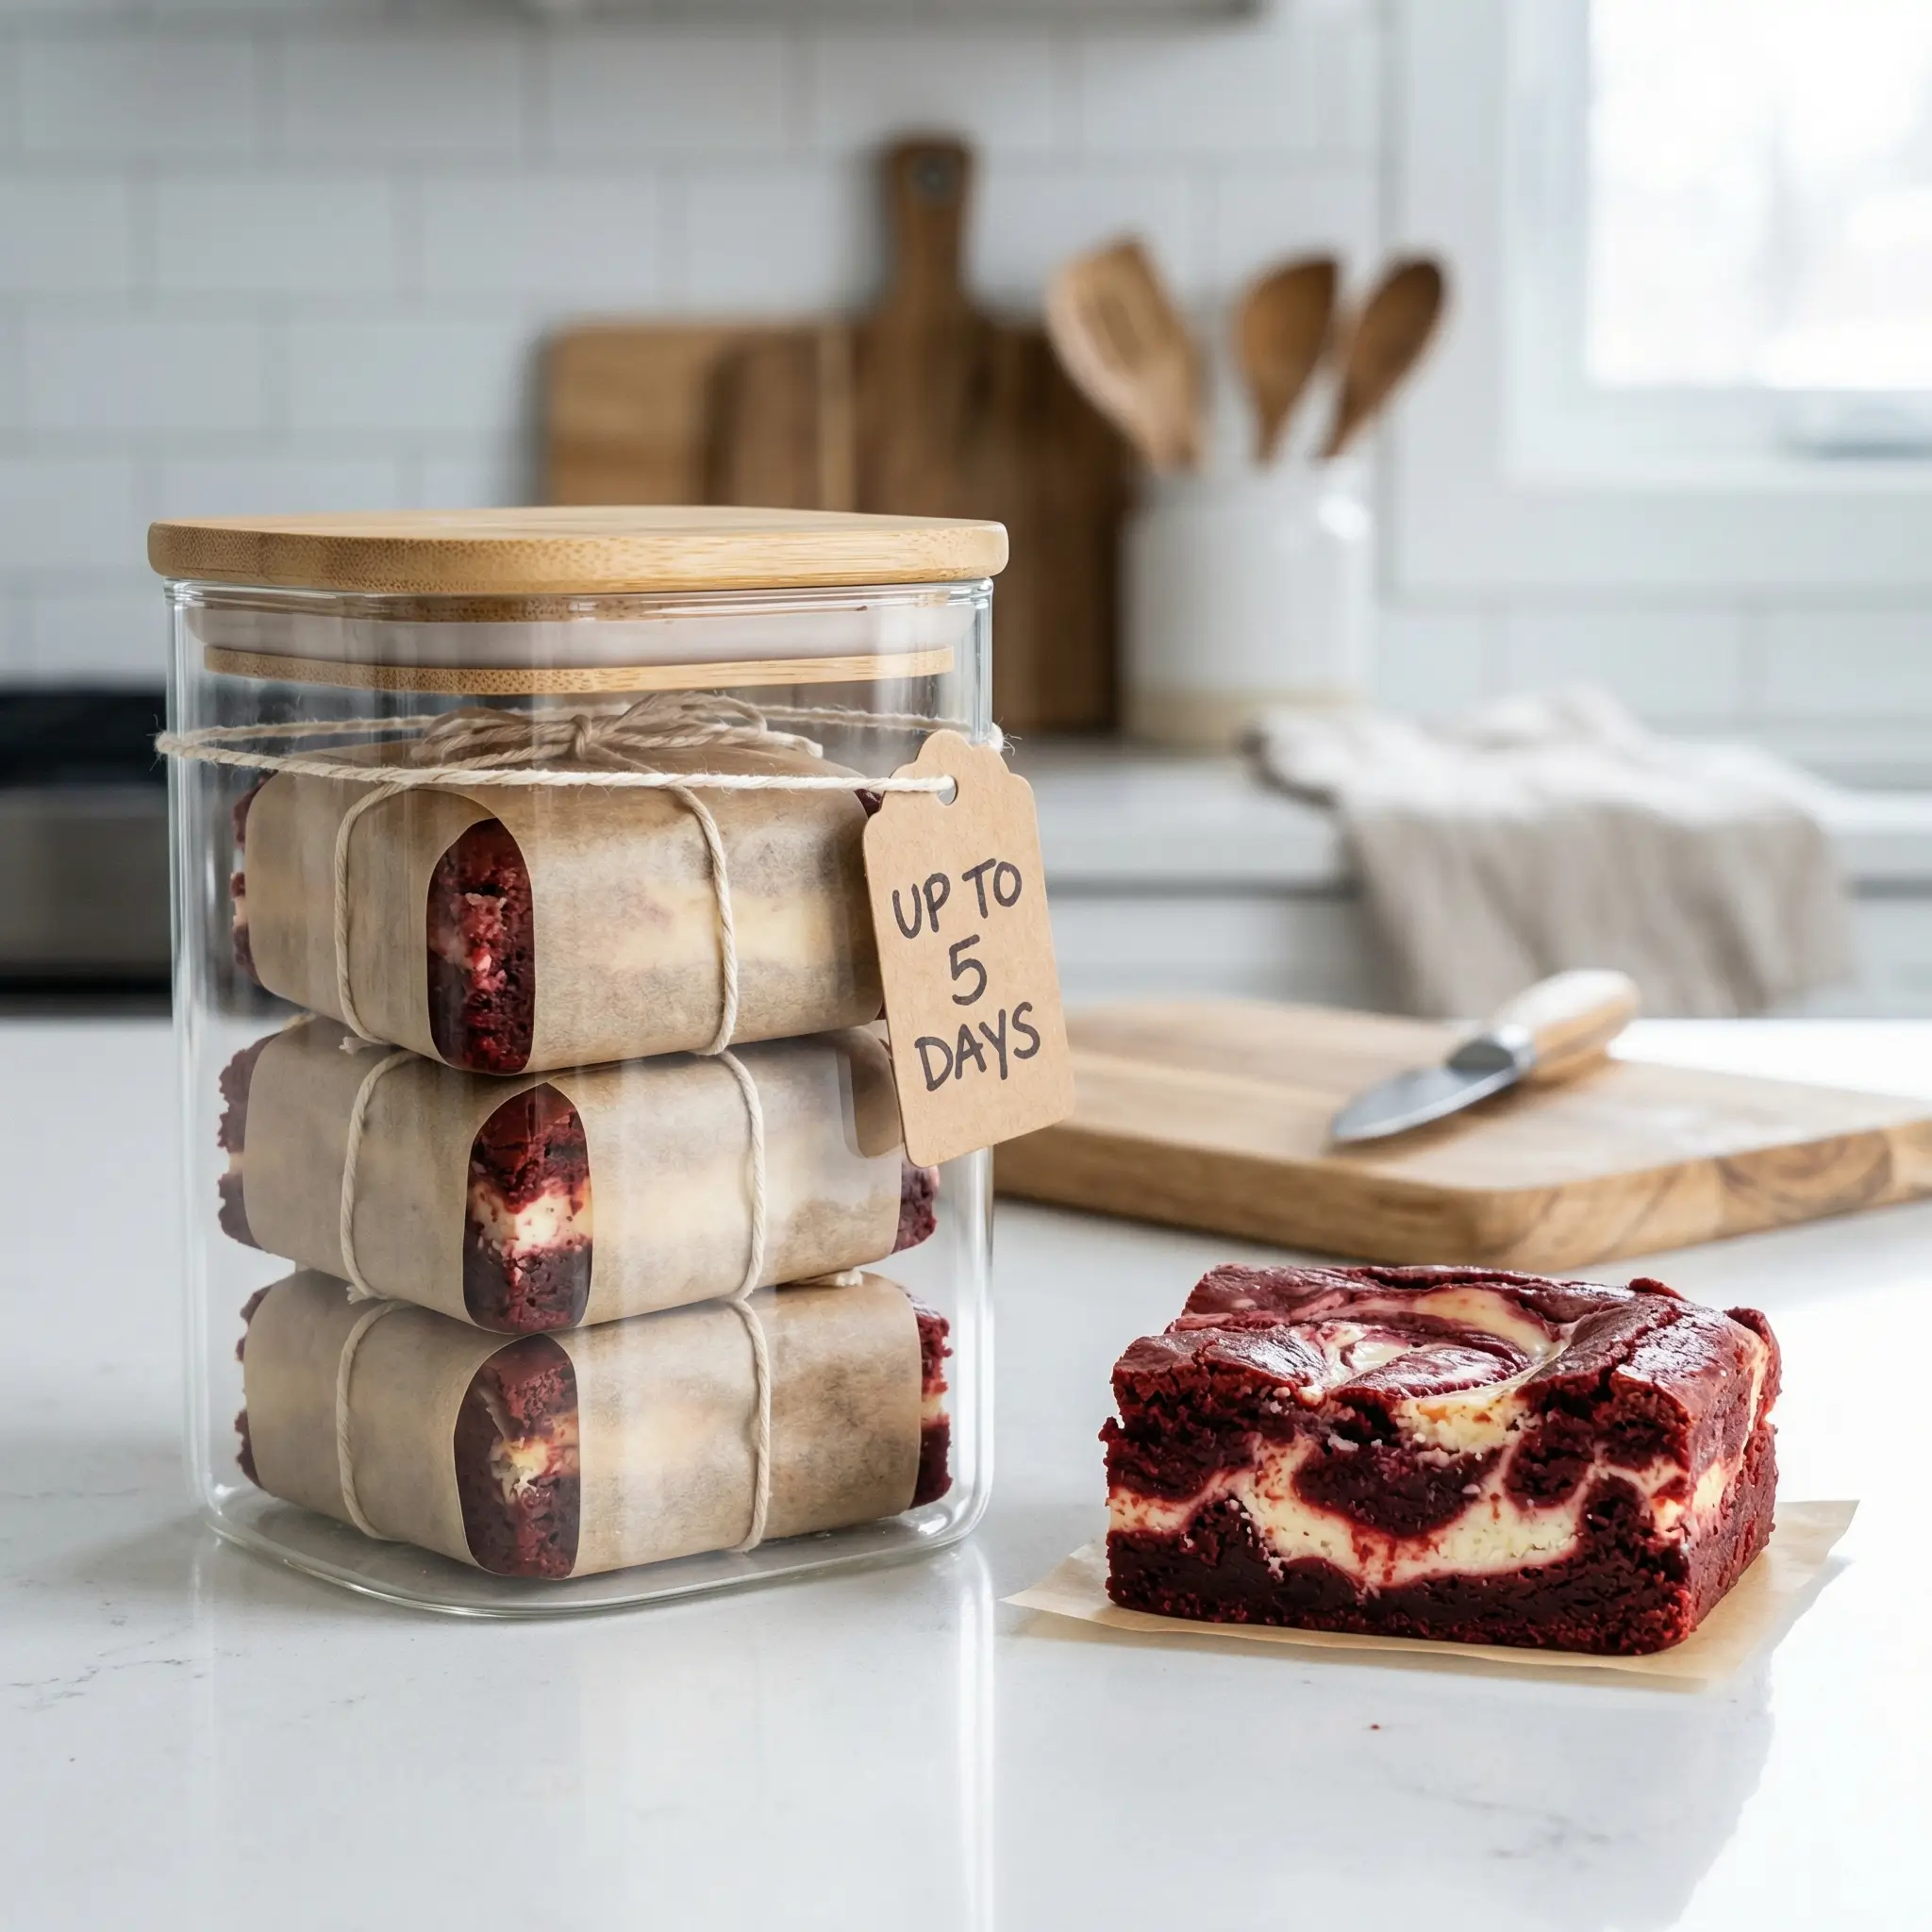
Storing Tips for the Recipe
Conclusion
Red velvet cheesecake brownies are one of those rare recipes that look complex but come together beautifully with just a little attention to detail. Start with room temperature cream cheese, fold your batter gently, swirl with restraint, and always chill before slicing. Follow the 5 tips in this guide and you will pull out a pan of brownies that looks like it came from a high-end bakery. Try the recipe this weekend, leave a comment below to share how yours turned out, and tag RecipeTastyBites on social media. We love seeing your creations. Explore more bar recipes on the blog while you are here.
Recipe Card
Red Velvet Cheesecake Brownies
Fudgy, creamy, and stunning — the ultimate layered brownie barBrownie Layer
- 1/2 cup unsalted butter, melted
- 1 cup granulated sugar
- 2 large eggs
- 2 tsp vanilla extract
- 1 tbsp red gel food coloring
- 1 tsp white vinegar
- 1/4 cup cocoa powder
- 3/4 cup all-purpose flour
- 1/4 tsp salt
Cheesecake Layer
- 8 oz cream cheese, softened
- 1/4 cup granulated sugar
- 1 large egg
- 1 tsp vanilla extract
- 1 Preheat oven to 350 F. Line an 8×8 inch pan with parchment paper, leaving overhang on two sides.
- 2 Whisk melted butter and sugar together. Add eggs one at a time, then mix in vanilla extract, red gel food coloring, and white vinegar.
- 3 Fold in cocoa powder, all-purpose flour, and salt until just combined. Do not overmix.
- 4 In a separate bowl, beat cream cheese until completely smooth. Add granulated sugar, egg, and vanilla extract and beat until creamy.
- 5 Spread 3/4 of the brownie batter in the pan. Drop spoonfuls of cheesecake filling on top, add remaining batter in dollops, then swirl gently with a knife.
- 6 Bake 30 to 35 minutes until edges are set and center has a slight jiggle. Cool completely at room temperature then refrigerate before slicing.
FAQs
Can I use liquid food coloring instead of gel ?
- You can but gel coloring gives a much more vibrant deep red without adding excess liquid to the batter. If you only have liquid, use 2 tablespoons and reduce a teaspoon of the vanilla to compensate.
Why did my cheesecake layer crack ?
- Cracks usually happen from overbaking or baking at too high a temperature. Make sure your oven is properly calibrated and pull the bars when the center still has a slight jiggle. A water bath is not needed for brownies but avoiding overbaking is key.
Can I double the recipe ?
- Yes, double all ingredients and bake in a 9×13 inch pan. Add 5 to 8 minutes to the baking time and check doneness with a toothpick inserted into the brownie layer.
Do these need to be refrigerated ?
- Yes. Because of the cream cheese layer, these red velvet cheesecake brownies must be stored in the refrigerator. They should not sit at room temperature for more than 2 hours.
Can I make these gluten-free ?
- Absolutely. Substitute the all-purpose flour with a 1:1 gluten-free baking blend. The texture will be very similar and equally fudgy.
How do I get clean slices ?
- Chill the brownies fully in the refrigerator for at least 2 hours before slicing. Use a sharp knife and wipe the blade clean with a damp cloth between each cut for perfectly sharp bakery-style bars.
Your Feedback Helps Us Grow!
There are no reviews yet. Be the first one to write one.