Chocolate Chip Cut Out Treats : A Playful Twist on a Classic
Table of Contents
Introduction
Have you ever wondered why chocolate chip cookies—the most beloved treat in America—are almost never made as cut-out shapes? According to recent baking surveys, over 78% of home bakers stick to traditional drop cookie methods for chocolate chips, missing out on the creative potential of shaped treats. What if you could combine the irresistible chewy texture and rich flavor of classic chocolate chip cookies with the fun, decorative appeal of cut-out designs? Enter Chocolate Chip Cut Out Treats —a game-changing recipe that transforms your favorite cookie into a customizable canvas perfect for holidays, birthdays, or any celebration. This innovative approach delivers the best chocolate chip cookie recipe experience while opening doors to endless creative possibilities, making baking a joyful activity for families and dessert enthusiasts alike.
Ingredients List
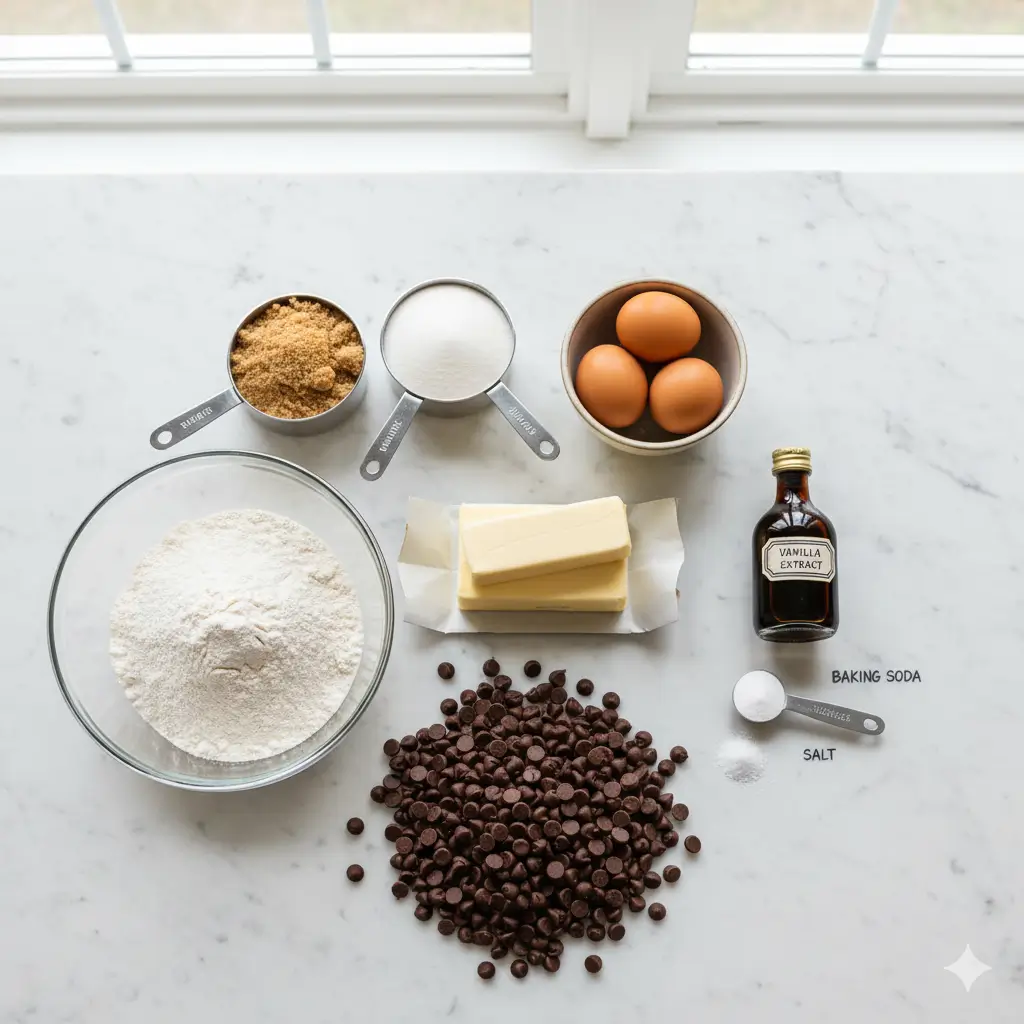
For the Cookie Dough :
- 2¼ cups (280g) all-purpose flour – The foundation providing structure (substitute with gluten-free flour blend for dietary needs)
- 1 teaspoon baking soda – Creates the perfect rise and tender texture
- 1 teaspoon salt – Enhances sweetness and balances flavors
- 1 cup (230g) unsalted butter, softened – Delivers rich, buttery flavor (use plant-based butter for vegan options)
- ¾ cup (150g) granulated sugar – Adds sweetness and helps cookies hold shape
- ¾ cup (165g) packed brown sugar – Contributes moisture and deep caramel notes
- 2 large eggs – Binds ingredients and adds richness (use flax eggs for vegan version)
- 2 teaspoons pure vanilla extract – Amplifies chocolate flavor beautifully
- 2 cups (340g) semi-sweet chocolate chips – The star ingredient providing melty pockets of chocolate goodness
For Decorating (Optional) :
- Melted chocolate or candy melts – For drizzling artistic designs
- Colored sprinkles – Add festive flair for any occasion
- Royal icing – Perfect for intricate decorations
Timing
| Stage | Details | Time Required |
|---|---|---|
| Preparation | Mixing and rolling the dough. | 25 minutes |
| Chilling | Essential for maintaining shape during baking. Can be extended overnight. | 2 hours (minimum) |
| Baking | Time required to bake each batch. | 10–12 minutes per batch |
| Cooling & Decorating | Allow cookies to cool before decorating for best results. | 15–20 minutes |
| Total Time | Overall duration including chilling time. | ~2 hours 45 minutes |
| Comparison: Traditional drop-style chocolate chip cookies take about 45 minutes total. This method requires roughly 65% more time but delivers superior visual appeal and creative satisfaction, making it ideal for special occasions rather than quick desserts. | ||
Step-by-Step Instructions
Step 1: Mix the Dry Ingredients
Whisk together flour, baking soda, and salt in a medium bowl. This pre-mixing ensures even distribution of leavening agents, preventing pockets of salty or bitter flavor. Pro tip: Sifting the flour creates lighter, more tender cookies by aerating the mixture and removing clumps.
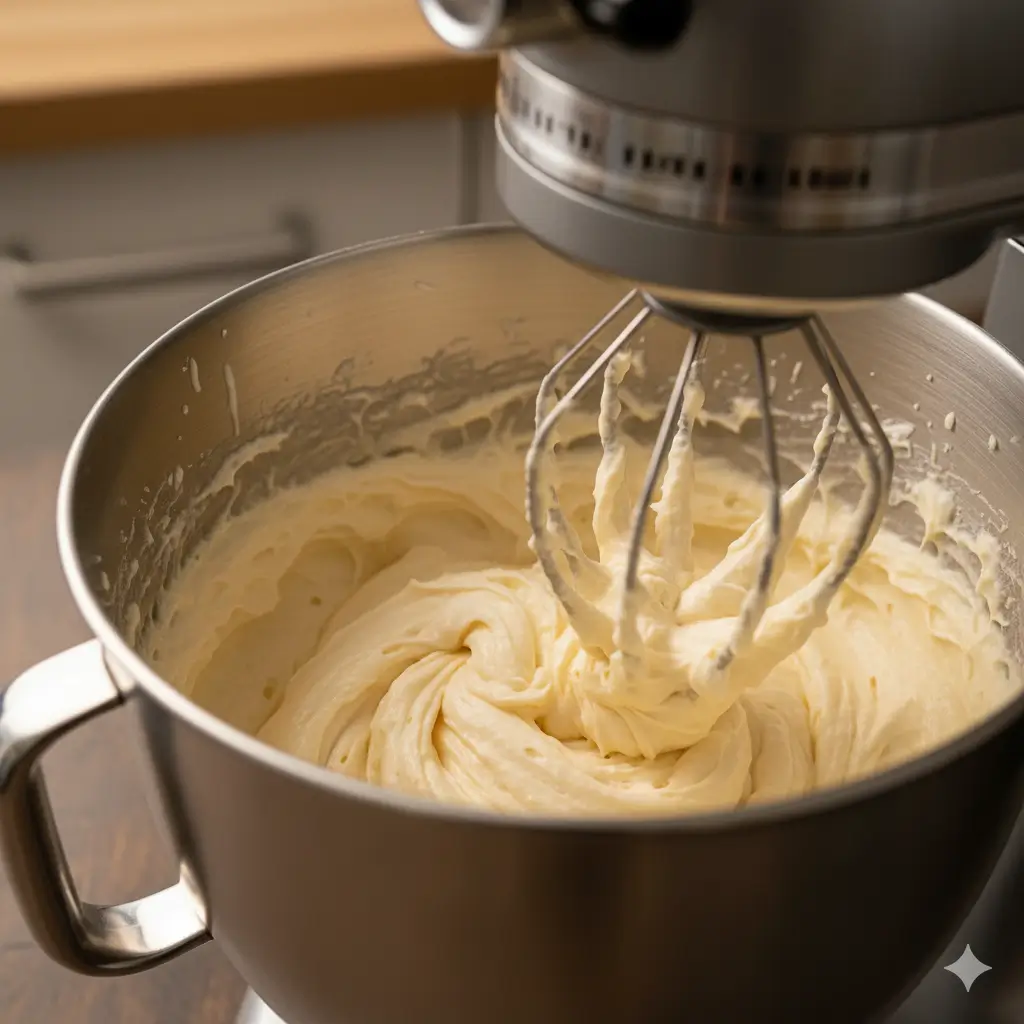
Step 2: Cream Butter and Sugars
Using an electric mixer, beat softened butter with both sugars for 3–4 minutes until pale and fluffy. This creaming process incorporates air, creating the signature tender-chewy texture. The mixture should look almost doubled in volume and have a light, mousse-like consistency.
Step 3: Incorporate Eggs and Vanilla
Add eggs one at a time, beating well after each addition. Pour in vanilla extract and mix until fully combined. Tip: Room-temperature eggs blend more smoothly and create a more uniform dough structure than cold eggs straight from the refrigerator.
Step 4: Combine Wet and Dry Mixtures
Gradually add the flour mixture to the butter mixture, mixing on low speed until just combined. Overmixing develops gluten strands that create tough, cake-like cookies instead of the desired tender texture. Stop mixing when you see no more flour streaks.
Step 5: Fold in Chocolate Chips
Gently fold chocolate chips throughout the dough using a spatula or wooden spoon. Distribute them evenly for consistent chocolate flavor in every bite. Pro insight: Reserve a handful of chips to press into cookie surfaces before baking for extra visual appeal.
Step 6: Chill the Dough Thoroughly
Divide dough into two portions, flatten each into a disk, wrap tightly in plastic wrap, and refrigerate for at least 2 hours (or up to 3 days). This crucial step solidifies the butter, preventing excessive spreading during baking—the key difference between successfully shaped cut-outs and melted blobs. Cold dough also develops deeper flavor as ingredients meld together.
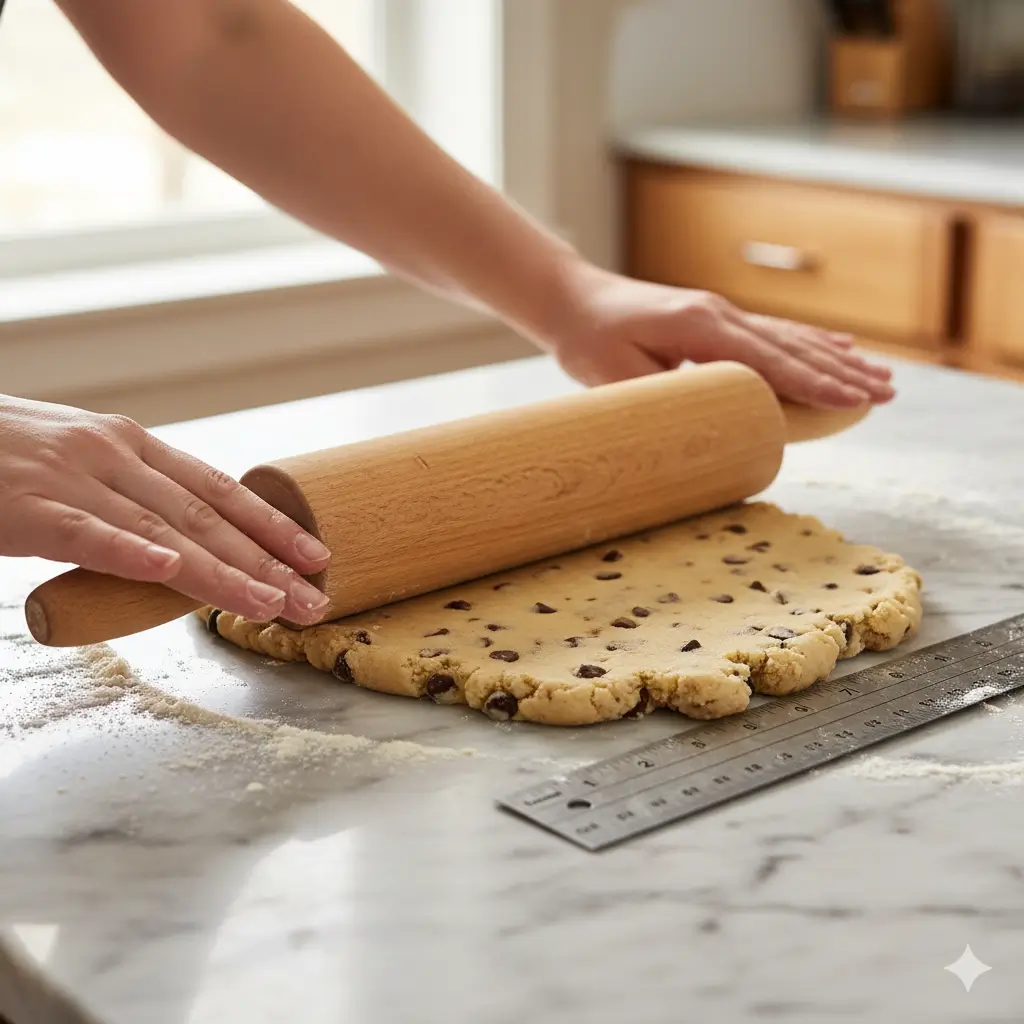
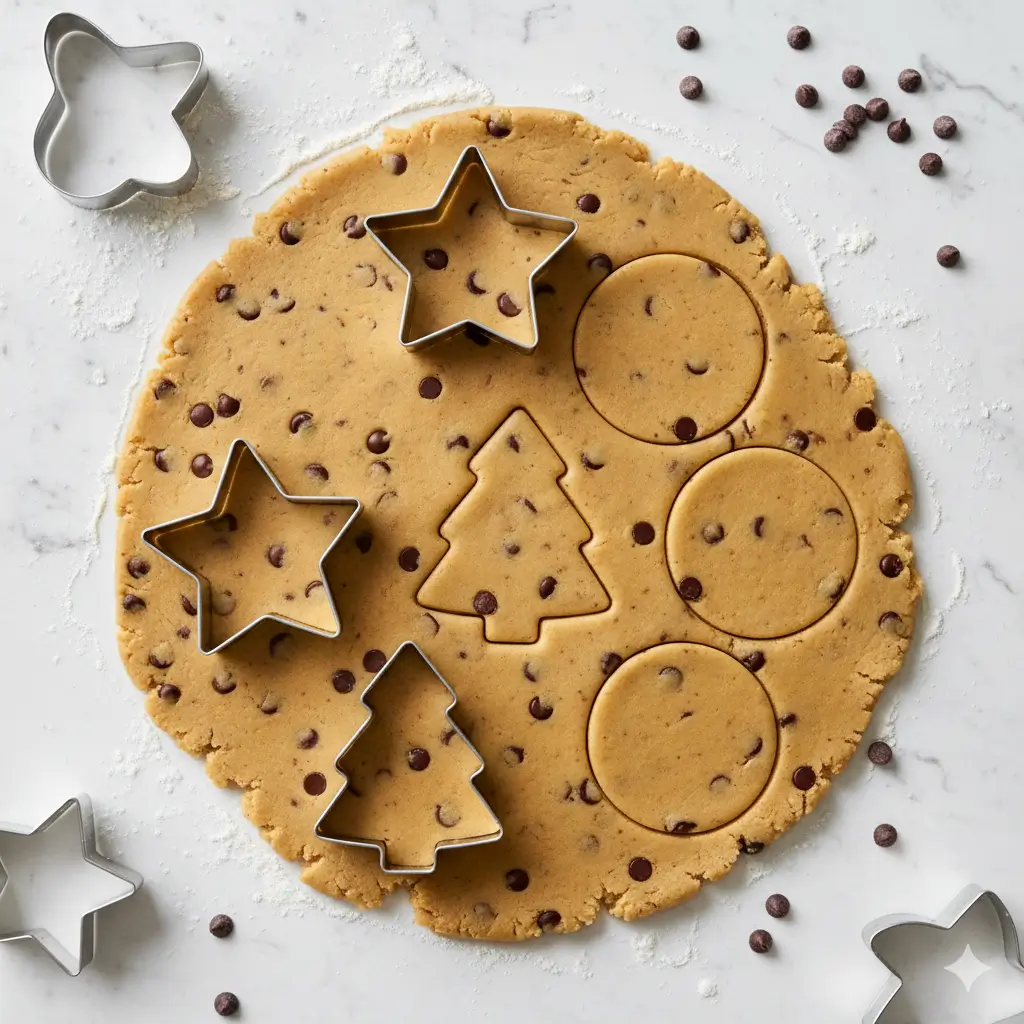
Step 7: Roll and Cut Your Shapes
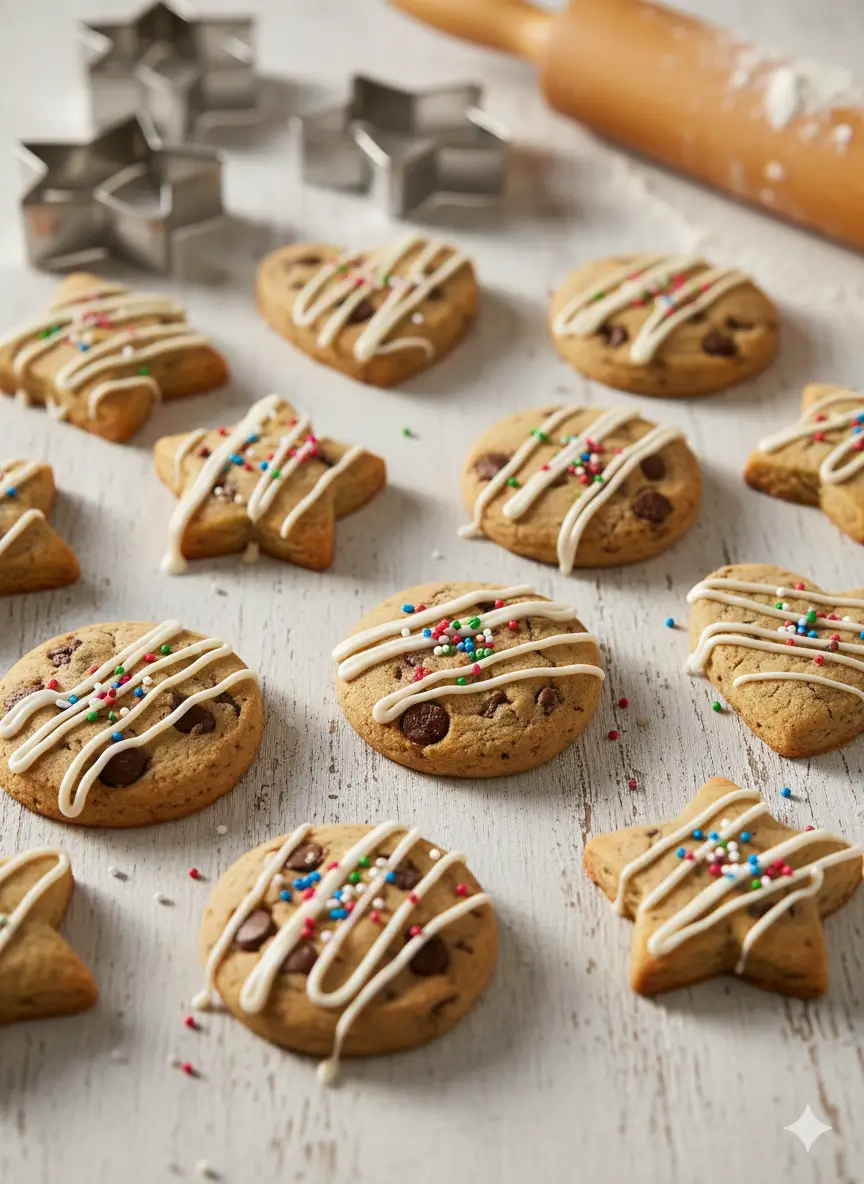
Working with one dough disk at a time (keep the other chilled), roll on a lightly floured surface to ¼-inch thickness. Use cookie cutters to create desired shapes—hearts for Valentine’s Day, stars for holidays, or custom shapes for birthdays. Technique tip: Dip cutters in flour between cuts to prevent sticking, and work quickly to keep dough cold.
Step 8: Arrange and Bake Strategically
Place cut-outs on parchment-lined baking sheets, spacing them 2 inches apart. Bake at 180°C (350°F) for 10–12 minutes until edges are lightly golden but centers look slightly underdone. These easy chocolate chip treats will continue cooking on the hot pan after removal, achieving perfect texture without overbaking.
Step 9: Cool Completely Before Decorating
Transfer cookies to wire racks and cool for at least 15 minutes. Warm cookies are too soft for decorating and will cause icings or chocolate to melt. Patience here ensures professional-looking results.
Step 10: Unleash Your Creativity
Drizzle with melted chocolate, pipe royal icing designs, add sprinkles, or keep them simple and classic. The firm texture of these cut-outs makes them ideal for intricate decorations that would slide off traditional soft and chewy chocolate chip cookies.
Nutritional Information
| Nutrient | Amount per Cookie |
|---|---|
| Calories | ~185 |
| Protein | 2g |
| Carbohydrates | 24g |
| Fat | 9g |
| Fiber | 1g |
| Sugar | 16g |
| Sodium | 135mg |
| Health Notes: These homemade chocolate chip cookies provide quick energy from carbohydrates. Chocolate chips deliver antioxidants (flavonoids) linked to improved heart health. Butter contributes vitamin A, and eggs supply B vitamins essential for metabolism. Making these at home allows control over sugar and ingredient quality compared to store-bought options. | |
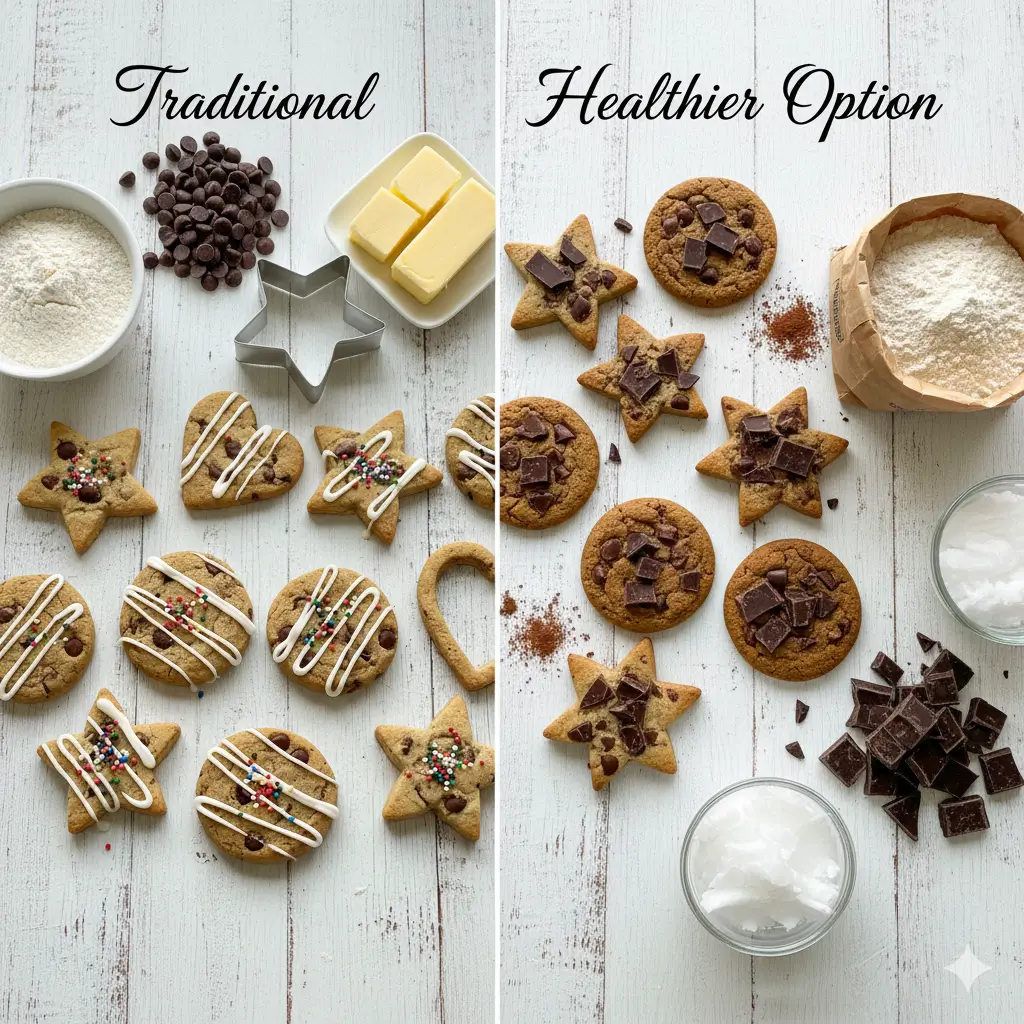
Healthier Alternatives for the Recipe
Transform these treats into more nutritious options without sacrificing the beloved chocolate chip baking ideas :
- Reduce sugar by 25%—the chocolate chips provide plenty of sweetness, and reducing granulated sugar maintains structure better than cutting brown sugar
- Substitute half the all-purpose flour with whole wheat flour for added fiber and nutty depth (use white whole wheat for milder flavor)
- Replace butter with coconut oil or applesauce (use ¾ cup applesauce for every 1 cup butter) to reduce saturated fat
- Choose dark chocolate chips (70% cacao or higher) for lower sugar content and higher antioxidant levels
- Add 2 tablespoons ground flaxseed to boost omega-3 fatty acids and fiber without altering texture
- Use coconut sugar instead of white sugar for a lower glycemic index and subtle caramel notes
Serving Suggestions
| Serving Style | Description |
|---|---|
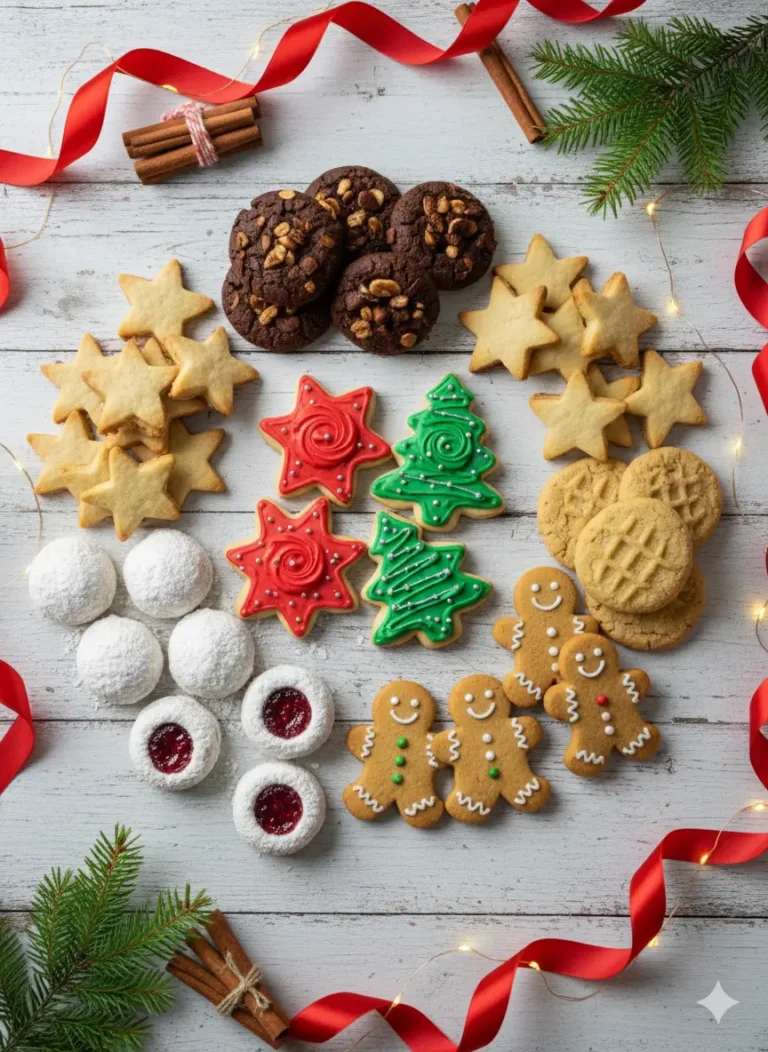
| Holiday Cookie Platters | Arrange star, snowflake, and tree shapes on festive platters alongside traditional treats. |
| Birthday Party Favors | Package individually wrapped cookies in cellophane bags tied with ribbons matching party themes. |
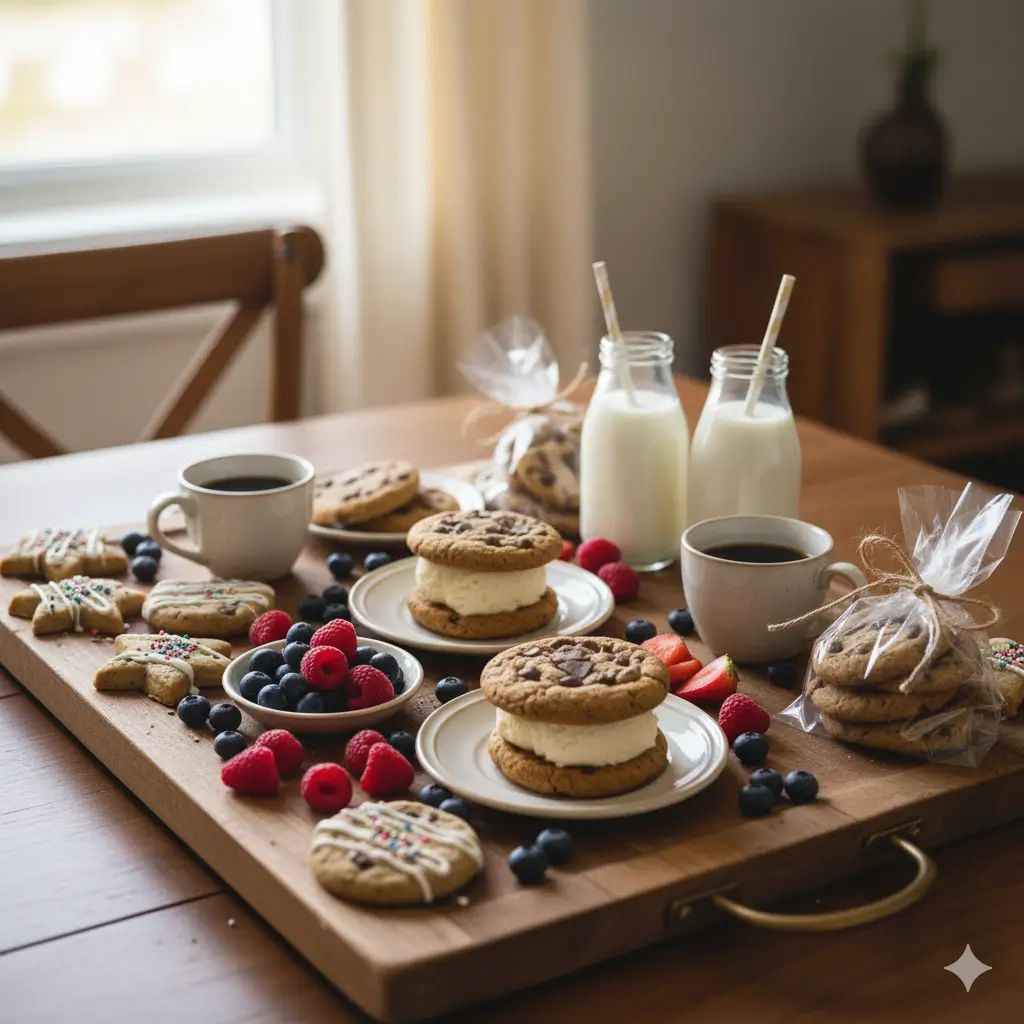
| Ice Cream Sandwiches | Use two larger cut-outs to sandwich your favorite ice cream flavor for upgraded dessert sandwiches. |
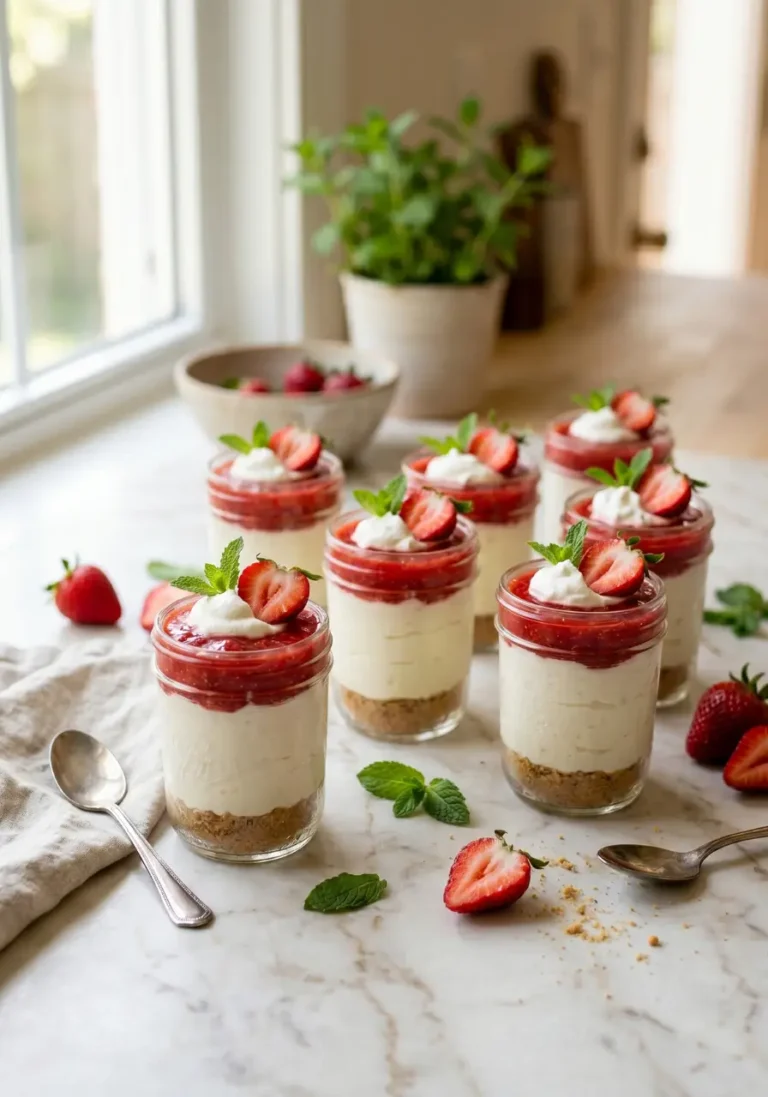
| Dessert Charcuterie Boards | Combine with fresh berries, chocolate squares, and whipped cream for elegant presentation. |
| Coffee or Tea Accompaniment | The firm texture makes them perfect for dunking without crumbling. |
| Breakfast Treat | Pair with milk or coffee for an indulgent morning pick-me-up. |
| Gift Boxes | Layer between parchment paper in decorative tins for thoughtful homemade gifts. |
Common Mistakes to Avoid
| Mistake | Description |
|---|---|
| Skipping the chilling step | Dough that’s not properly chilled spreads excessively, losing all shape definition. Always chill the full recommended time. |
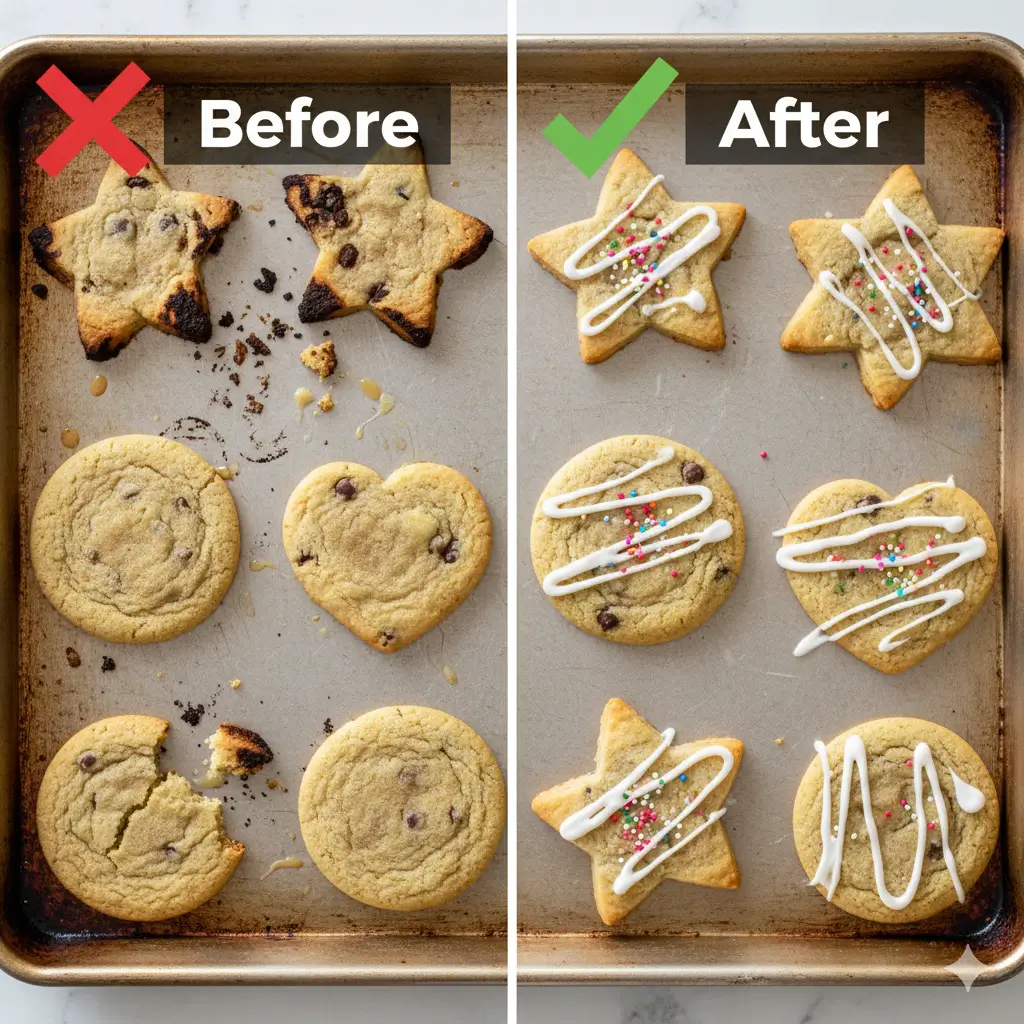
| Rolling dough too thin | Cookies thinner than ¼-inch become crispy rather than chewy and break easily during decorating. |
| Overworking the dough | Excessive rolling and re-rolling warms the butter and develops gluten, resulting in tough cookies. Gather scraps gently and re-chill if needed. |
| Using warm baking sheets | Placing dough on hot pans from previous batches causes immediate butter melting. Cool sheets completely or use multiple sets. |
| Overbaking | Cookies continue cooking after removal from the oven. Remove when centers look slightly underdone for perfect chewy texture. |
| Decorating too soon | Warm cookies crack under icing pressure. Always cool completely before adding decorations. |
| Ignoring dough temperature | If dough becomes too soft while rolling, refrigerate for 15 minutes before continuing to maintain workability. |
Storing Tips for the Recipe
| Storage Method | Tips & Instructions |
|---|---|
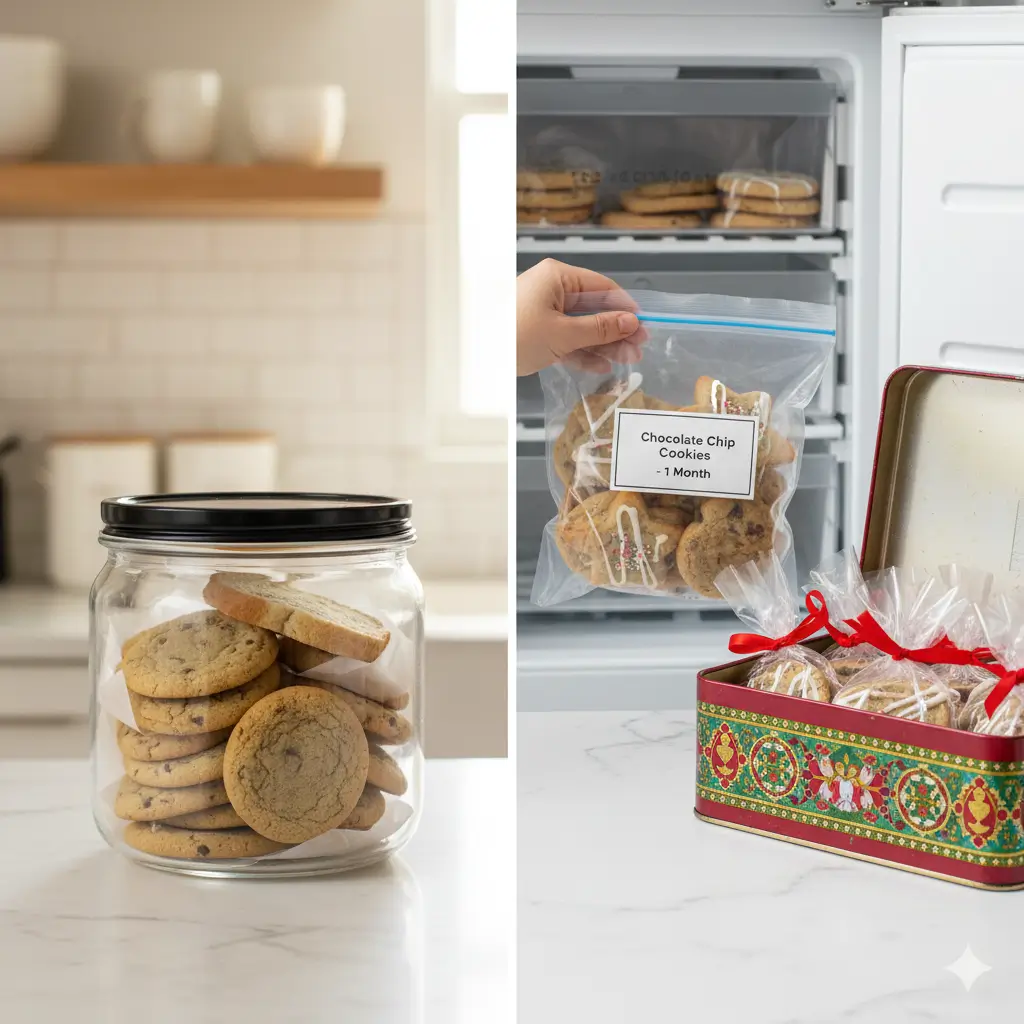
| Room Temperature Storage | Keep baked cookies in airtight containers with parchment paper between layers for up to 1 week. Add a slice of bread to the container to maintain moisture—cookies will stay soft while the bread becomes hard. |
| Refrigeration | Decorated cookies with cream-based frostings should be refrigerated in sealed containers for up to 2 weeks. Bring to room temperature 15 minutes before serving for best texture. |
| Freezing Baked Cookies | Layer between parchment paper in freezer-safe containers for up to 3 months. Thaw at room temperature for 30 minutes before serving. Freeze before decorating for easiest storage. |
| Freezing Unbaked Dough | Wrap tightly in plastic wrap and aluminum foil for up to 3 months. Thaw overnight in the refrigerator before rolling and cutting. |
| Freezing Cut Shapes | Arrange unbaked cut-outs on baking sheets, freeze until solid, then transfer to freezer bags. Bake directly from frozen, adding 2–3 minutes to baking time. |
| Pro Tip: Make double batches and freeze half as insurance against cookie emergencies or unexpected guests. | |
Conclusion
This Chocolate Chip Cut Out Treats recipe revolutionizes traditional chocolate chip baking ideas by merging beloved classic flavors with creative flexibility. Whether you’re planning holiday celebrations, birthday parties, or simply seeking a fun kitchen activity with kids, these shaped cookies deliver both visual appeal and irresistible taste. The techniques shared here—from proper dough chilling to strategic decorating—ensure professional results every time you bake.
Ready to transform your cookie game? Gather your ingredients, choose your favorite shapes, and experience the joy of creating these customizable treats. Share your decorated creations on social media using #ChocolateChipCutouts, and explore our collection of other homemade chocolate chip desserts for more delicious inspiration. Your kitchen adventure starts now!

FAQs
Can I make this dough without a stand mixer ?
- Absolutely! A hand mixer works perfectly, or mix by hand using a sturdy wooden spoon. The key is achieving thorough creaming of butter and sugars—just requires a bit more elbow grease and an extra 2–3 minutes of mixing time.
Why did my cookies spread despite chilling the dough ?
- Several factors cause spreading: oven temperature too low (use an oven thermometer to verify accuracy), dough rolled too thin, insufficient chilling time, or warm baking sheets. Ensure your oven reaches 180°C and chill dough the full 2 hours minimum.
Can I reduce the chocolate chips or add mix-ins ?
- Yes! Reduce chips to 1½ cups for less chocolate intensity, or swap half for white chocolate chips, butterscotch chips, or chopped nuts. You can also add ½ cup dried cranberries, toffee bits, or shredded coconut for flavor variations.
How do I prevent my cookie cutters from sticking ?
- Dip cookie cutters in flour before each cut, tap off excess, and work on a well-floured surface. If dough becomes too soft and sticky, return it to the refrigerator for 10–15 minutes before continuing.
What’s the best way to transport decorated cookies ?
- Layer cookies in rigid containers with parchment paper between layers. For delicate decorations, use cupcake carriers or boxes with dividers to prevent shifting. Transport in a cool environment to prevent icing melting.
Can I make these cookies egg-free ?
- Yes! Replace each egg with 1 tablespoon ground flaxseed mixed with 3 tablespoons water (let sit 5 minutes to thicken) or use commercial egg replacers following package directions. Texture will be slightly more crumbly but still delicious.
Your Feedback Helps Us Grow!
There are no reviews yet. Be the first one to write one.